How to Send Emails with Flow in Salesforce Document Generation: Docs Made Easy
Category :
Document Generation

What if hours of work took seconds?
What’s the reality with Docs Made Easy. Generate flawless documents instantly—because your time is too valuable.
Save Hours TodayThe Send Email Via Flow Feature in the Salesforce Document Generation app offers a seamless way to automate email delivery and document generation within Salesforce. By integrating this feature into your workflow, you can send personalized emails automatically with the generated documents attached, reducing manual effort and saving time.
This guide will walk you through the steps to set up this powerful feature, helping you leverage the full potential of your Salesforce Document Generation app for a more efficient, automated process.
Setting Up Your Document Solution and Email Template
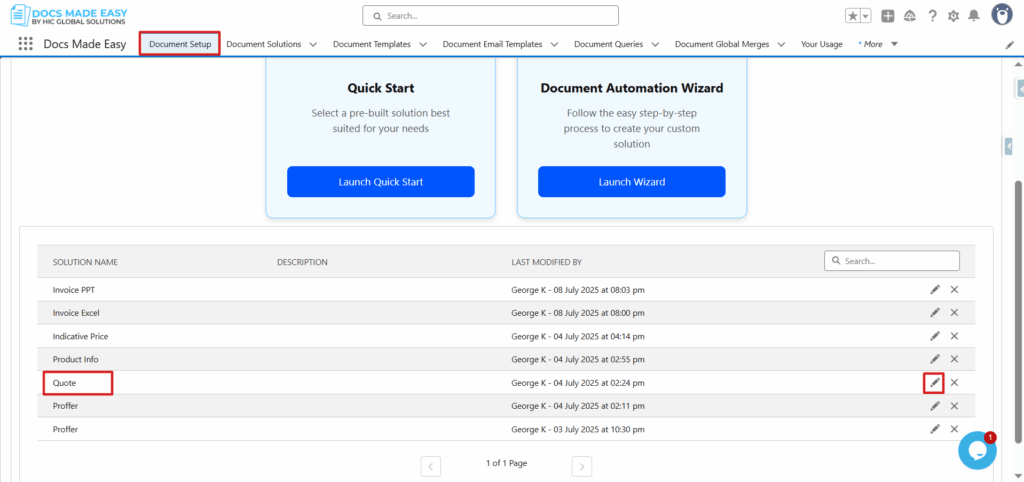
Step 1: Kindly edit your document solution first by selecting Document Setup, then clicking the pencil icon.
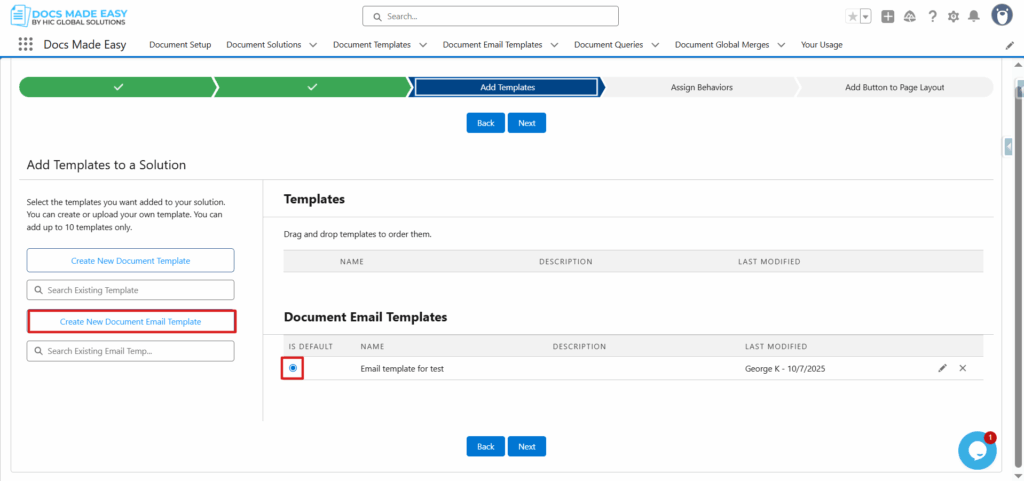
Step 2: On the Add Email Template tab in your solution. Kindly create an email template first, which can be sent via email.
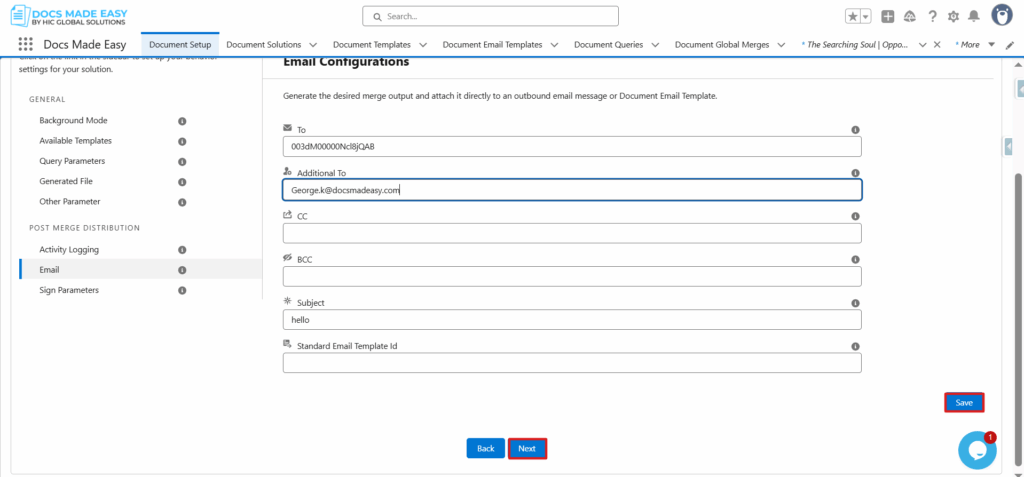
Step 3: In the next step, please choose email on the same tab and add information like this to send an email. To save this information on your solution, please click on Save and then the Next button.
Core Steps to Creating a Flow
Note: As we have already set up email parameters in our solution. We can create a flow to send an email with the help of below steps mentioned below. We can use ASync Document Generate Solution hic_docmergeapex-hic_dme__ComposerinvocableDocSolController.
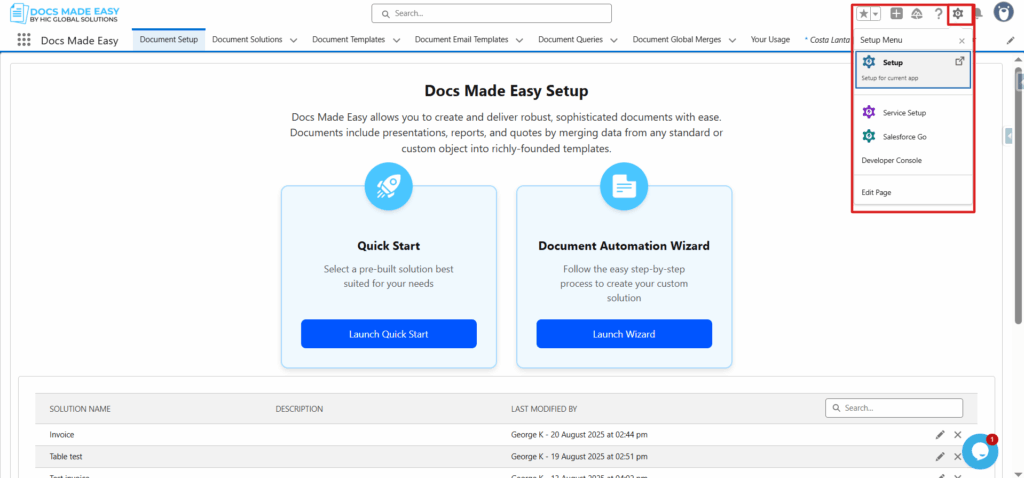
Step 1: Click the setup button on the right side of the screen.
Step 2: You will see a homepage like the one below; on the left side, use Quick Find to search for “FLOW”.
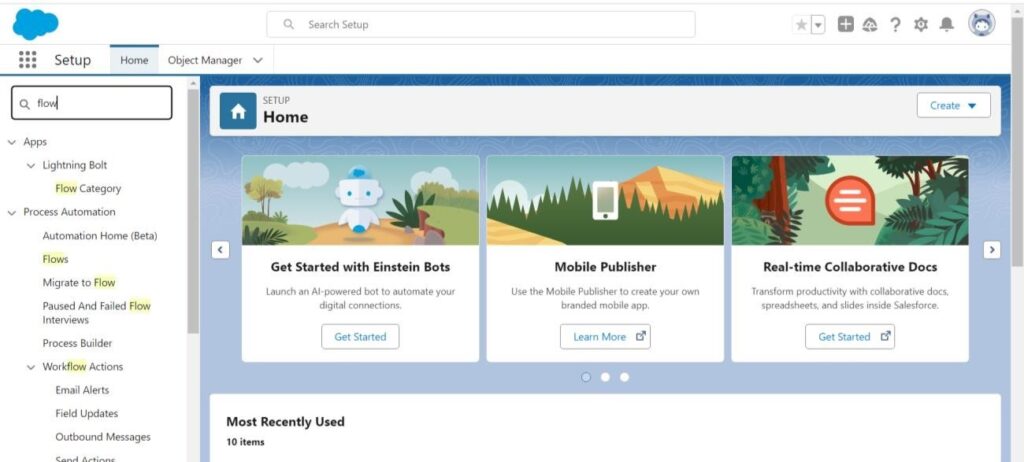
Step 3:Click on “FLOWS” as shown below, then click on “NEW FLOW”.

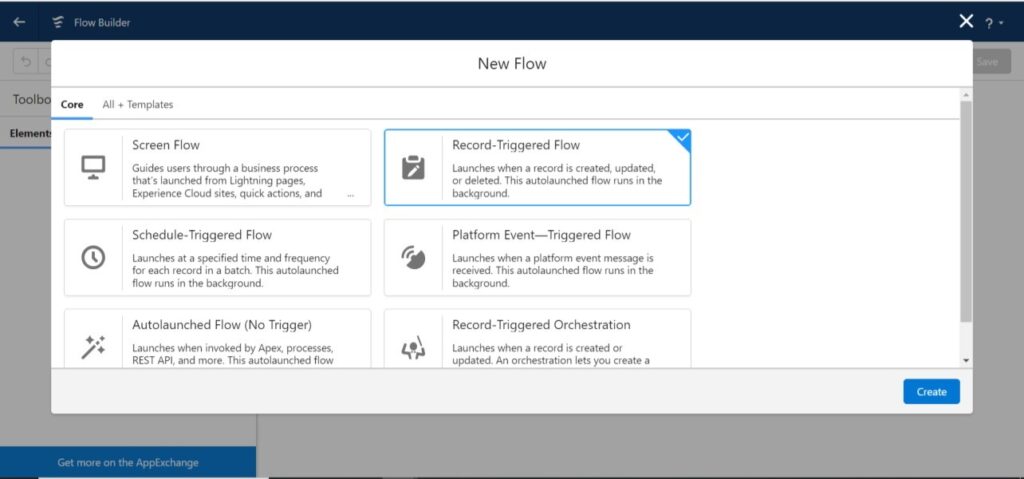
Step 4: Now you will see the screen below; choose “Record-Triggered Flow”.
Step 5: Now click “Edit” as shown in the red box.
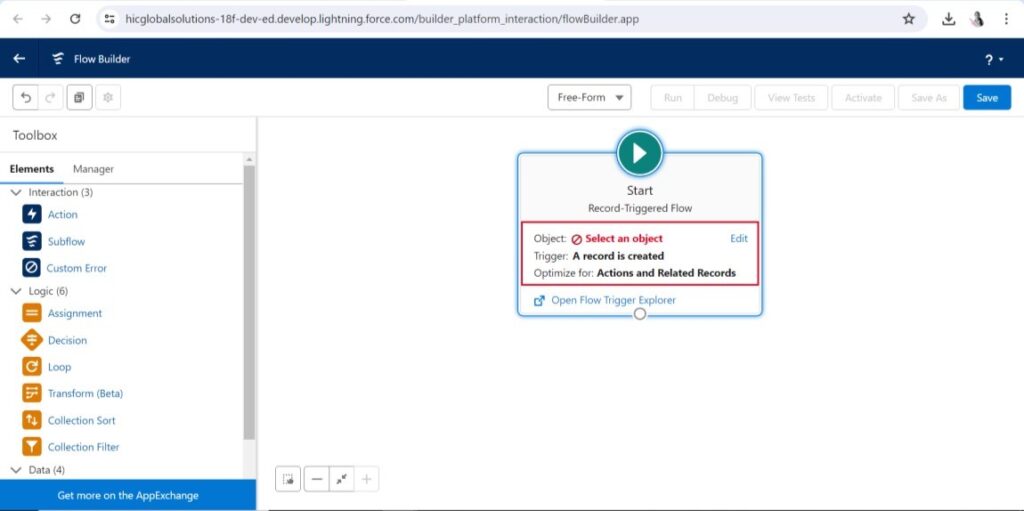
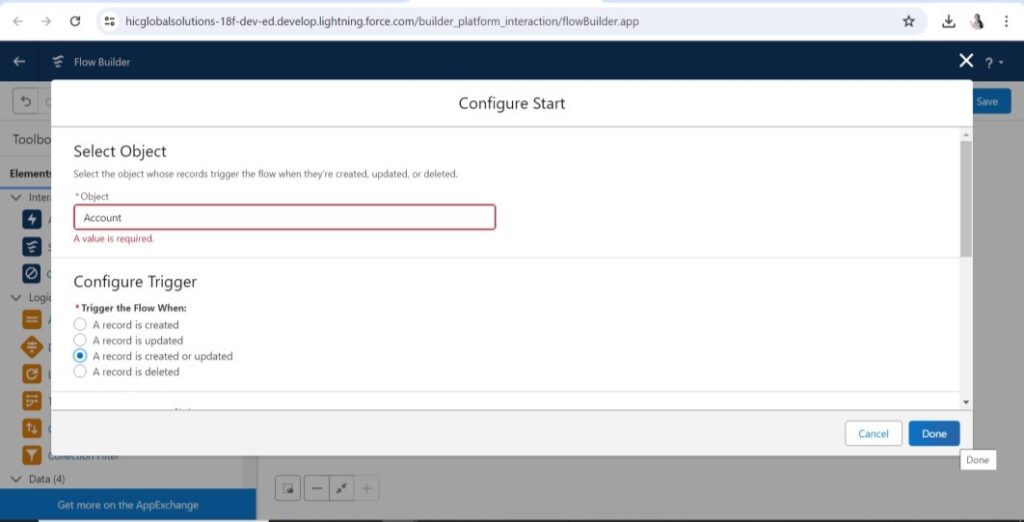
Step 6: After that, you will see “Configure Start” below. Select your object and configure the trigger as needed.
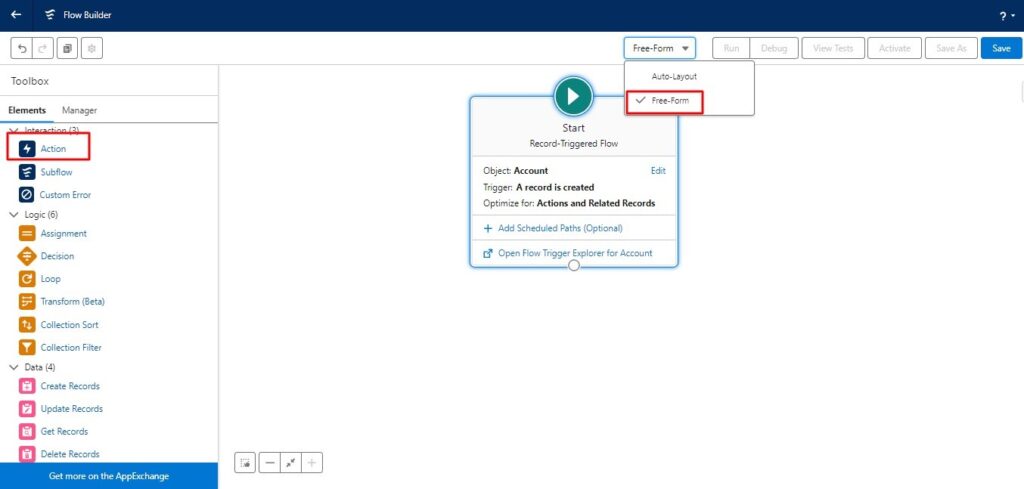
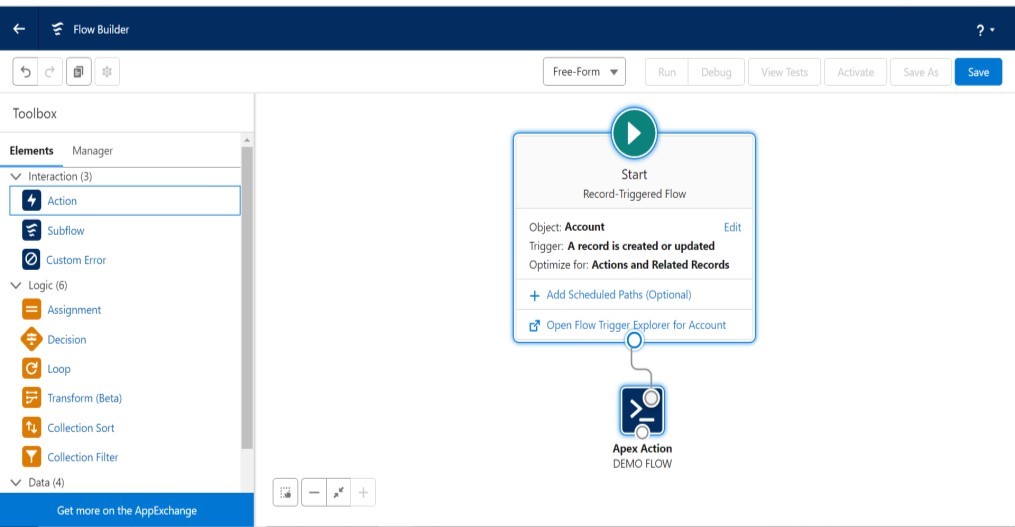
Step 7: After that, choose “Free Form” and drag and drop the Action (Element) from the left side of the screen.
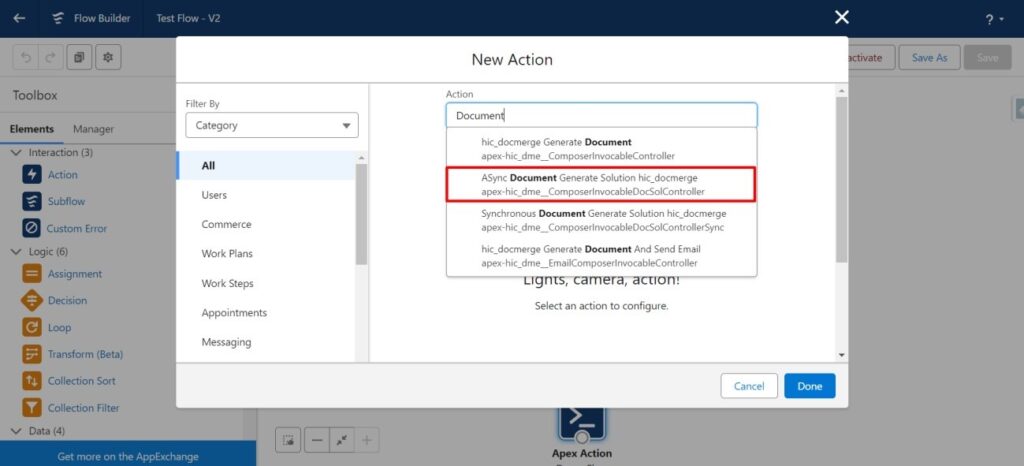
Step 8: Next, you will see the “New Action” page; fill in the “Action” field by searching “ASync Document Generate Solution hic_docmerge,” then complete all required fields like Label and API Name.
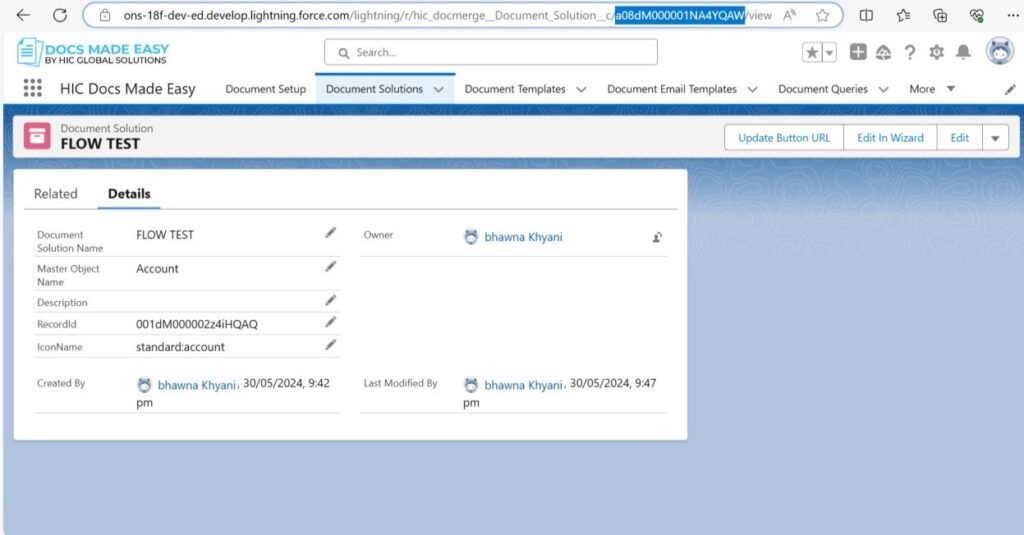
Step 9: In the “documentSolutionId” field, enter the Document Solution ID of your document.
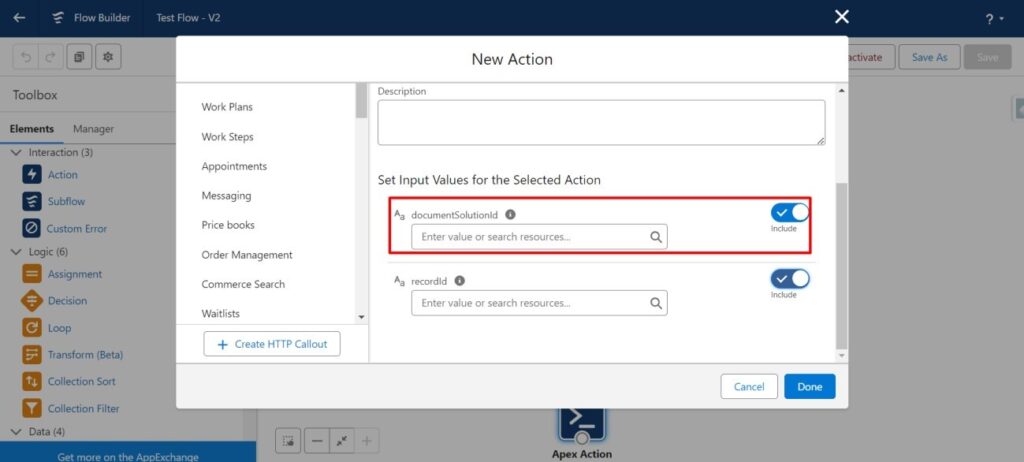
Step 10: Now, enter the record ID and click “Done.” Your flow is now created.

STEP-11 Now, connect an Apex Action element.
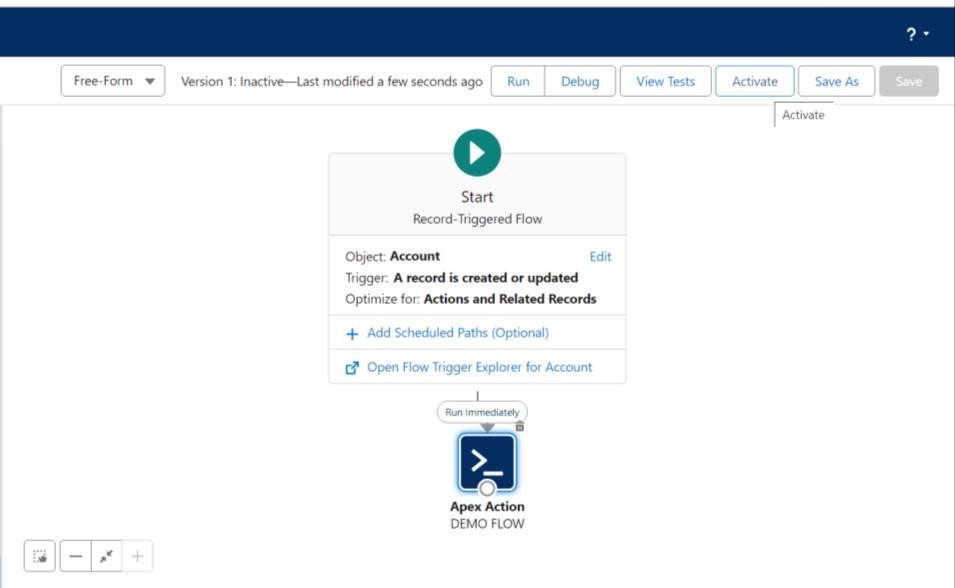
Step 12: Save the flow and activate it as shown below.
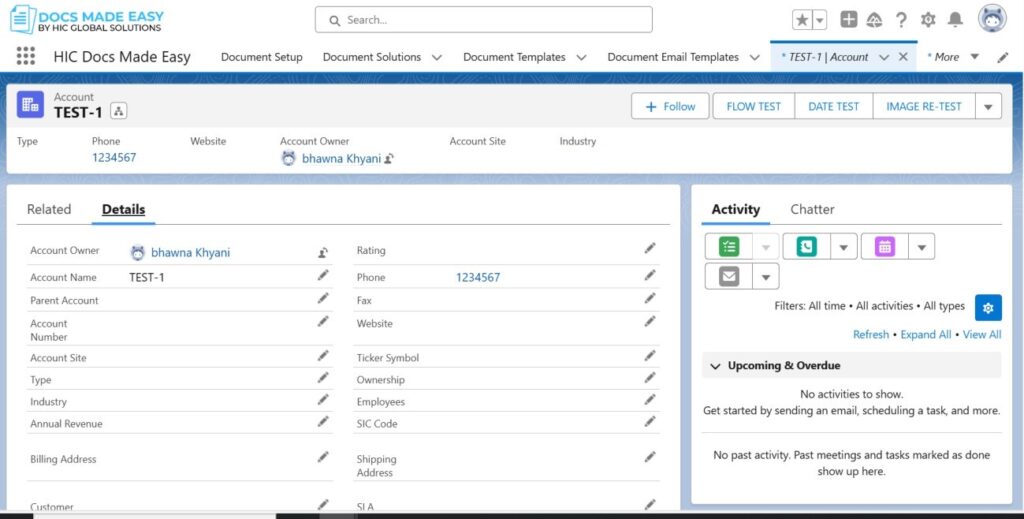
Step 13: Now, go to the Account record and update it according to your requirements.
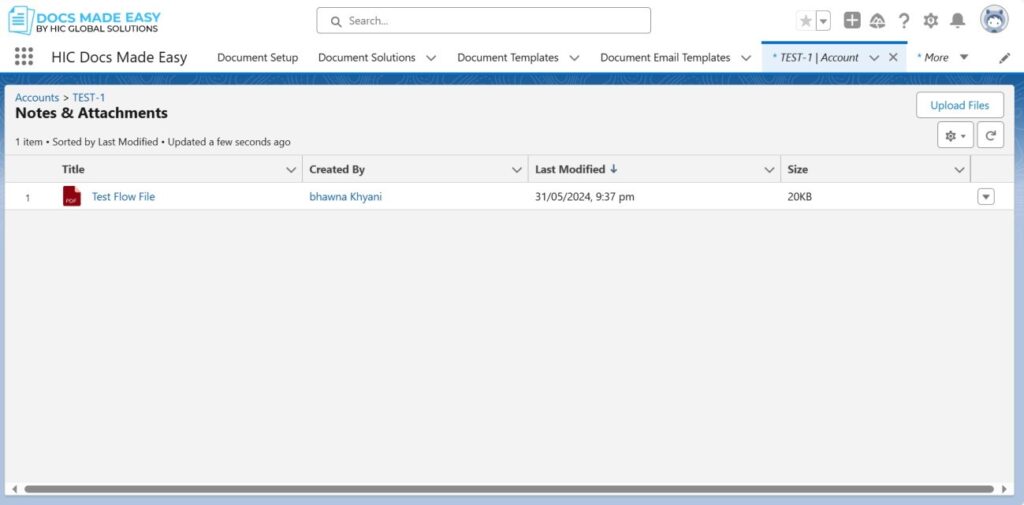
Step 14: Now, go to the Related tab and click on Notes and Attachments.
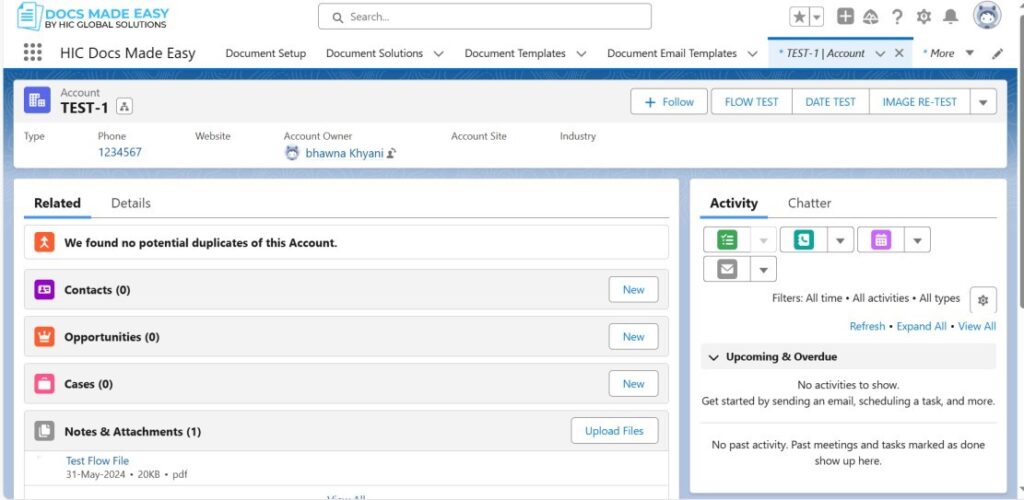
Step 15: Now, you can refresh it. Your file is generated, and you can view it.
Conclusion
By following the steps above, you can easily set up the Send Email Via Flow Feature in your Salesforce Document Generation App, enhancing your document handling process with automation. This feature not only ensures accurate, timely document delivery but also aligns with the broader goals of Document Automation, enabling faster, more efficient workflows in your Salesforce environment.
Docs Made Easy seamlessly automates your document generation and communication with this advanced integrated solution.
Frequently Asked Questions
Related Blogs
Top 7 Benefits of Integrating Docs Made Easy with Salesforce Revenue Cloud
Managing revenue today involves much more than creating quotes and sending contracts. Businesses need a connected process that handles pricing,…
Salesforce Documentation Best Practices: How to Reduce Admin Dependency and Scale Faster
As businesses grow in Salesforce, managing documentation often becomes difficult. At first, teams can easily manage workflows, approvals, automations, and…
15 Salesforce Document Types That Drive Revenue
Team work with documents almost every day, but many businesses still underestimate how much these documents actually affect revenue. A…