How to Add Images in Salesforce Document Templates
Category :
Document Automation

Docs shouldn’t be complicated.
With Docs Made Easy, creating professional, Salesforce-powered documents is just a few clicks away.
Get Started NowThis guide explains how to add images from Files or Attachments into your templates while keeping the focus on Salesforce document generation and improving your overall workflow using Docs Made Easy.
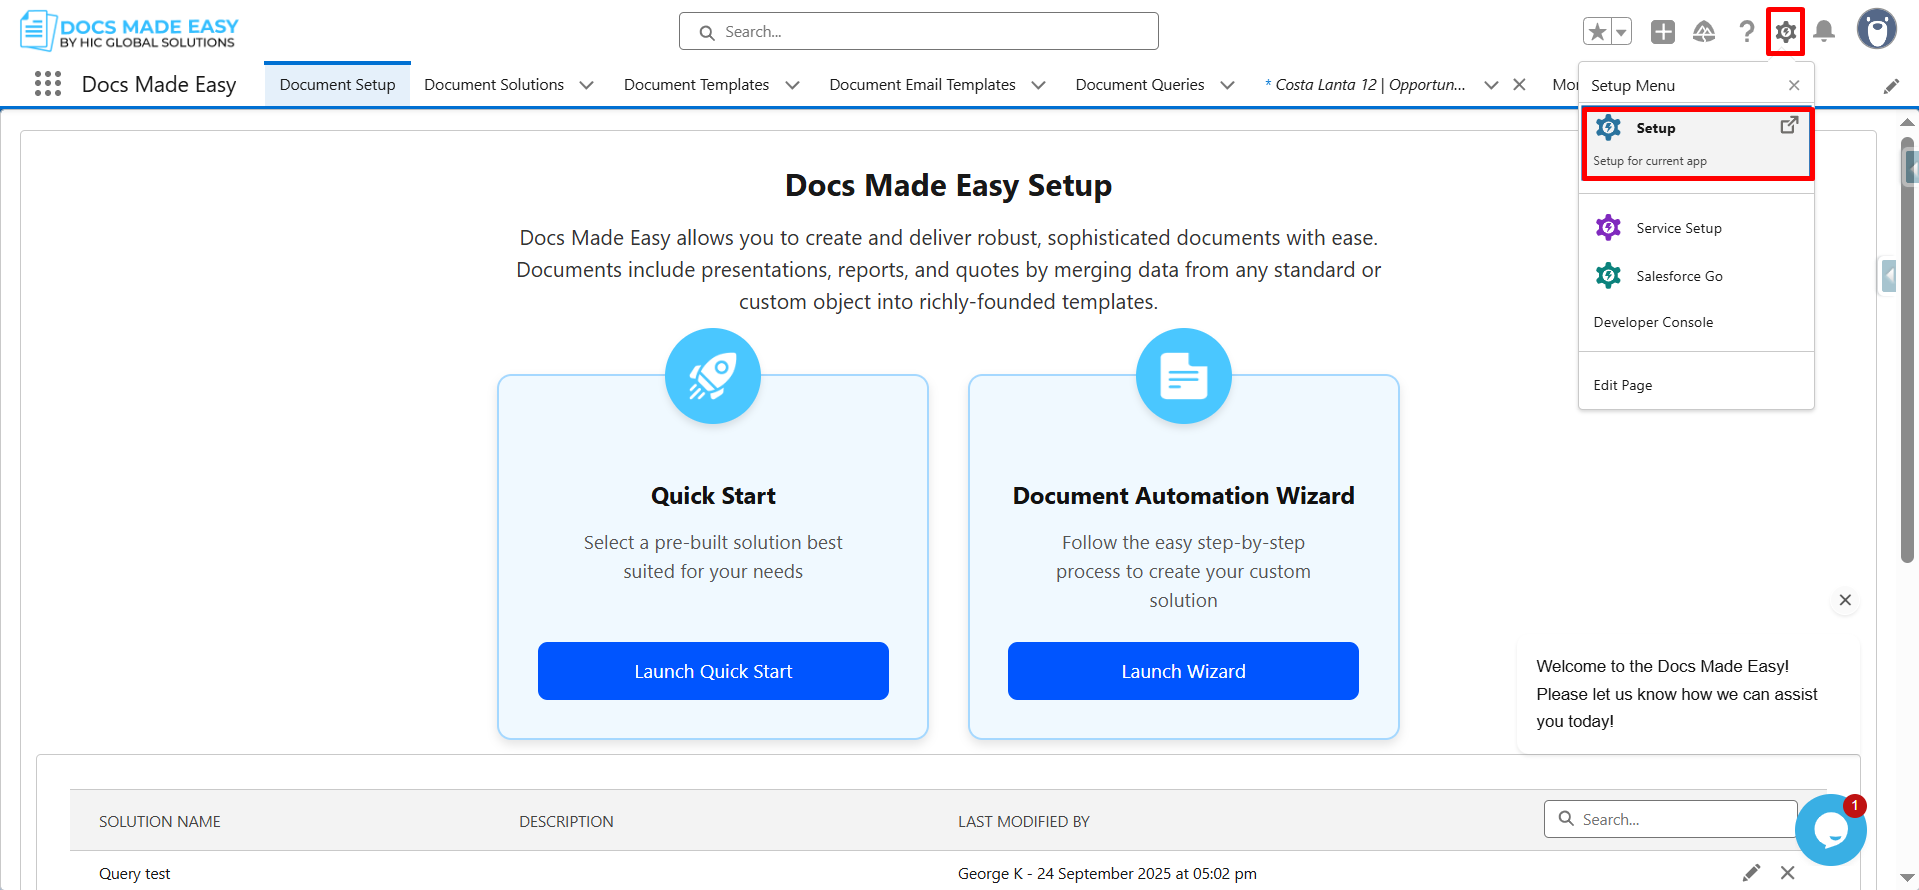
Step 1- Please click on the gear icon and click on setup.
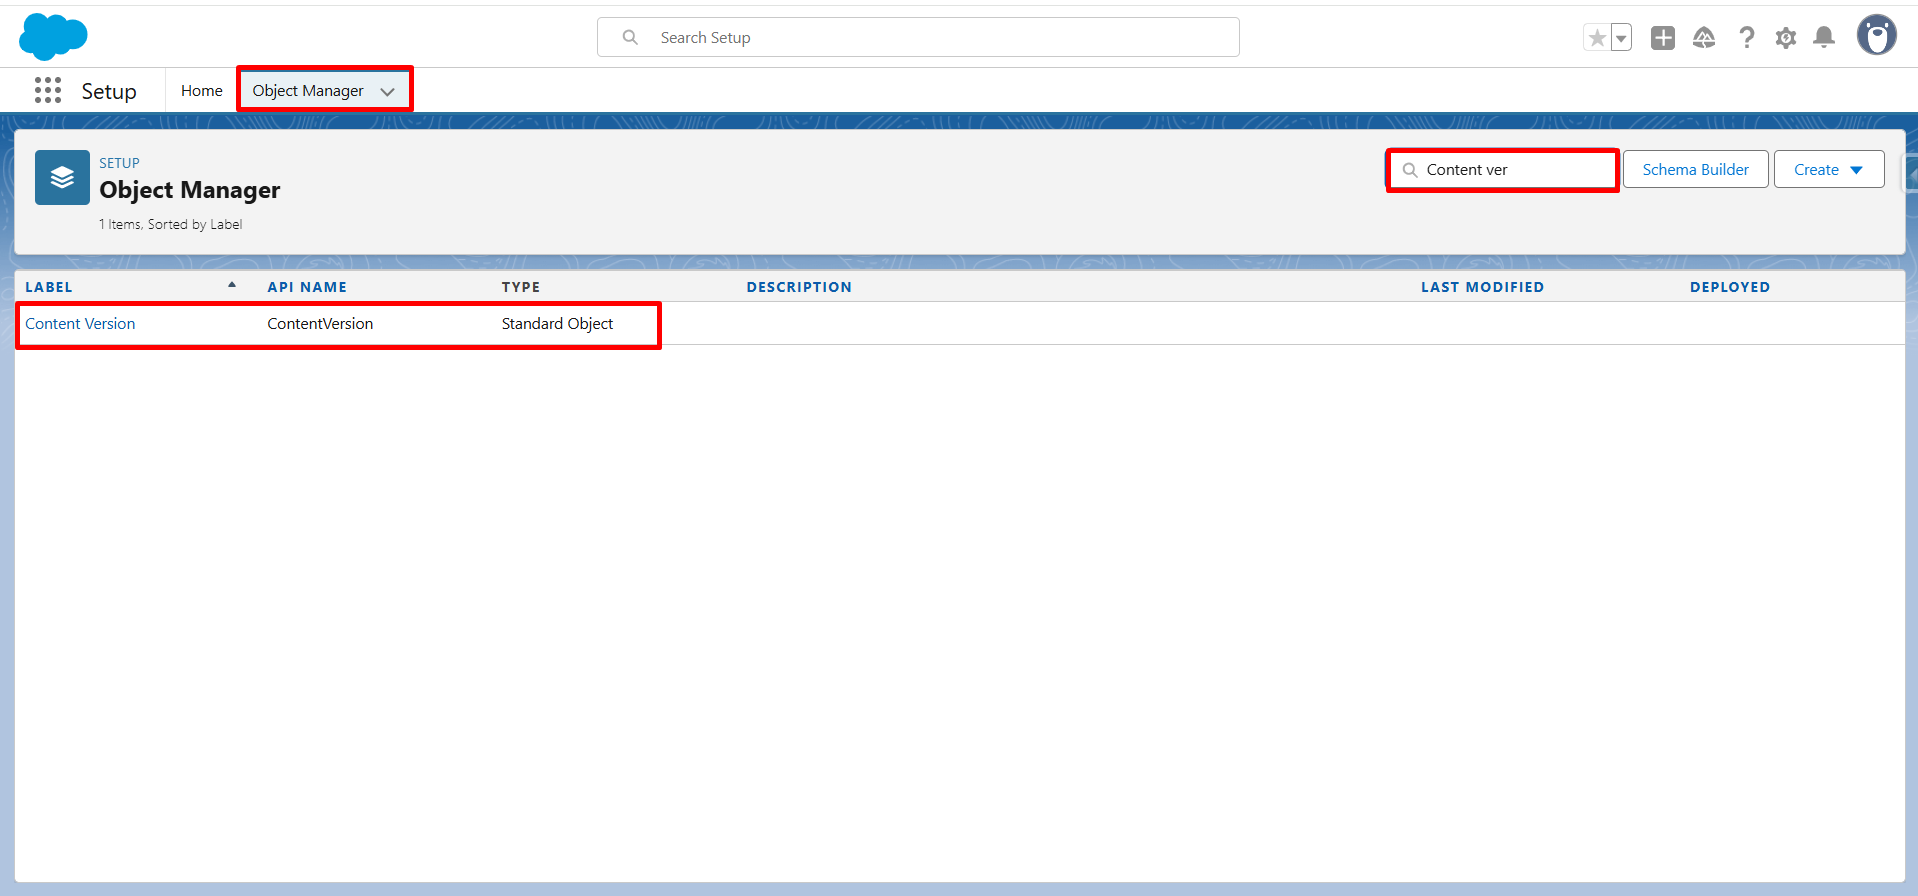
Step 2- On the Next screen, click on “Object Manager” and type in the Content Version. Once you get the label of Content Version, click on it.
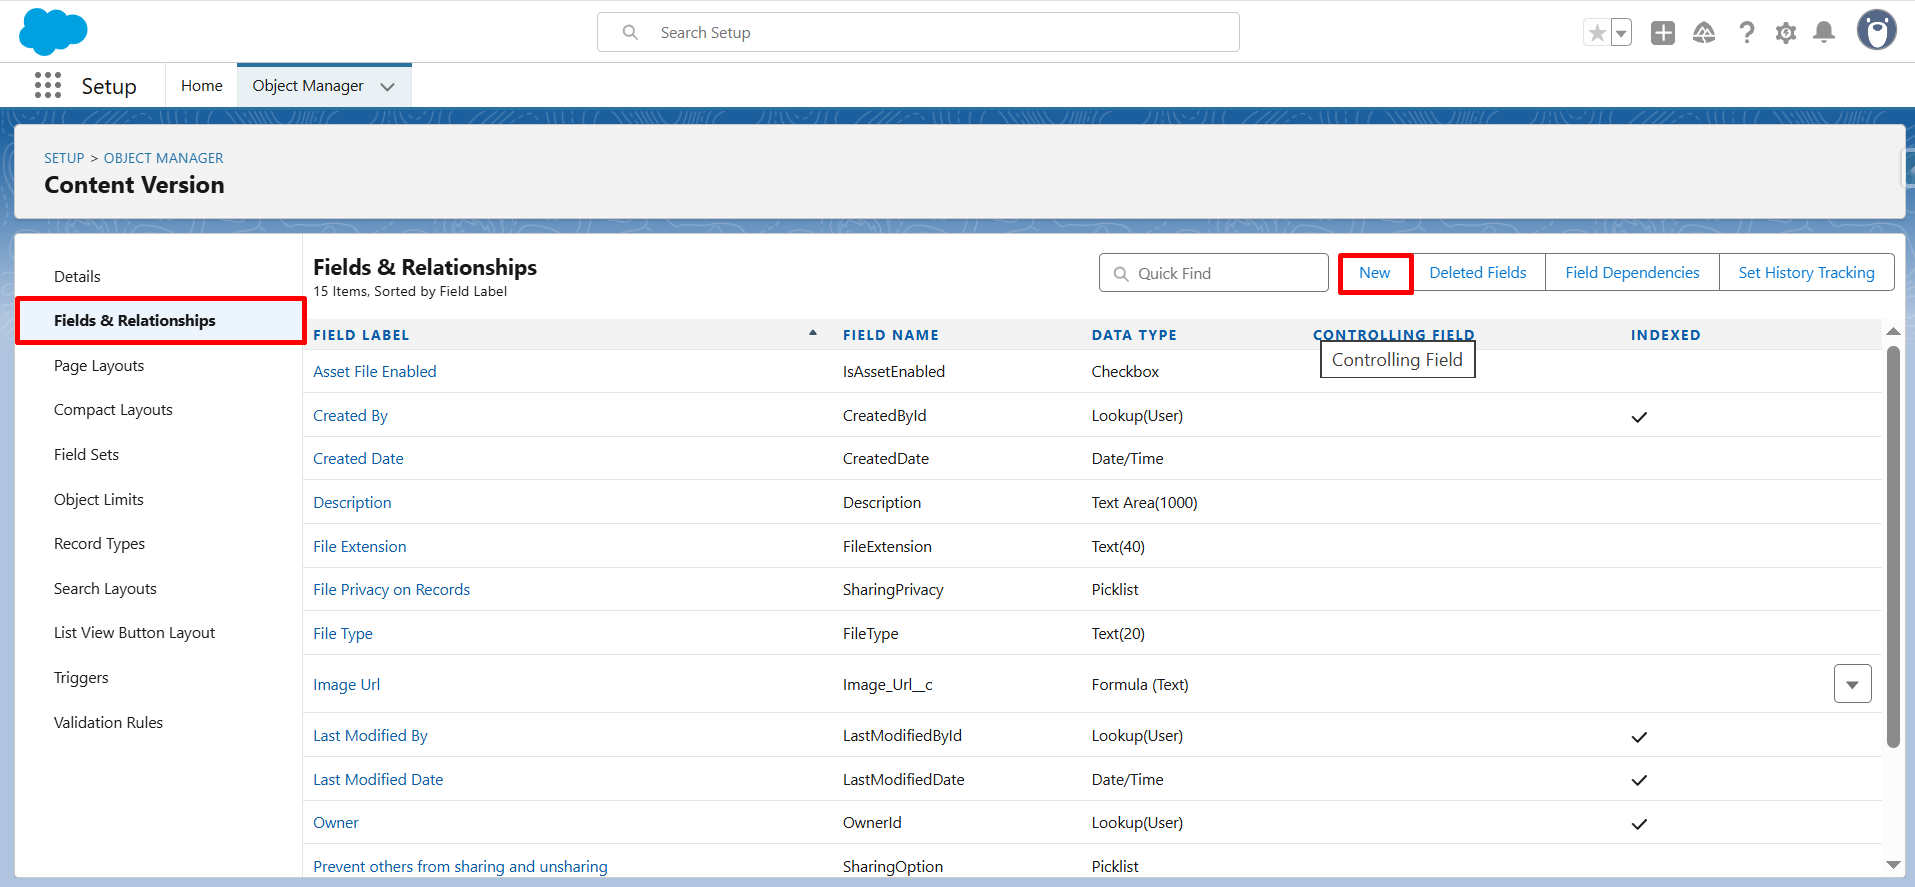
Step 3– On the next screen, you need to click on Fields & Relationships and click on New to create a formula field.
Step 4- On this screen, you can choose a formula field.
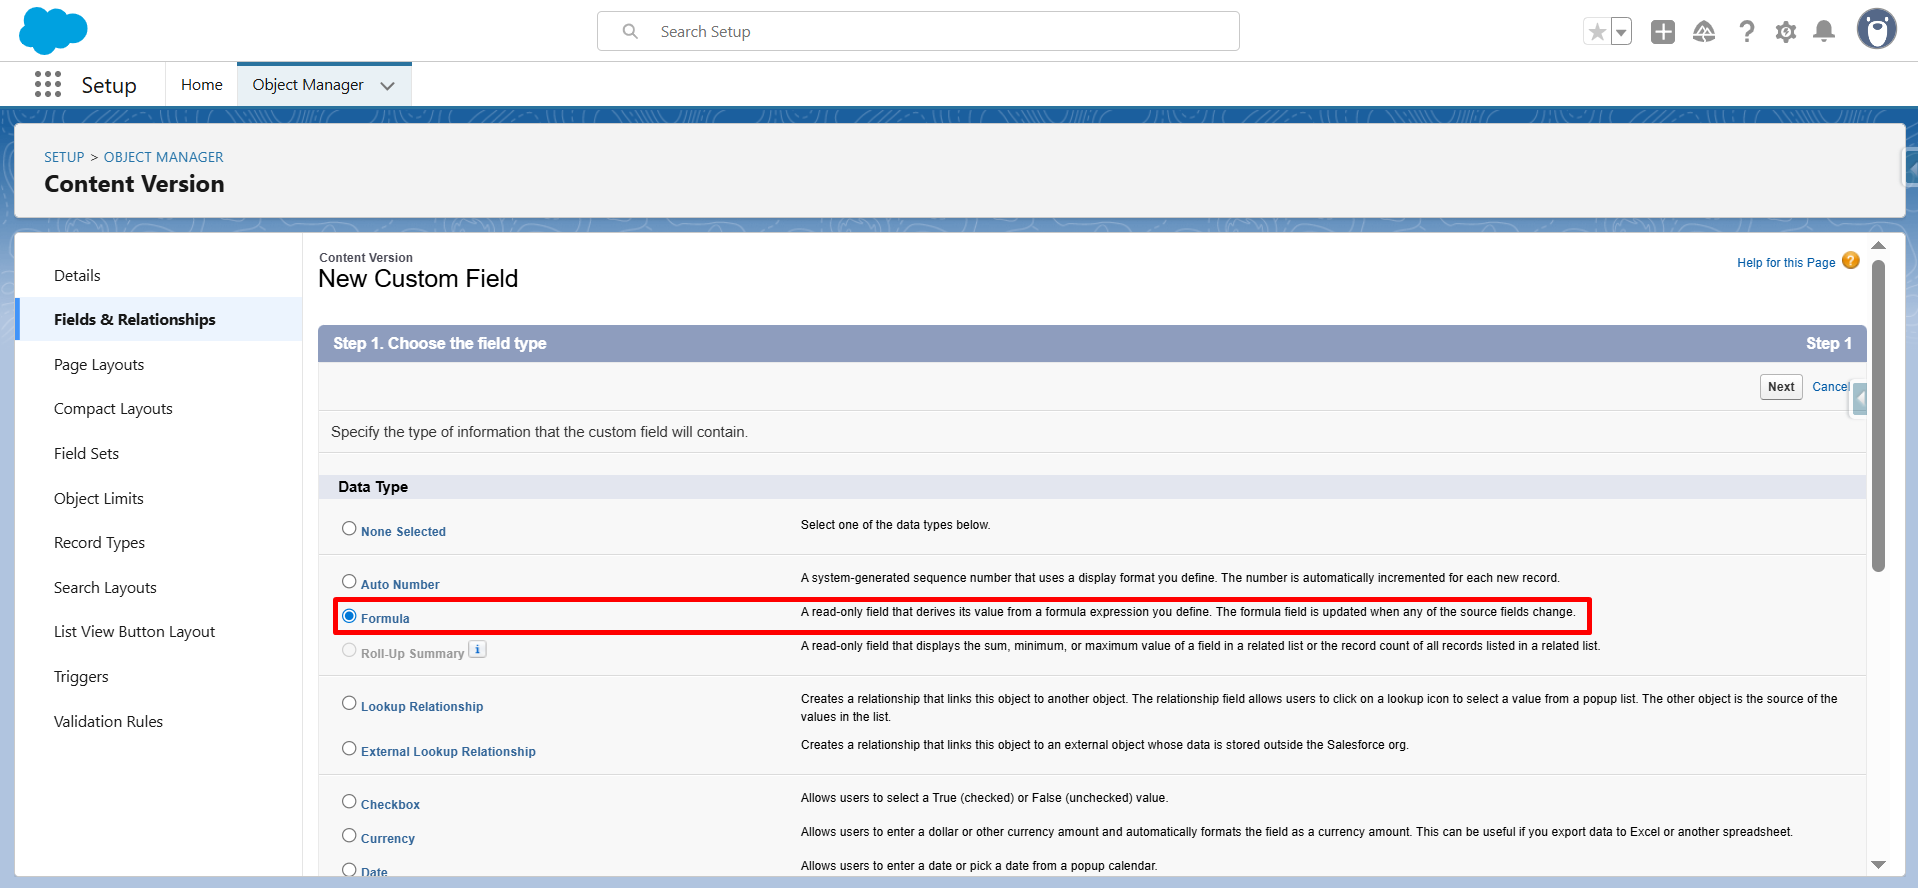
Step 5– In this step, enter a Field Label, select the Text field type, and click “Next.”

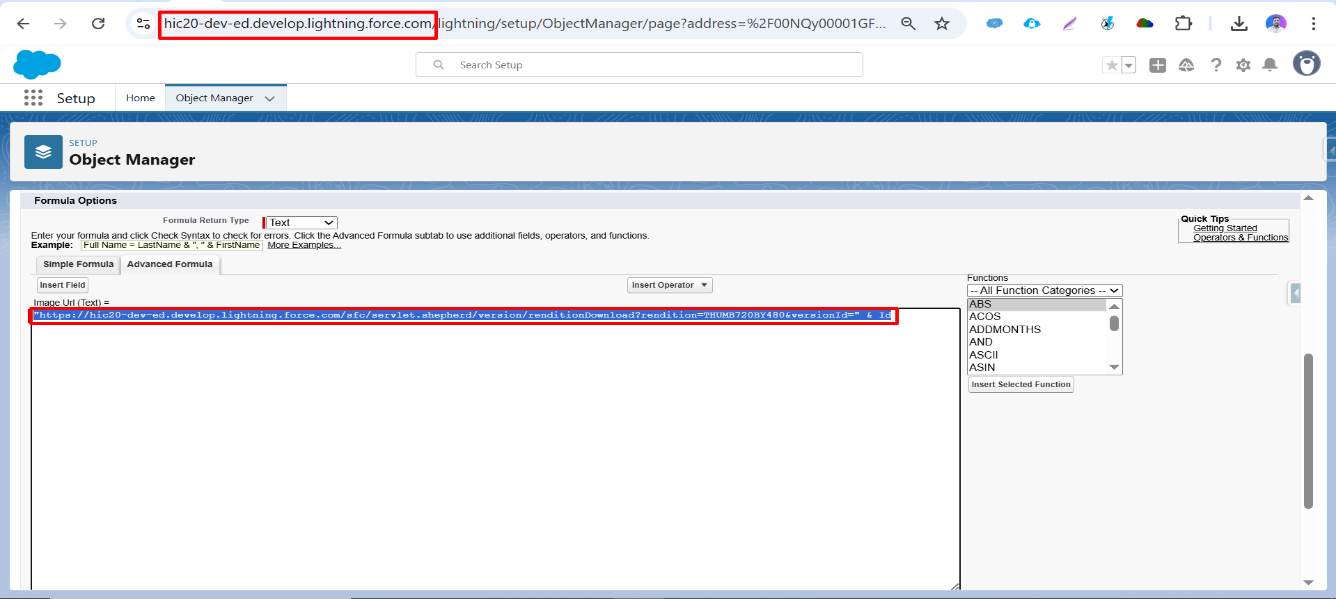
Step 6– This is the most important step, where you need to use this URL (“https://yourorgdomain/sfc/servlet.shepherd/version/renditionDownload?rendition=THUMB720BY480&versionId=” & Id)
Your org Domain can be found in the address bar and highlighted in red in the screenshot below. Don’t forget to click on save to create a formula field.
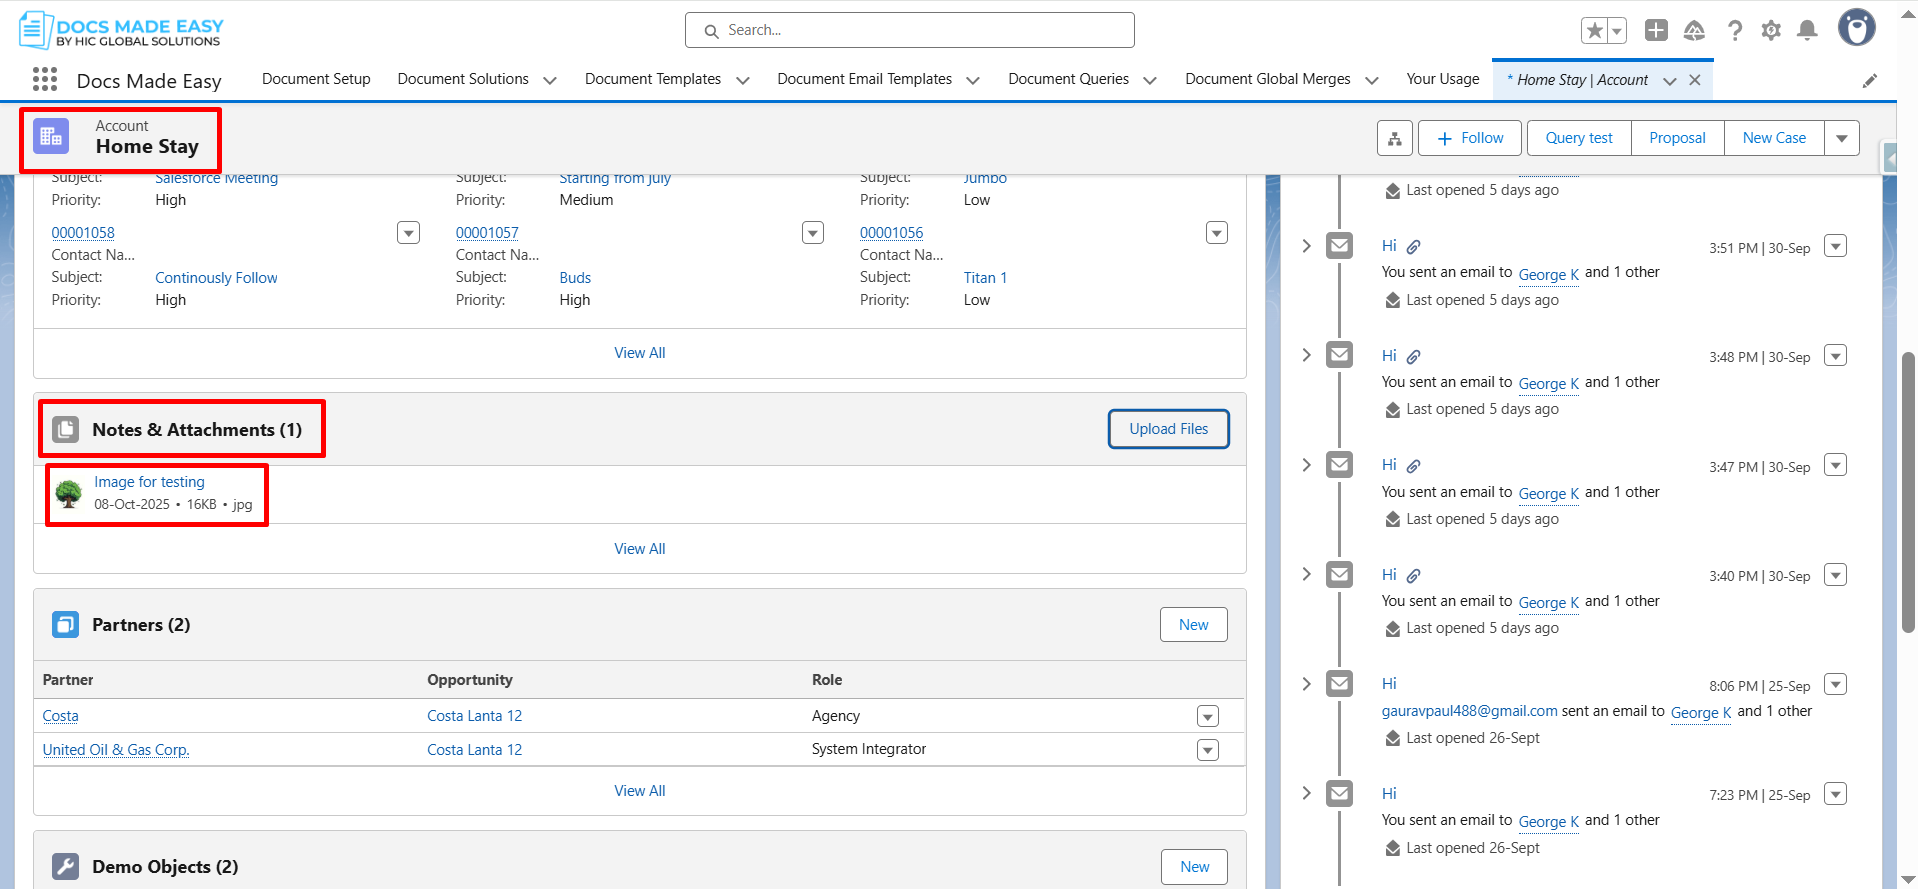
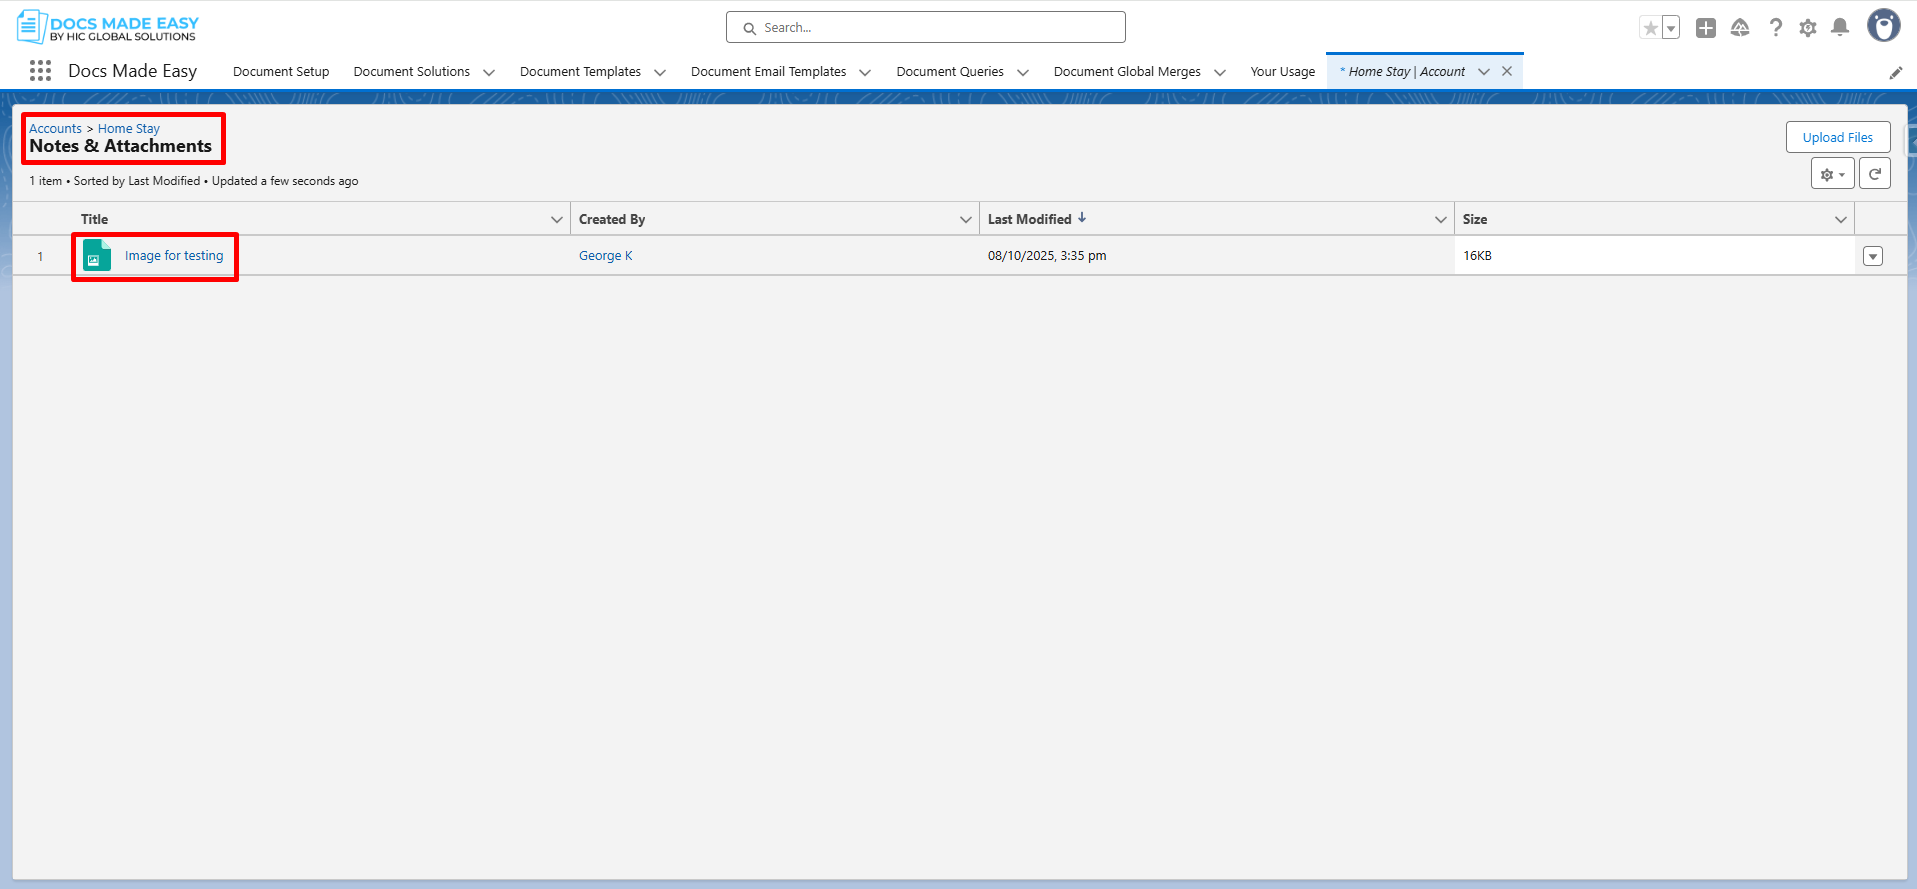
Step 7– The Next step is to upload an Image in Notes & Attachments in Accounts. Please go to the App Launcher and type Accounts and open it. You can find Notes & Attachments in the Related List.

Step 8- Once the Image is uploaded, it will be shown under Notes & Attachments.
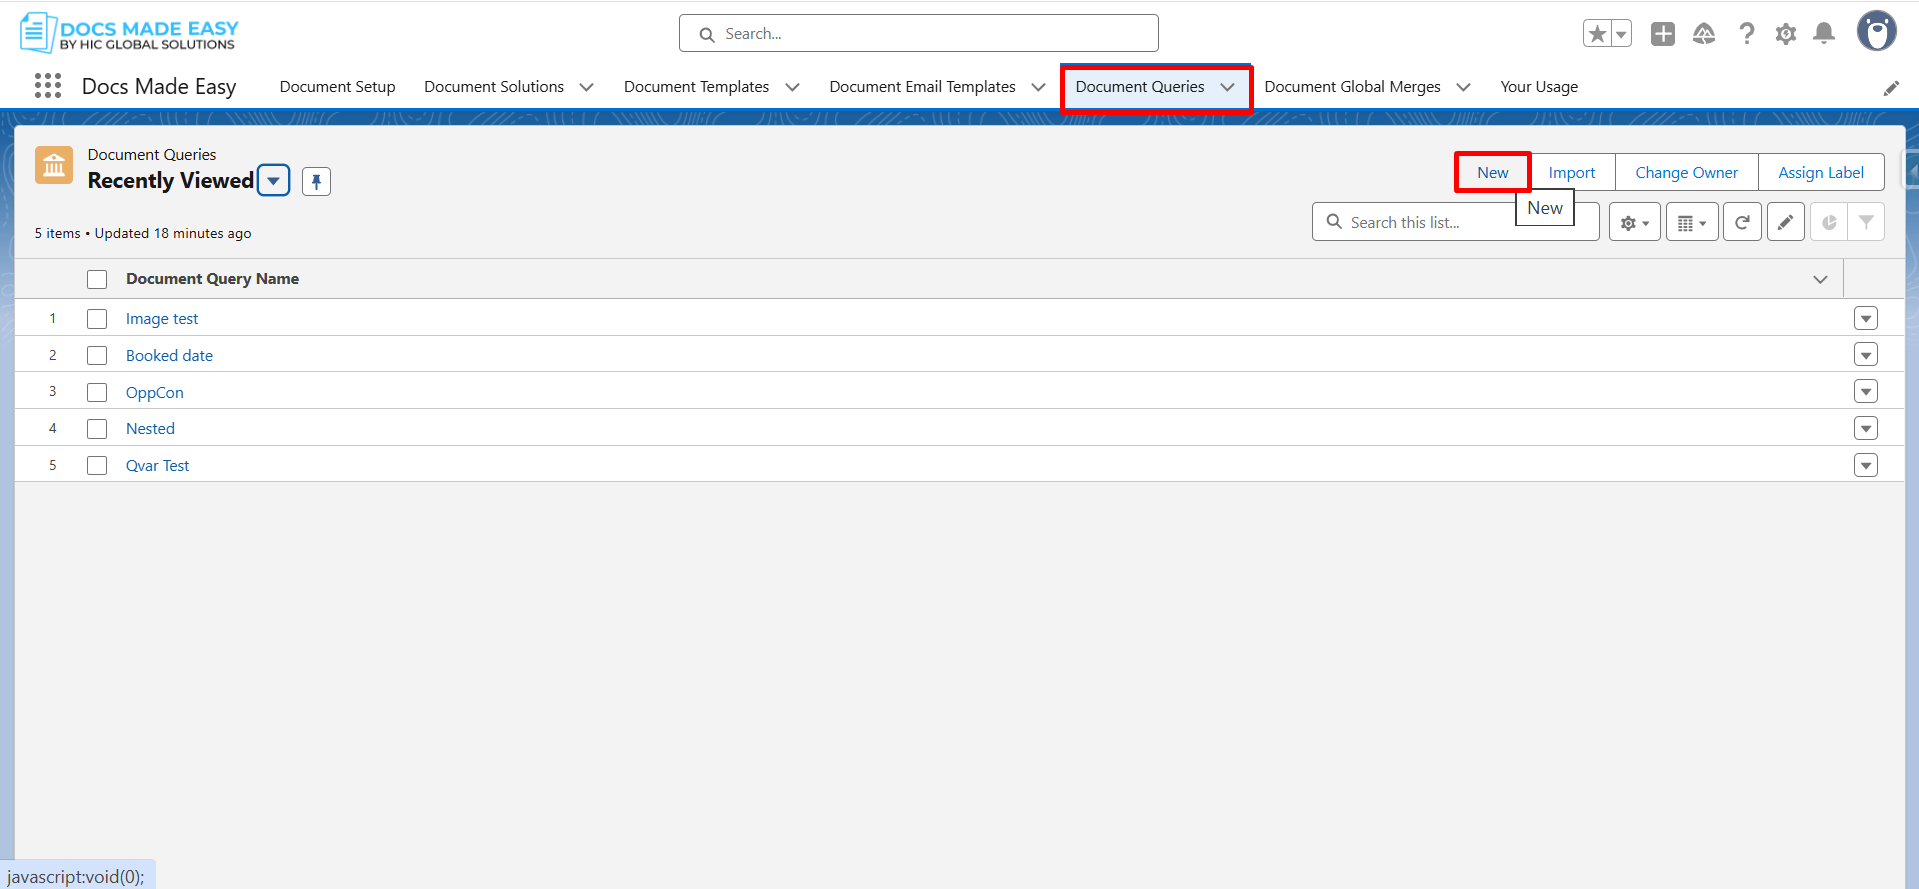
Step 9– Thus, once the Image is uploaded, please create a query from the “Document Queries”. Then, click on New.
Step 10– Now, fill in the information on the next page and paste this SOQL Query SELECT ContentDocument.LatestPublishedVersion.Image_Url__c FROM ContentDocumentLink WHERE LinkedEntityId = ‘{pv0}’ AND ContentDocument.FileType IN (‘PNG’,’JPG’,’JPEG’) AND ContentDocument.LatestPublishedVersion.Title = ‘Your Image Name’ Please follow the steps as mentioned in the screenshot below. You can find the highlighted part in the green information after the image below.
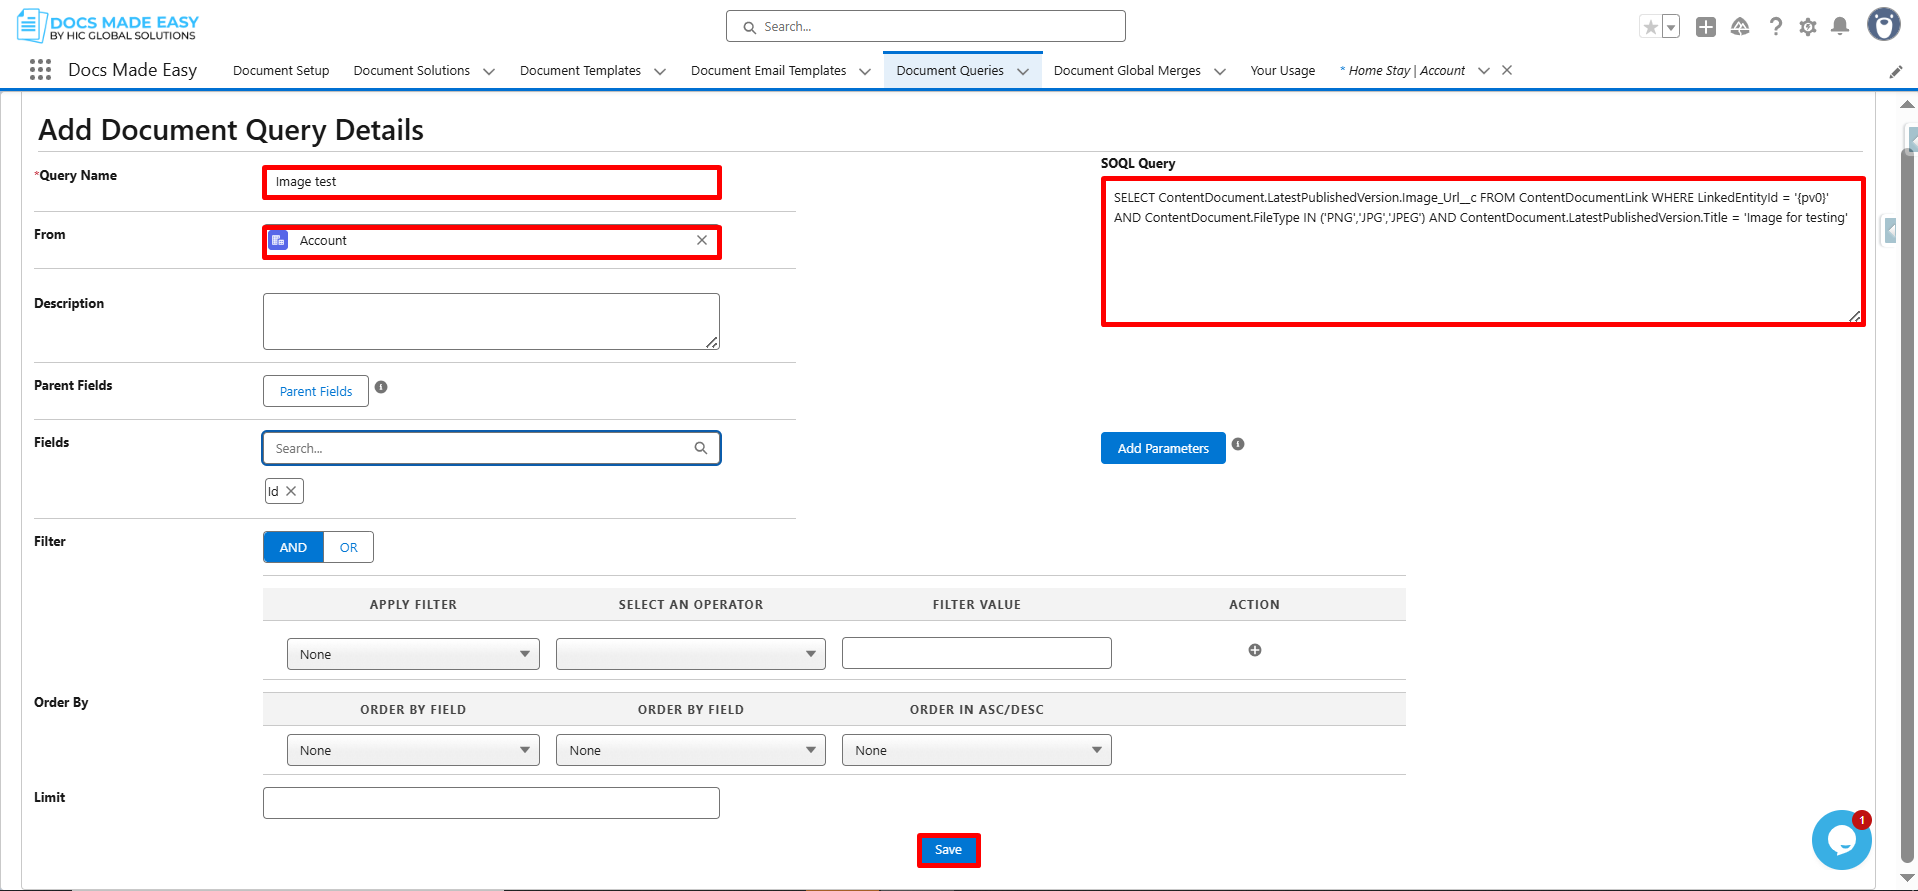
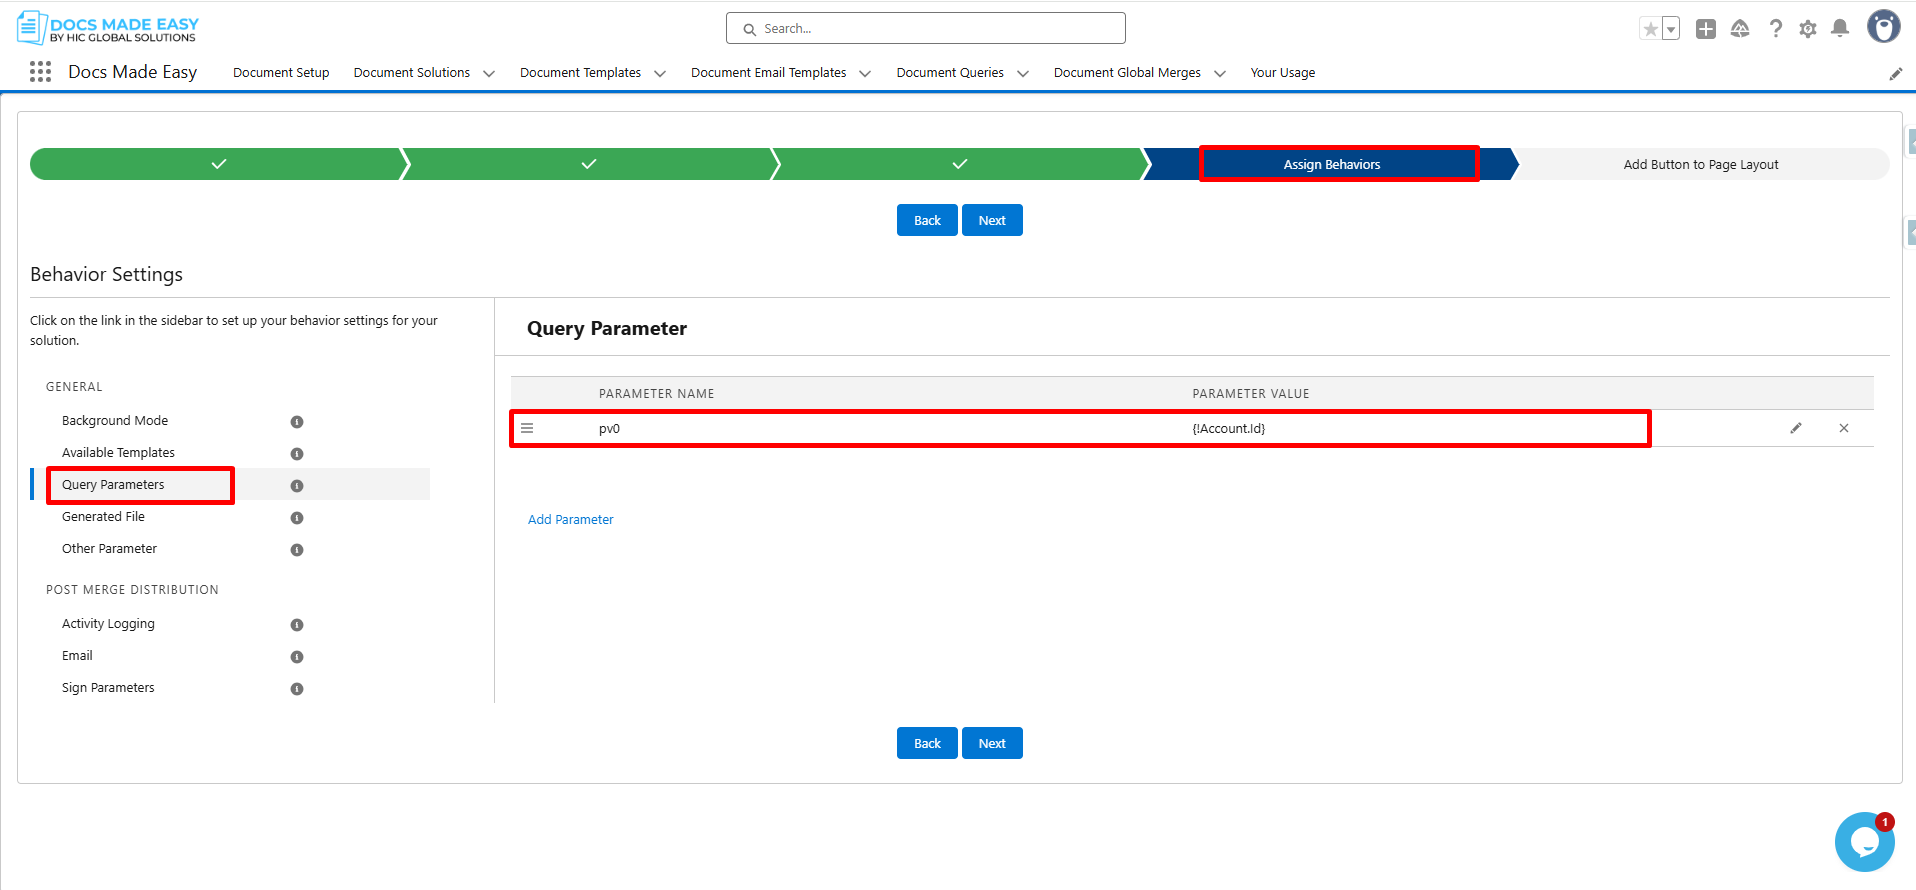
- Pv0 = You can define this value on the Assign behaviour page in Solution.
- ‘Your Image Name = This is the Image Name which you can find in Notes & Attachments. Please check the screenshot below.
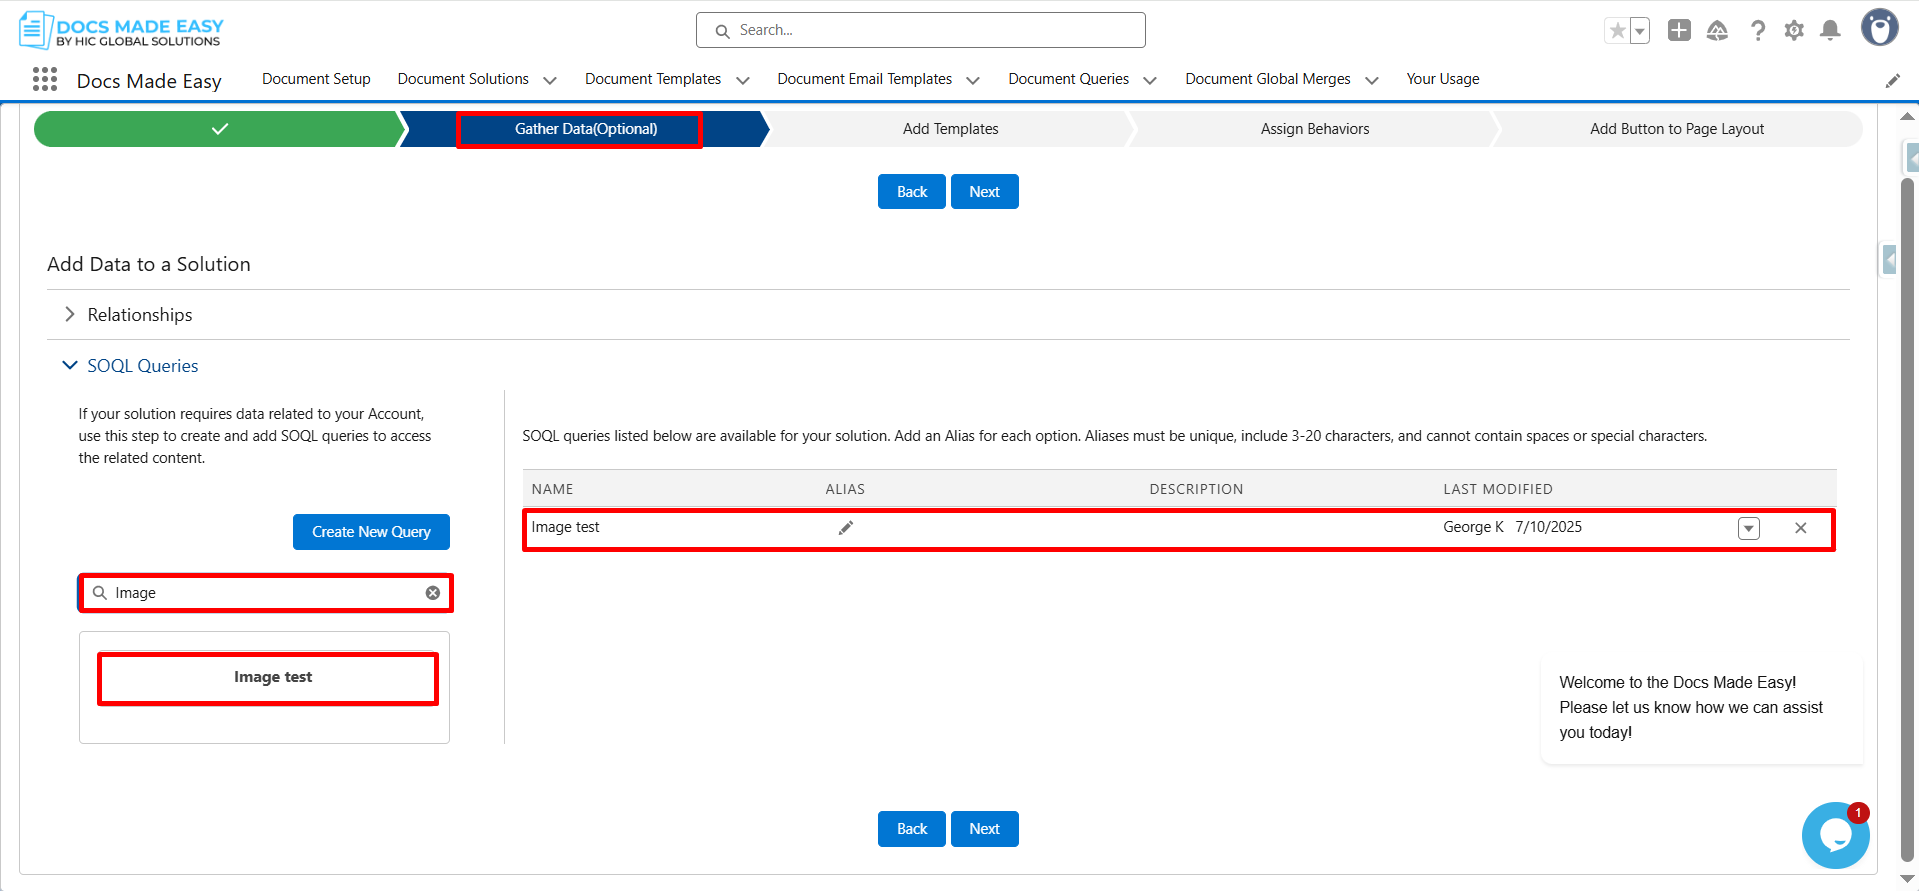
Step 11– Go to the Document Solution and on the Gather Data tab, select your query.
Step 12– The next step is to add Syntax for the Query that you can add from the Add templates tab. Click on Create New Document Template from the Merge Field Helper you can get the Syntax for the SOQL Query.
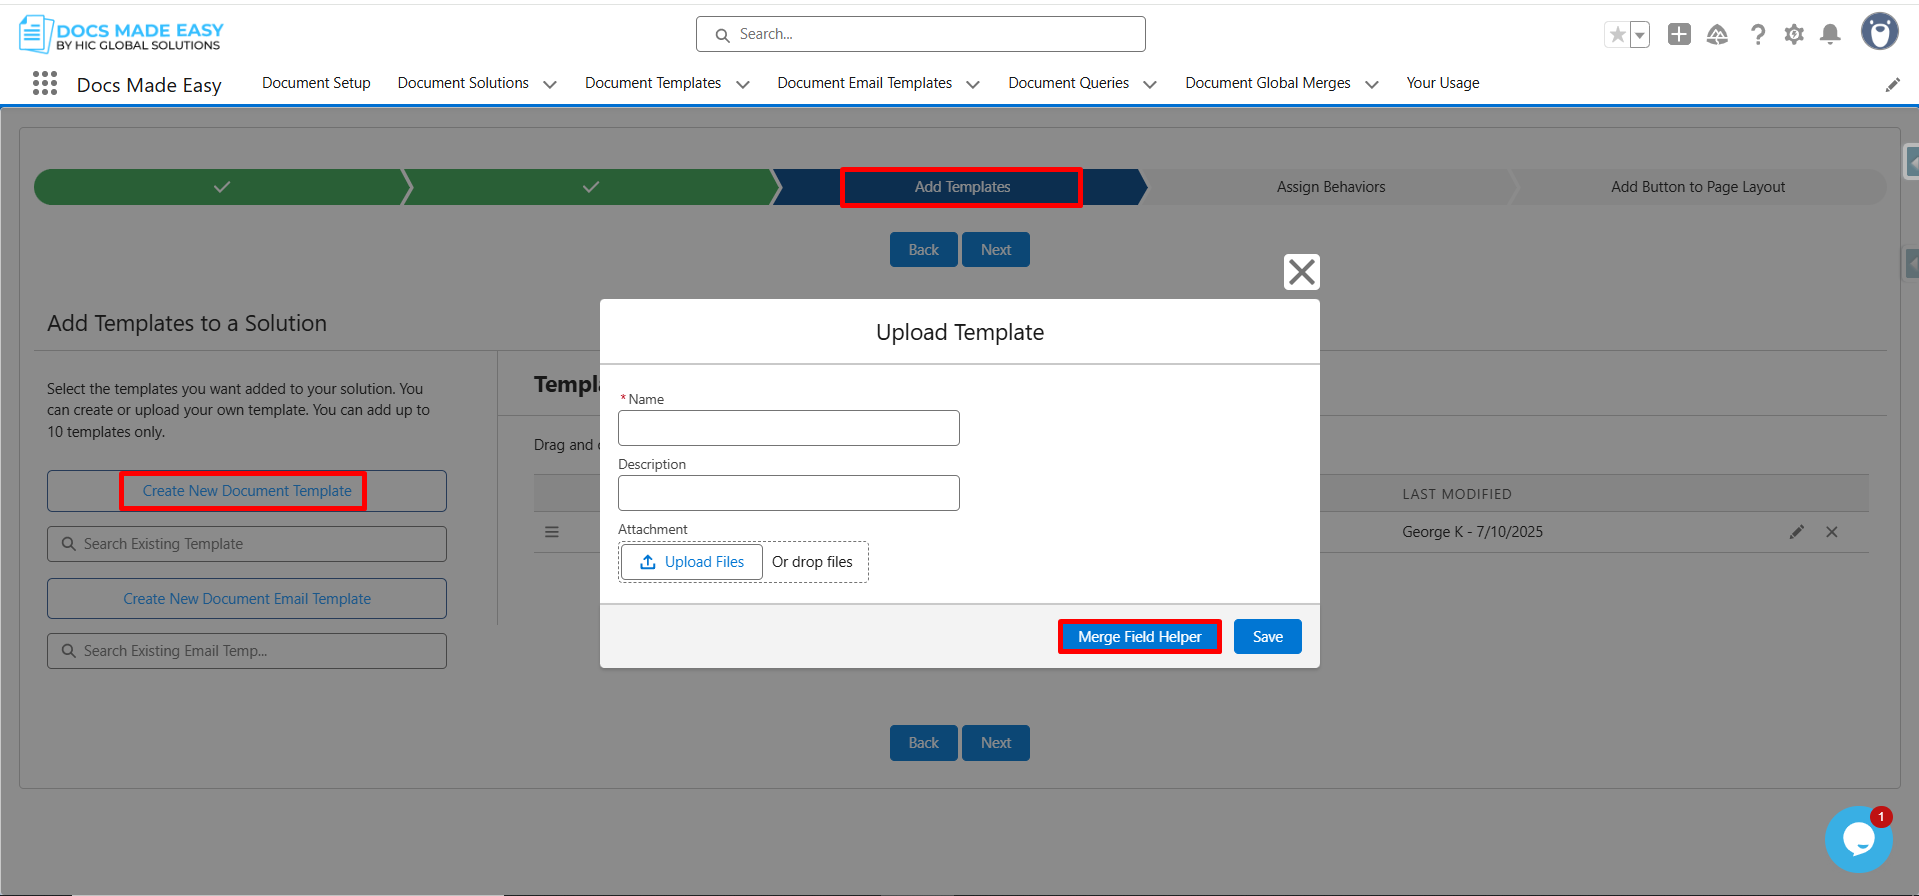
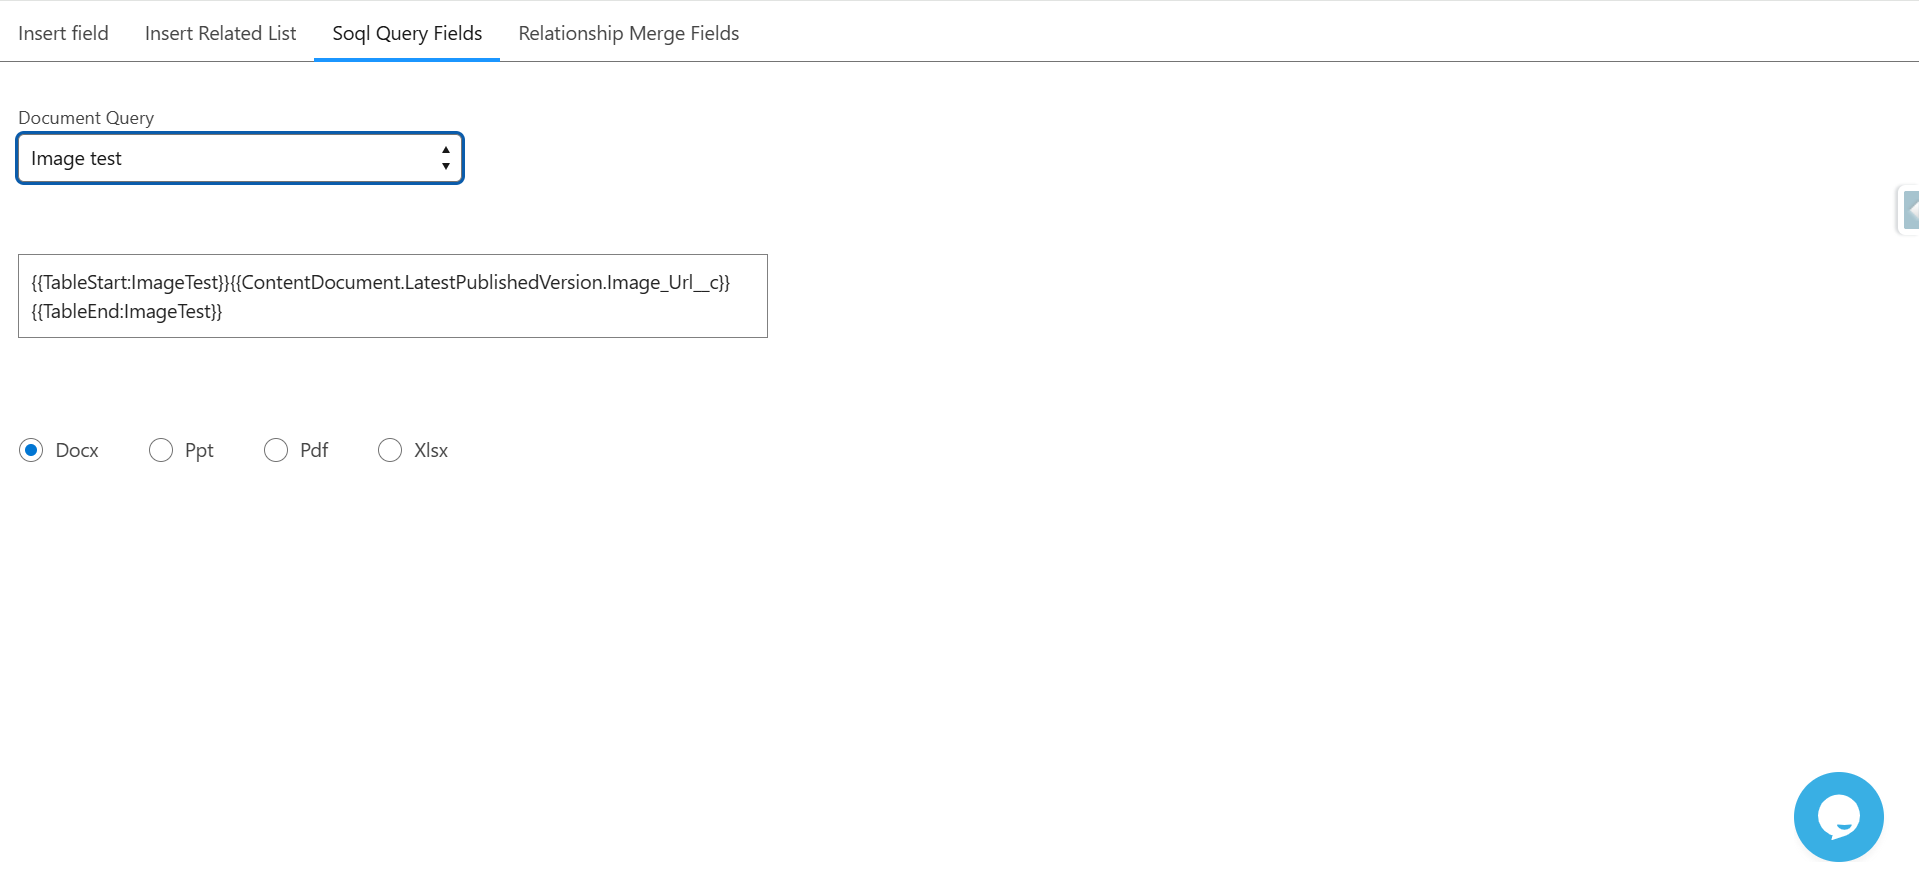
Step 13. On this screen, select your SOQL Query Fields, copy the generated syntax, paste it into your template, and upload the template into the solution.
Note: All the steps are complete, and you can click on the solution to add the image to your document output.
Conclusion
By following these steps, you can easily place images inside your templates while keeping your Salesforce document generation clean and consistent. This approach makes your work smoother, improves your Salesforce document generation, and ensures better control across all document management, document generation, and Salesforce PDF generation tasks with Docs Made Easy.
Frequently Asked Questions
Related Blogs

SOQL Queries for Smarter Salesforce Document Generation
Using SOQL queries enables dynamic, record-specific Salesforce document generation by retrieving live Salesforce data at the time of document generation.…

Salesforce Document Automation: Complete Guide
Every business reaches a point where documents stop being a simple admin task and start becoming a real operational problem.…

How to Automate Sales Documents in Salesforce with Docs Made Easy
Sales teams live and breathe speed. But ironically, one of the slowest parts of any sales cycle is often something…