How To Create Invoice In Docs Made Easy: A Comprehensive Guide
Category :
Finance

Docs shouldn’t be complicated.
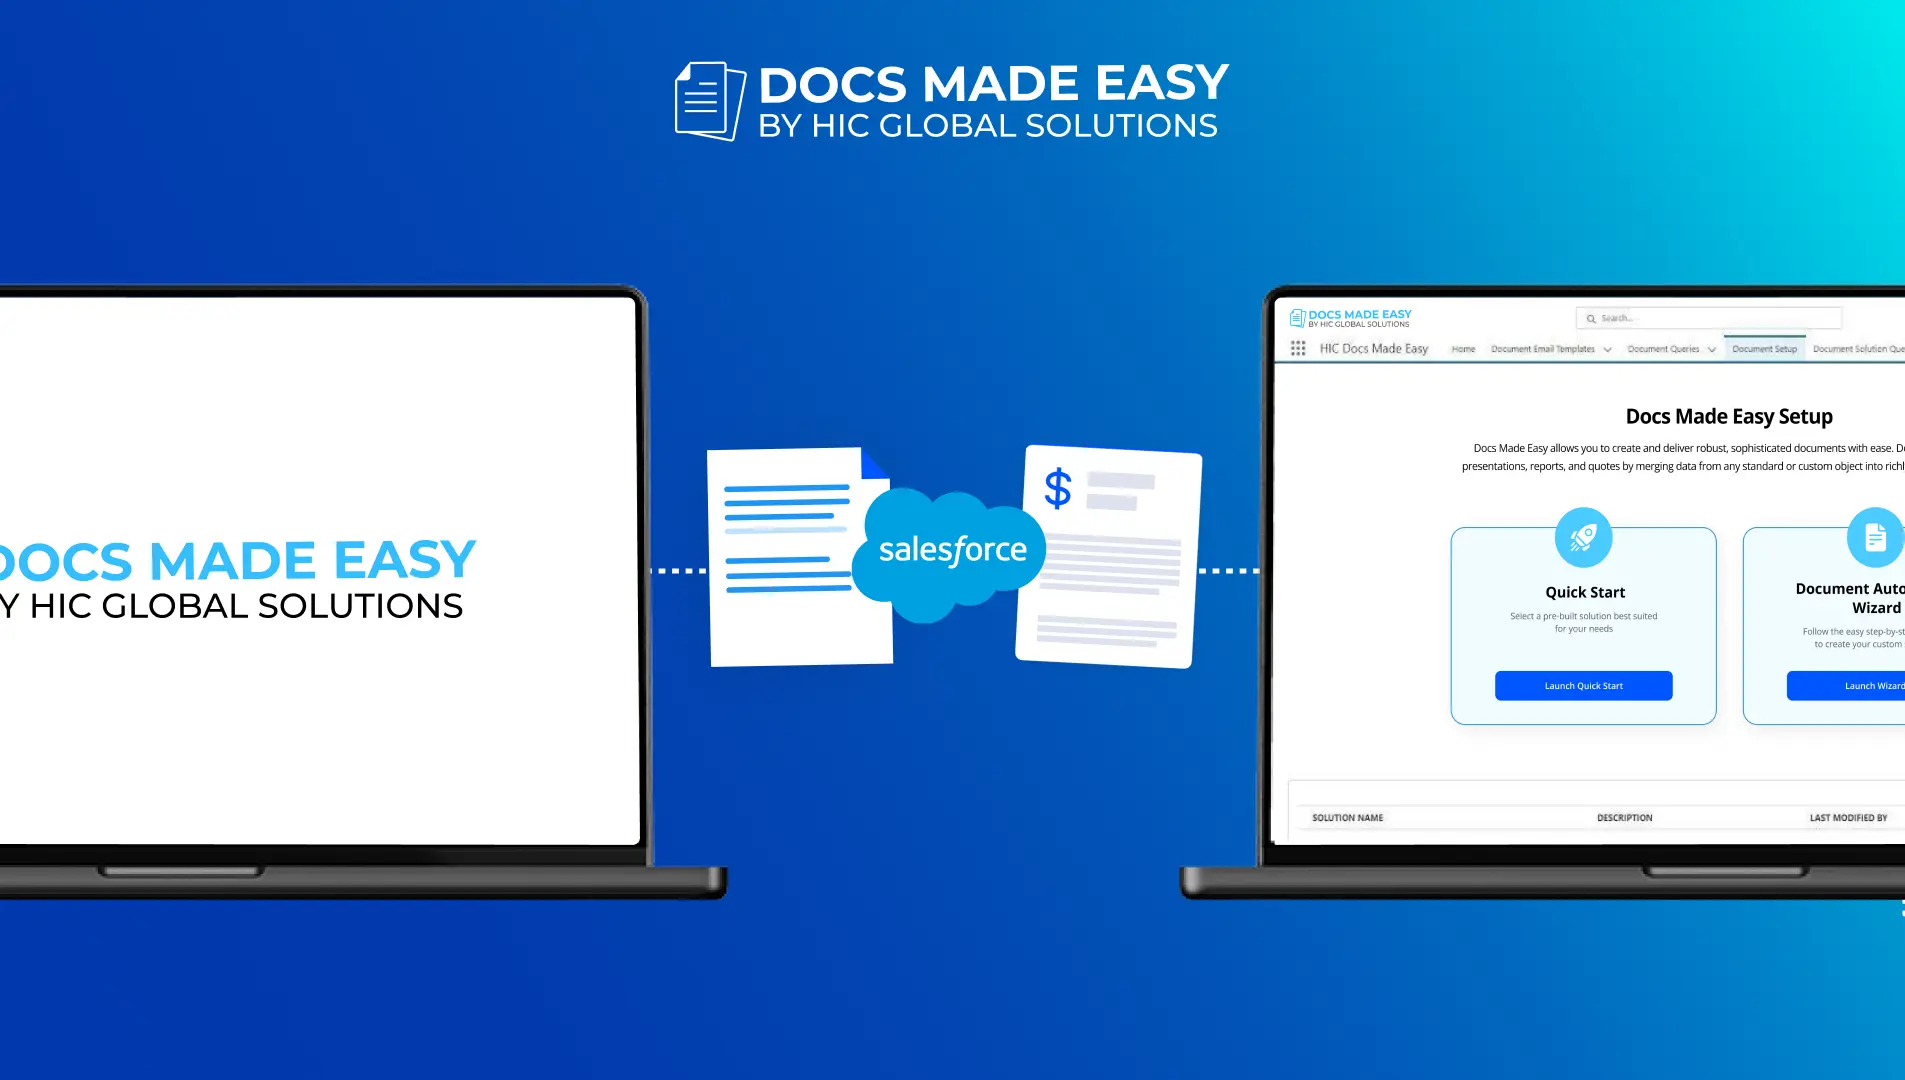
With Docs Made Easy, creating professional, Salesforce-powered documents is just a few clicks away.
Get Started NowThere was a time when invoicing was a manual, paper-bound process that evolved through the ages.
Automation has become a part of every economic sector and has even demonstrated new levels of efficiency and intelligence in invoicing.
These days, automated invoices save time and cut down on errors, simplifying procedures for all types of businesses. As a result, it guarantees scalability, improves customer relationships, facilitates resource allocation, and provides insightful information. When combined with other systems, it increases operational efficacy and agility.
The integration of Docs Made Easy offers an additional level of sophistication for Salesforce users. This app is a versatile application that can create invoices, contracts, quotes, reports, presentations, and more with ease. Its capacity to quickly and easily combine data from any standard or custom item into precisely formatted templates is its special strength. To know more about the benefits of invoice automation with Docs Made Easy, read here!
So, if you have already installed Docs Made Easy, then in this blog, we will guide you through the step-by-step process of creating an invoice with Docs Made Easy.
Let’s get started!
Create Customizable Invoices In Just a few steps
Invoice Creation in Docs Made Easy has got more simpler in the latest version of the app. Here are the steps to follow for a quick and customized invoice creation –
- Go to Document setup as shown in the picture below.
- Fill in the required information and click on the Create button.
- Now you will see a screen showing Gather Data.
- Create the queries as per your requirements, or hit the next button.

- After completing the previous step, you will now land on the “Add Template” page.
- Here, toggle to “Do you have a template?”, to select the existing template.

- Then go to the upload template page and upload the template, then click on the Next button.

- Click on Insert field to select any field and click on insert button.

- Click on the Insert related field if you want to add a child object. Select the desired fields, then click on the insert. ( as mentioned in figure 4 )


- Now, if you want to add the fields to the template’s header, click on the header and again click on the insert button. Select the fields and click on the insert button.

- Once you have created a template, hit on the save button.
- Now click on the next button and proceed further to assign behaviors.
- Here you will be clicking on the link in the sidebar to set up your solution as per your preferences.
- And then click on the next button.

- Now you must be in the “Add button to Page Layout” window. Here, hit “Go to page layouts” to create your button for generating invoices.
- Click on your required object under the heading “Page layouts”.

- Now you will be taken to mobile and lightning action, search your created button for the invoice, and then drag from Mobile & Lightning Actions and drop to Salesforce Mobile and Lightning Experience Action, then hit the save button.

- Now go to “App Launcher” and search for your object (like an account, as shown in the screenshot).

- Now choose the record as per your requirement.

- Next step is to select the button you’ve created for your invoice.
- In the further step you’ll be redirected to composer page with the already selected template, as shown in the below screenshot.

- Now click the merge document button to generate your invoice.Voila,You’re ready to go with the Invoice!!

In Conclusion
Elevate your progress swiftly with Docs Made Easy’s user-friendly invoice generation. Follow the instructions to tailor the invoice to your firm’s needs, saving both time and money, as Docs Made Easy comes at no cost.
For any issues, the support team is always readily available and dedicated to assisting our valued customers. And if you haven’t checked out the new version yet, visit the Salesforce AppExchange to try it out today!
No Data Found.