How to Create a Contract in Salesforce
Category :
How To
Docs Made Easy Proudly Featured by Salesforce
With Docs Made Easy, creating professional, Salesforce-powered documents is just a few clicks away.
Explore Now!Many teams struggle with manual contract drafting, repeated data entry, and version confusion inside Salesforce. This often leads to delays and incorrect information in final documents. With a proper Salesforce document generation tool, contracts can be created directly from record data. Here are the steps to set up and generate a contract in Salesforce directly.
Step 1: Log in to Salesforce.
Step 2: Open Docs Made Easy from the App launcher.
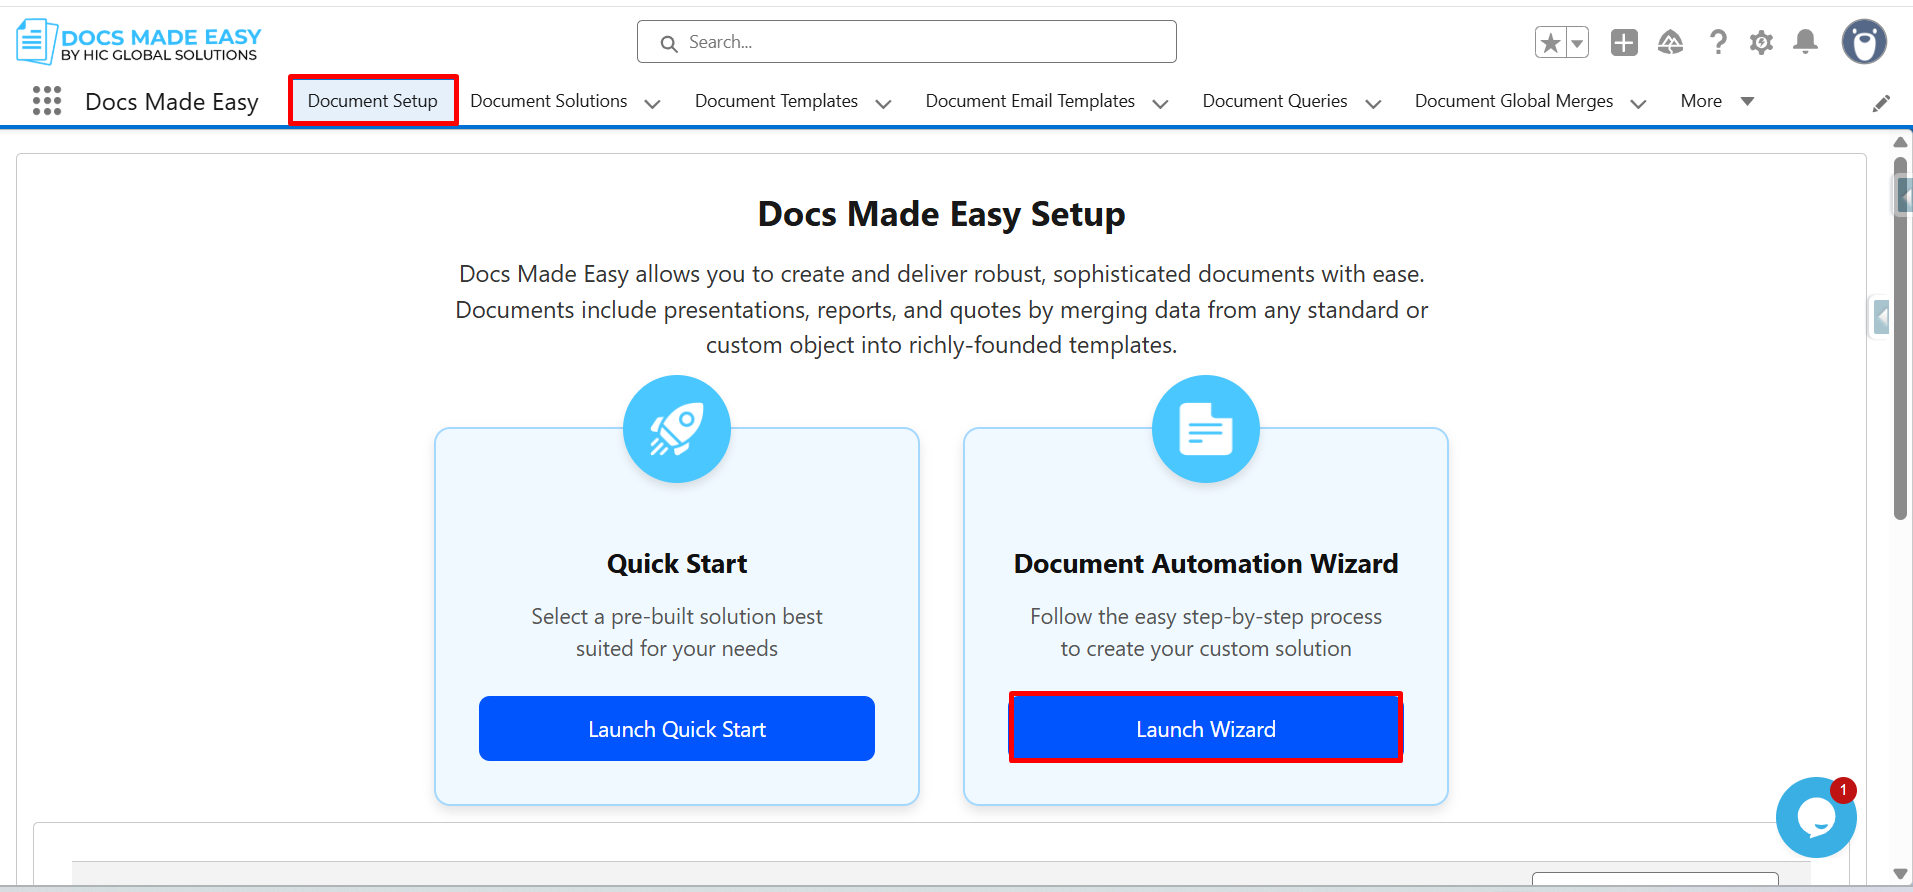
Step 3: Click on Document setup, then click Launch wizard.
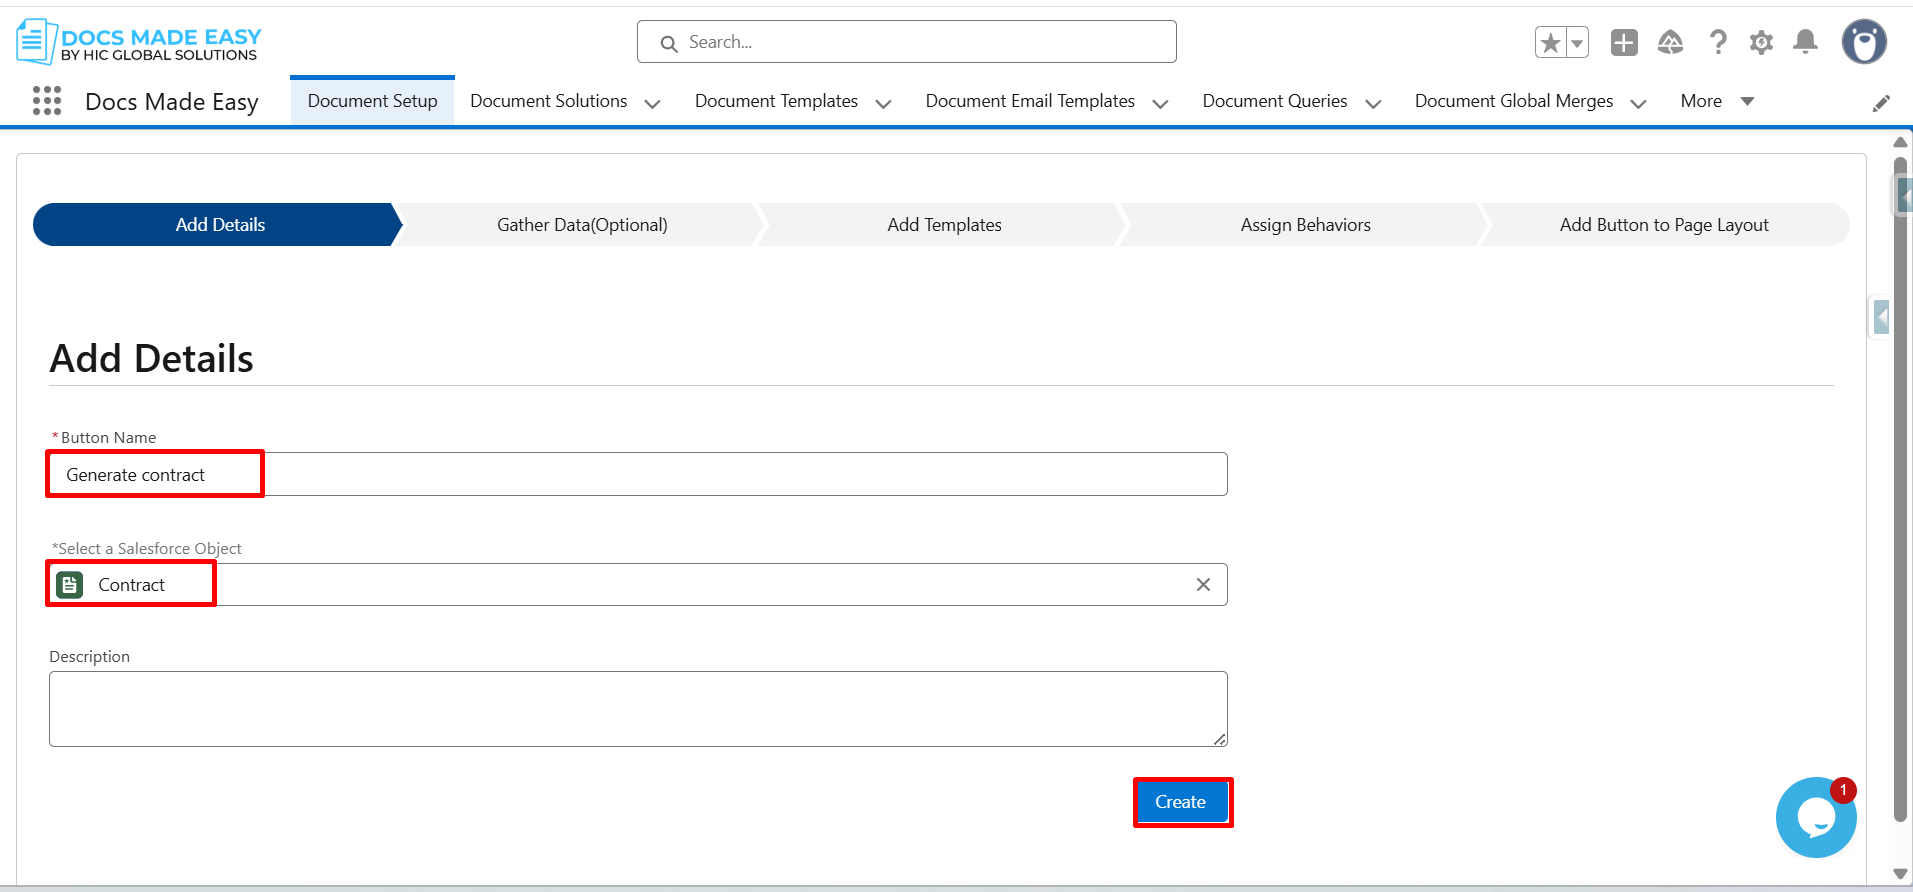
Step 4: Enter the Button Name, select the Salesforce Object (Contract), and click Create.
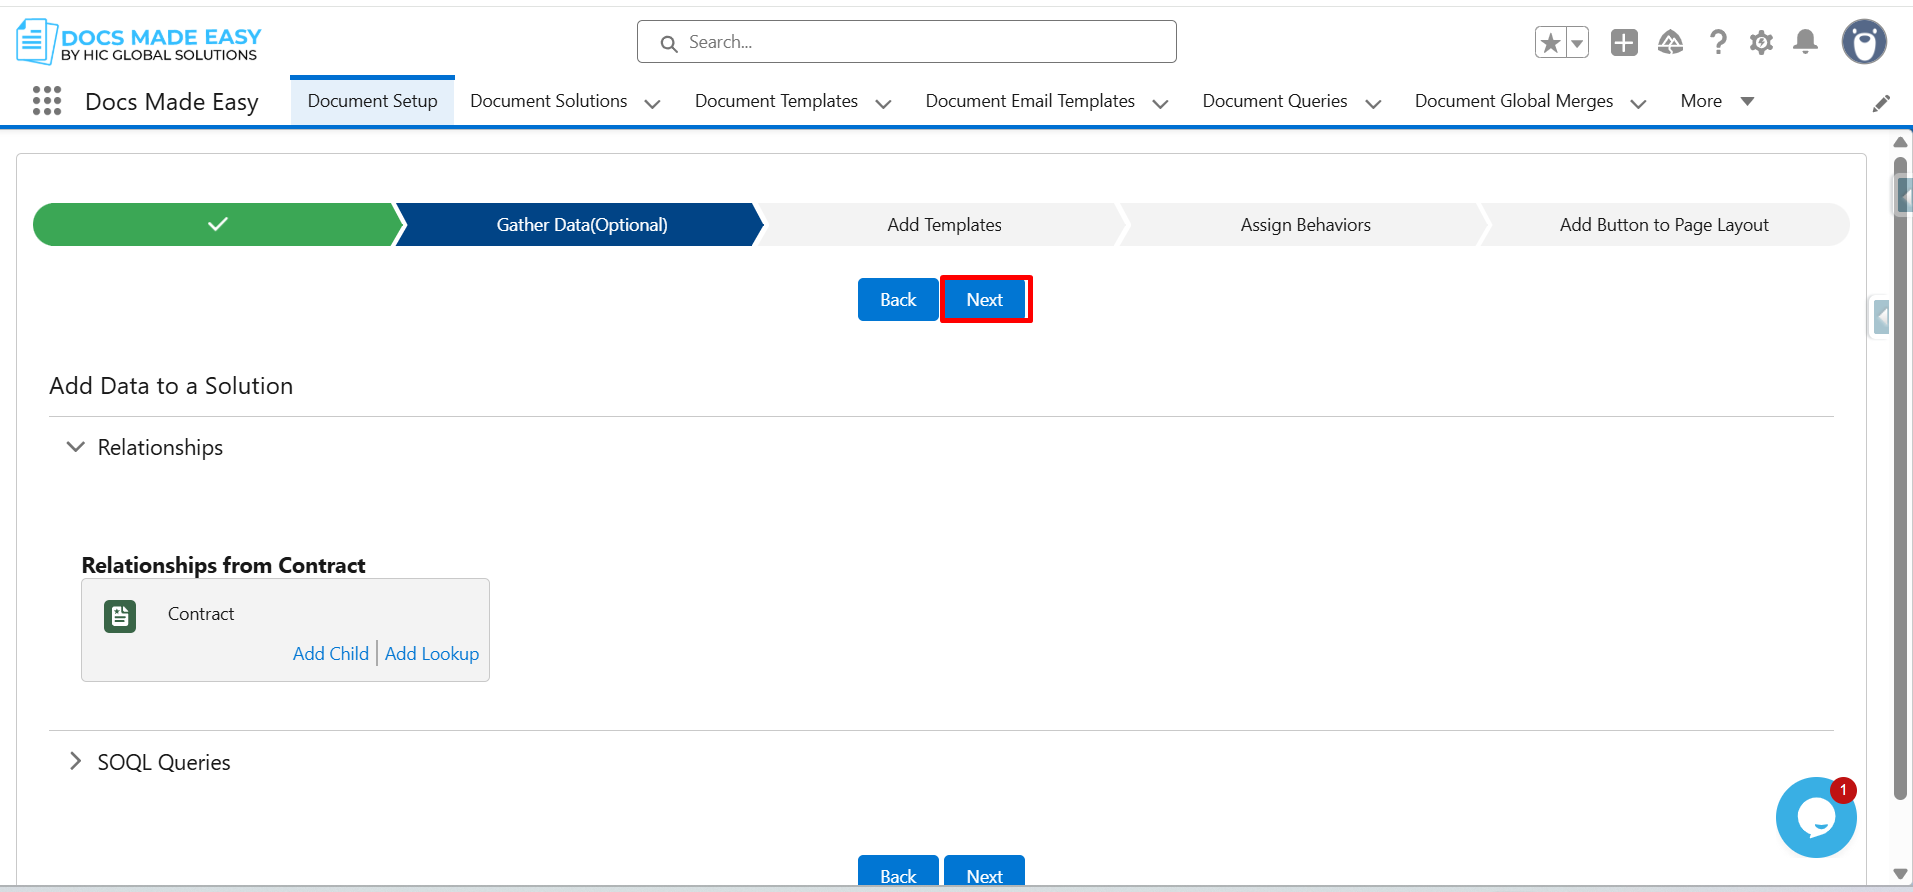
Step 5: Click on Next.
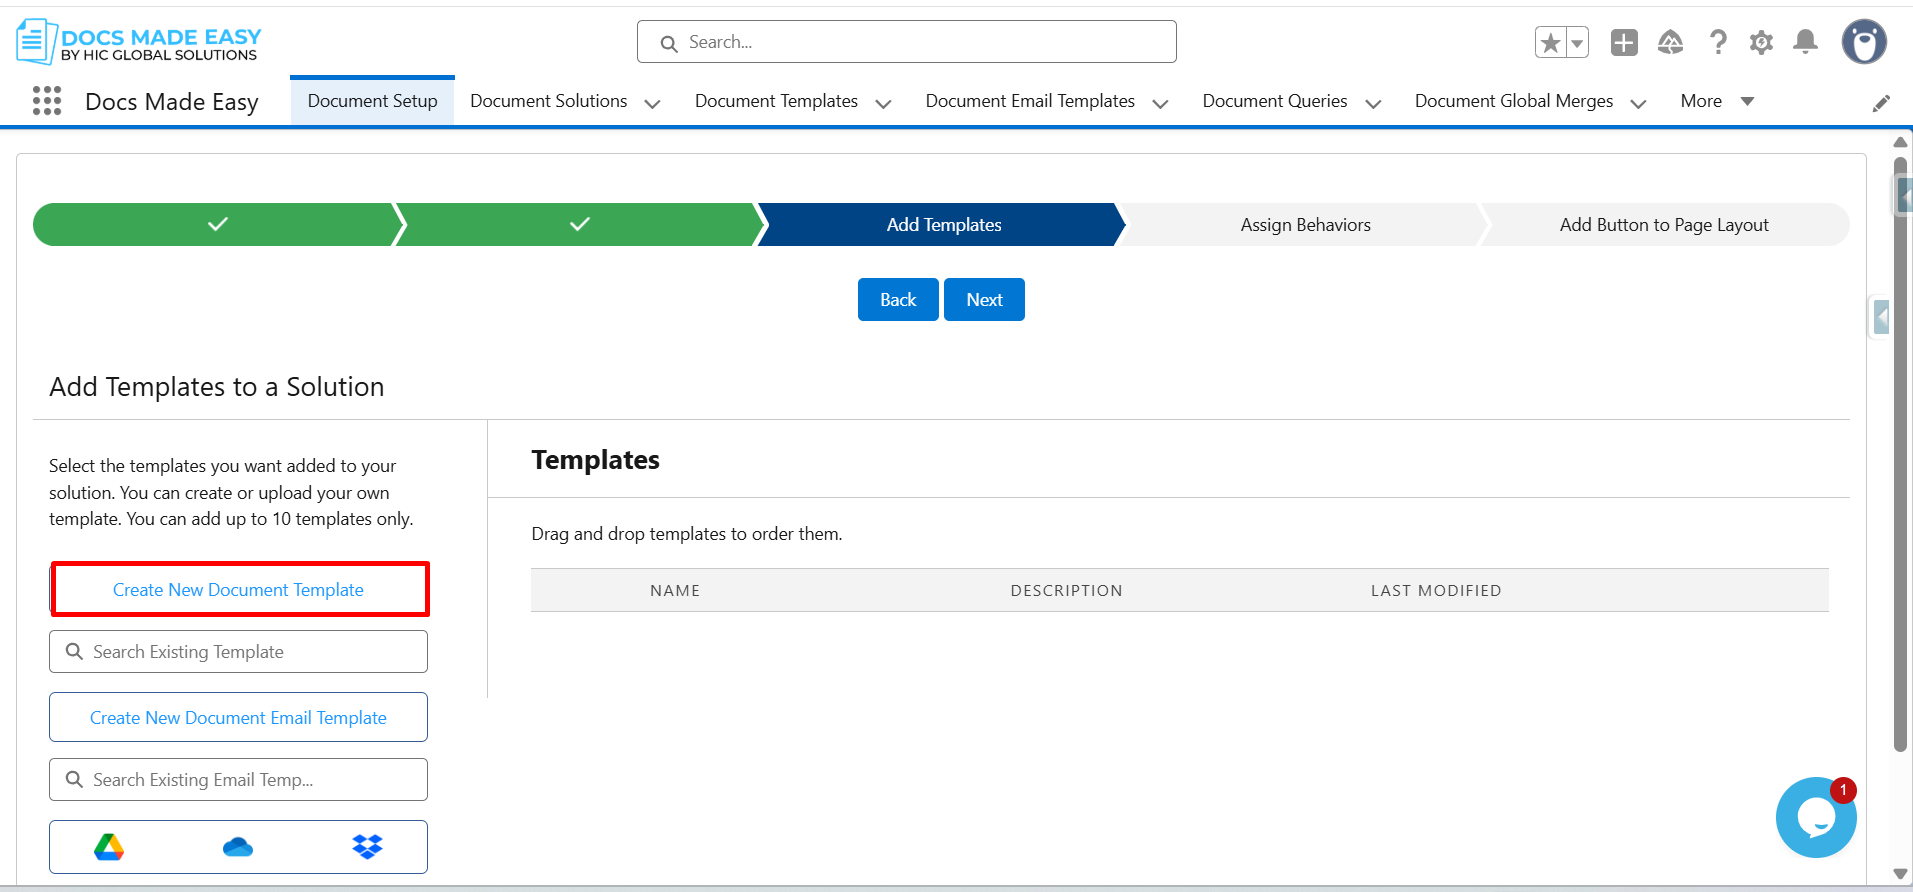
Step 6: Click on Create New Document Template.
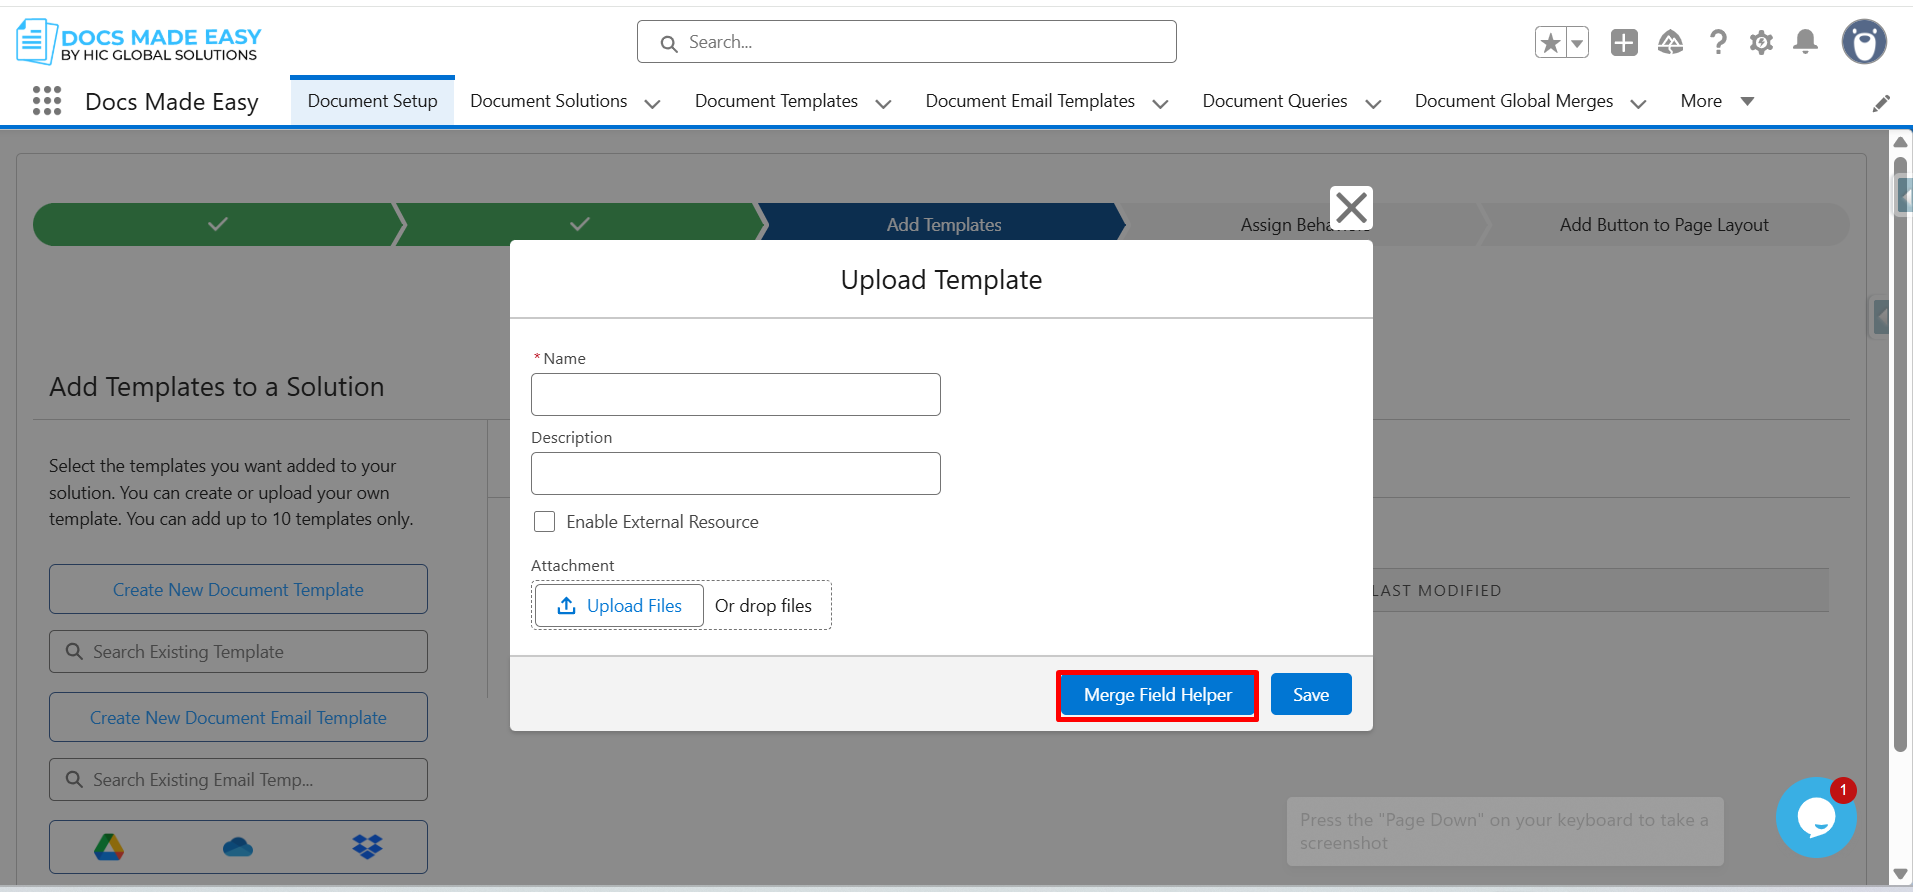
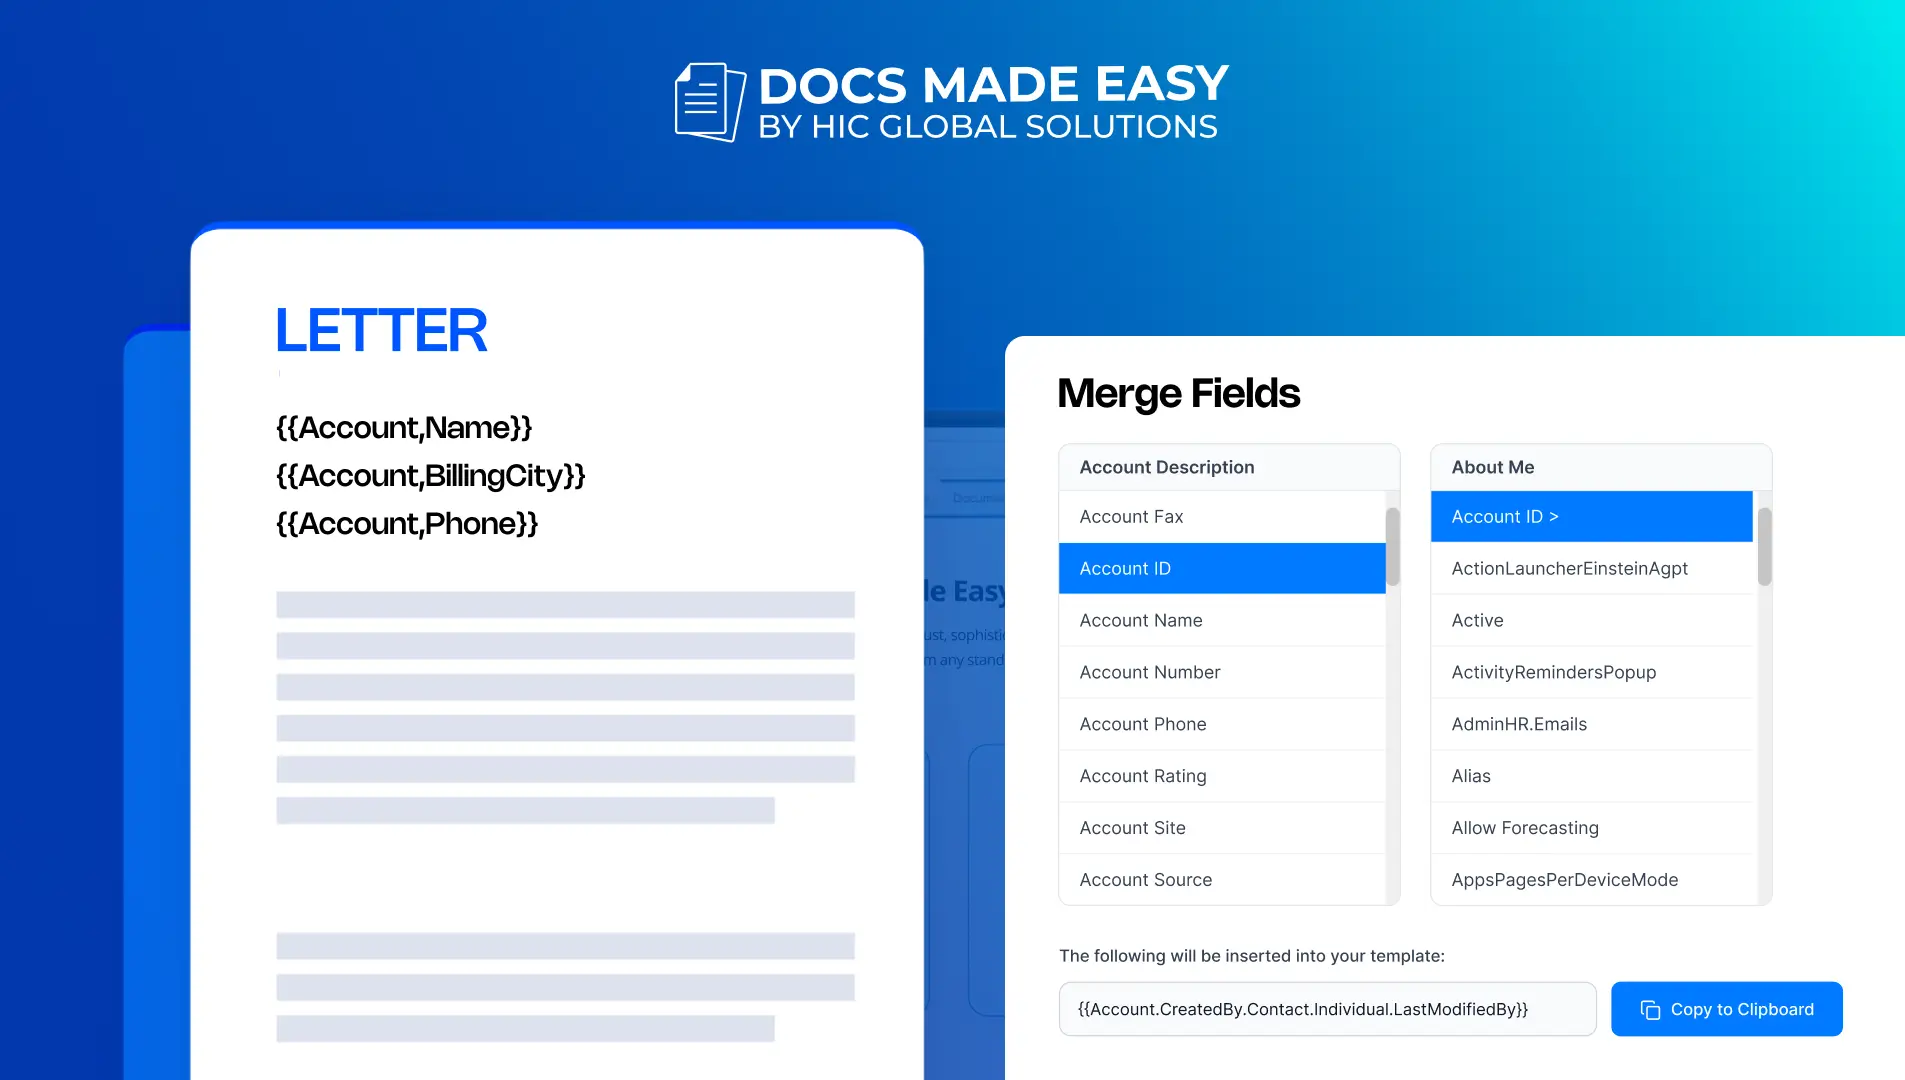
Step 7: Open Merge Field Helper.
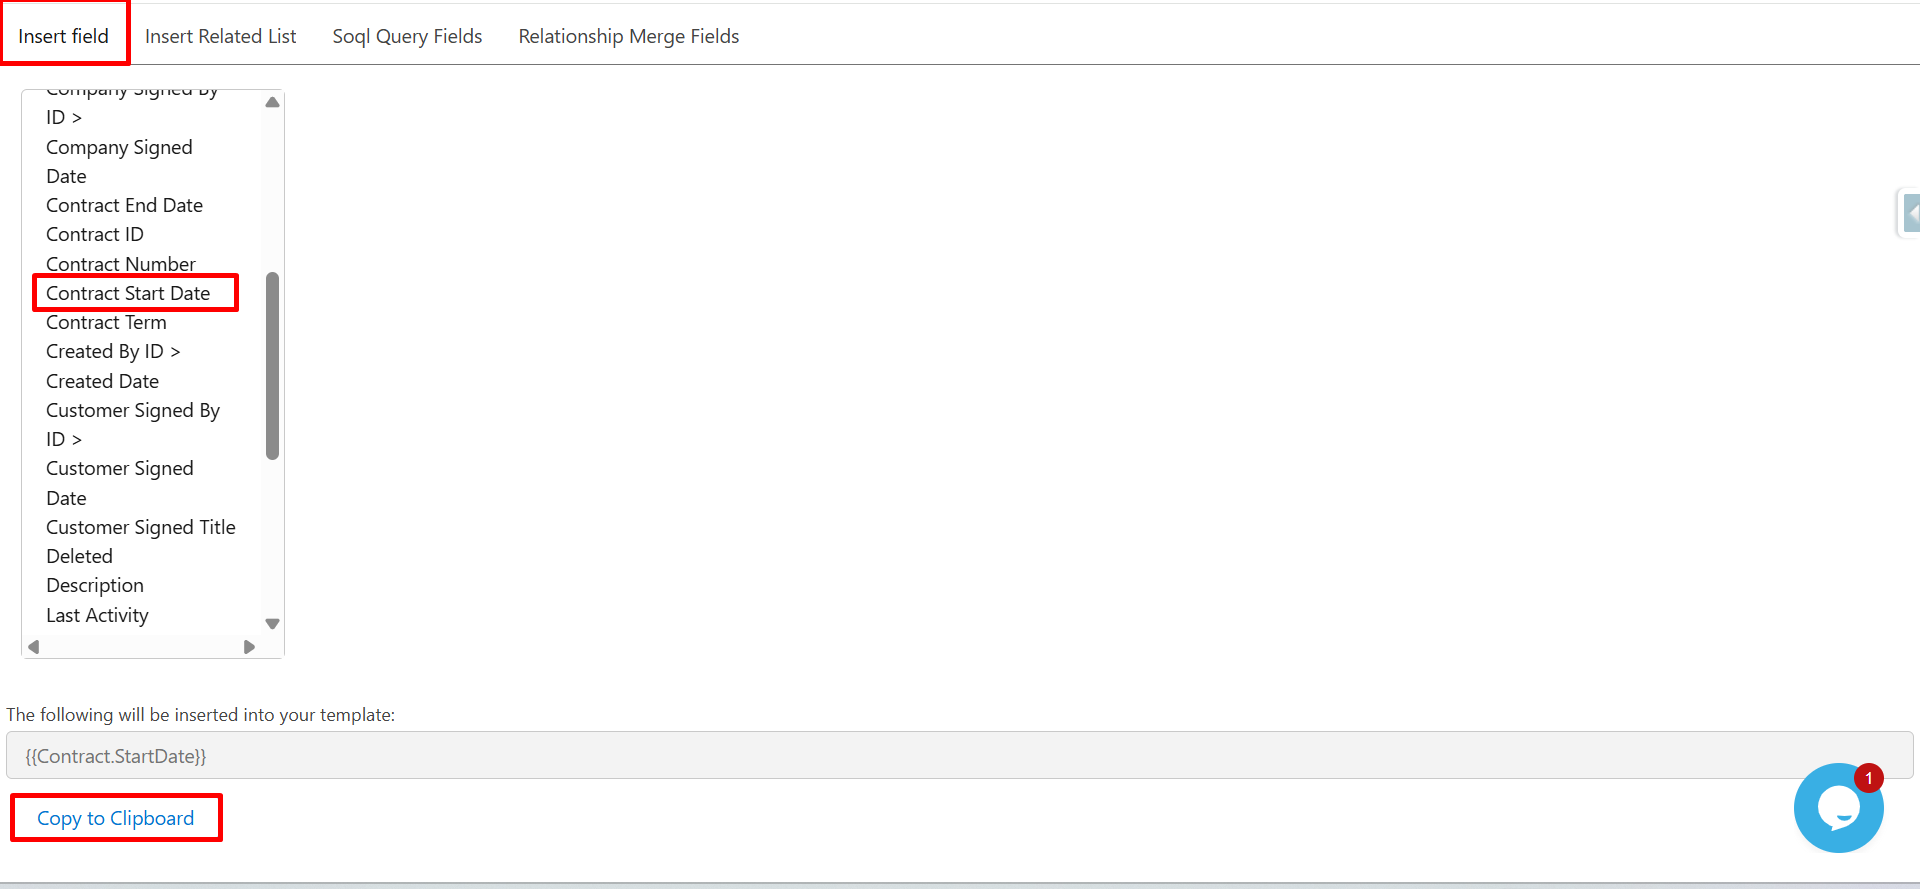
Step 8: From the Insert field list, click on Contract Start Date.
The system will auto-generate the merge field syntax: {{Contract.StartDate}}
Click Copy to Clipboard.
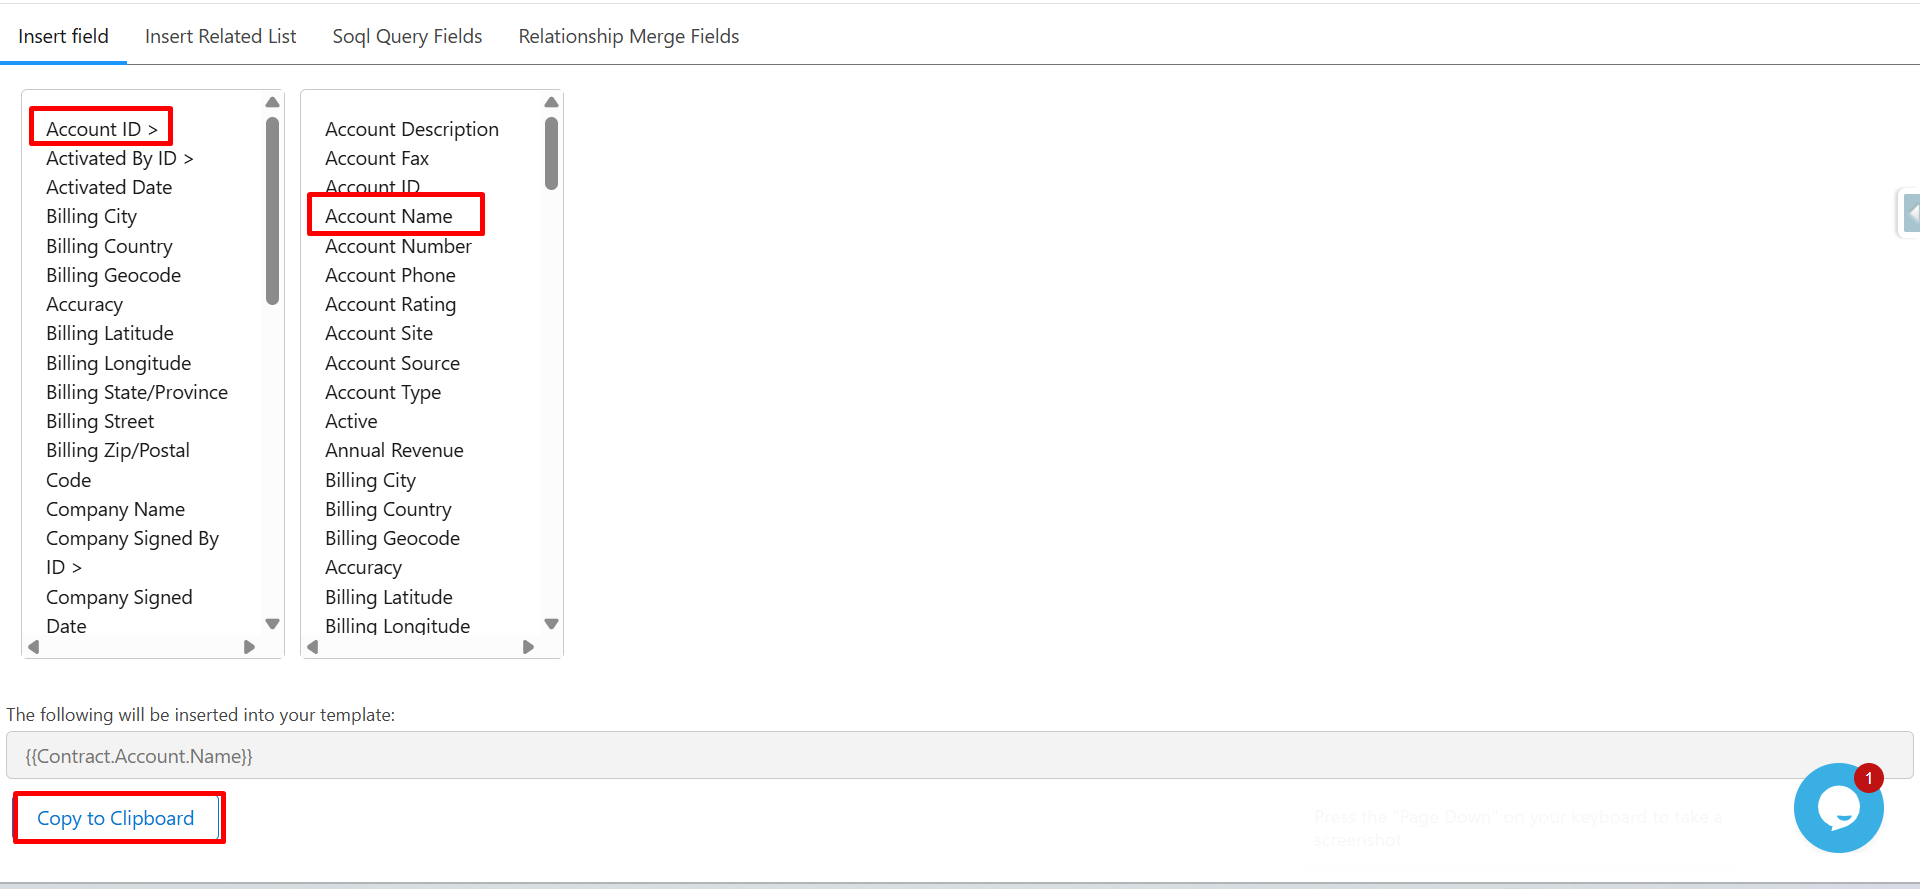
Step 9: Select Account ID (Contract → Account relationship).
Choose Account Name.
Click Copy to Clipboard.
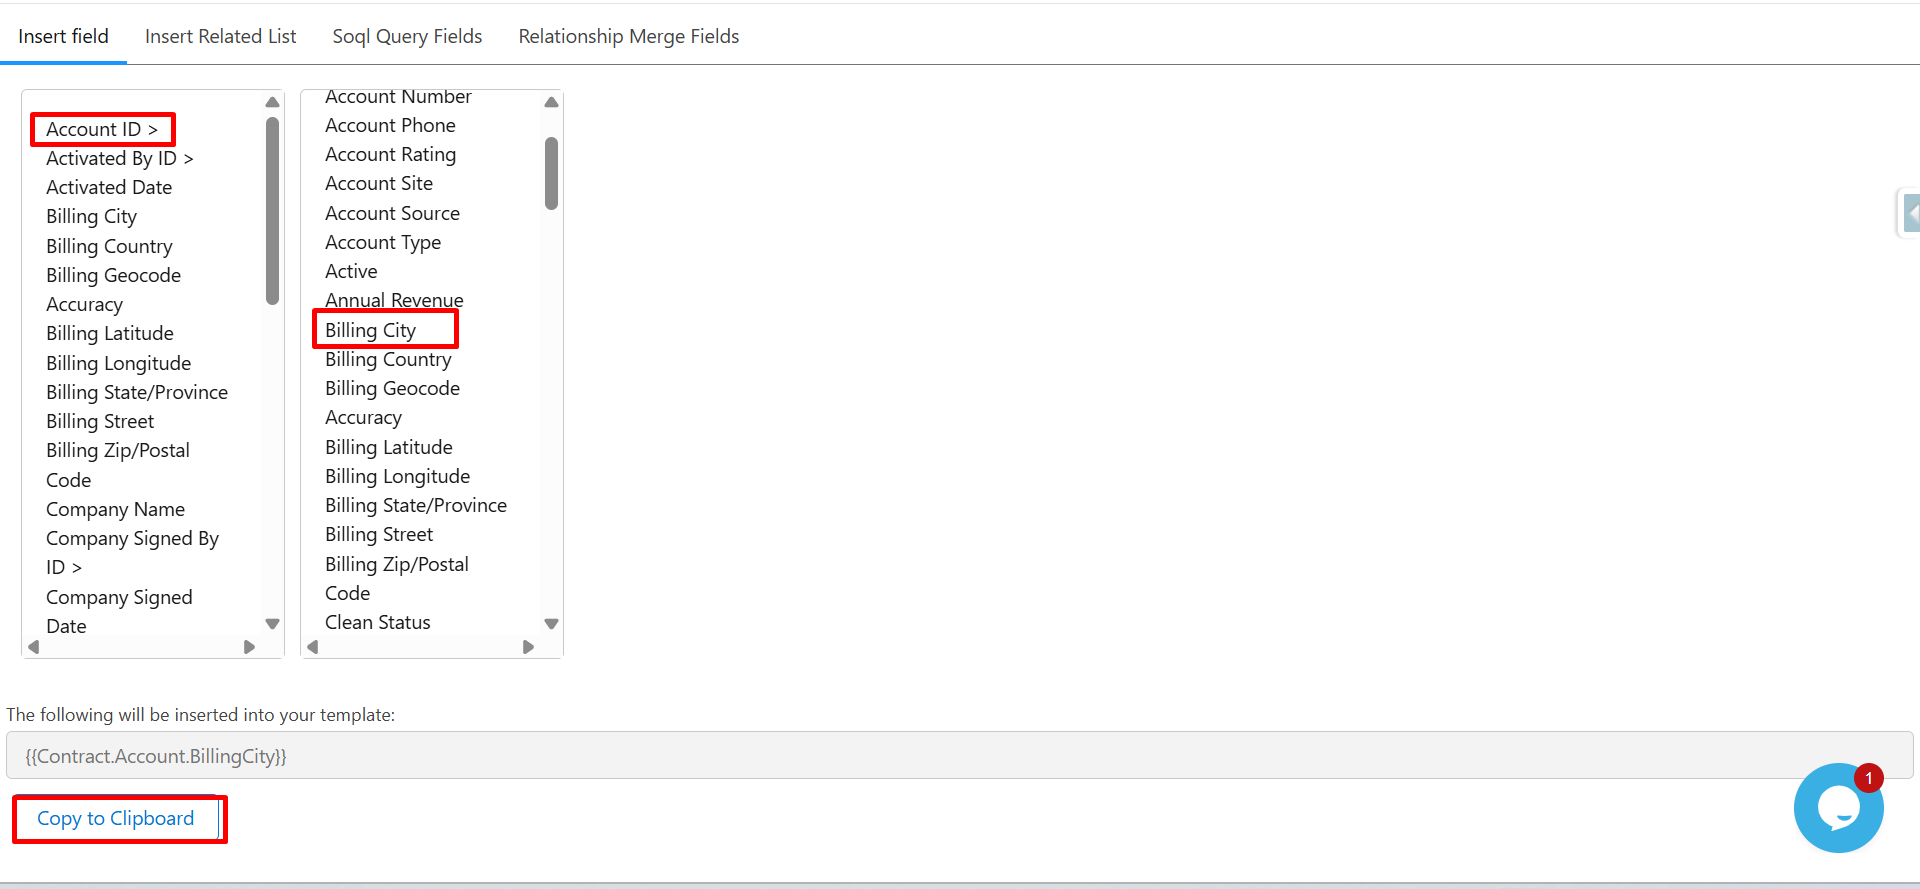
Step 10: Next, click on Billing City, then click on Copy to clipboard.
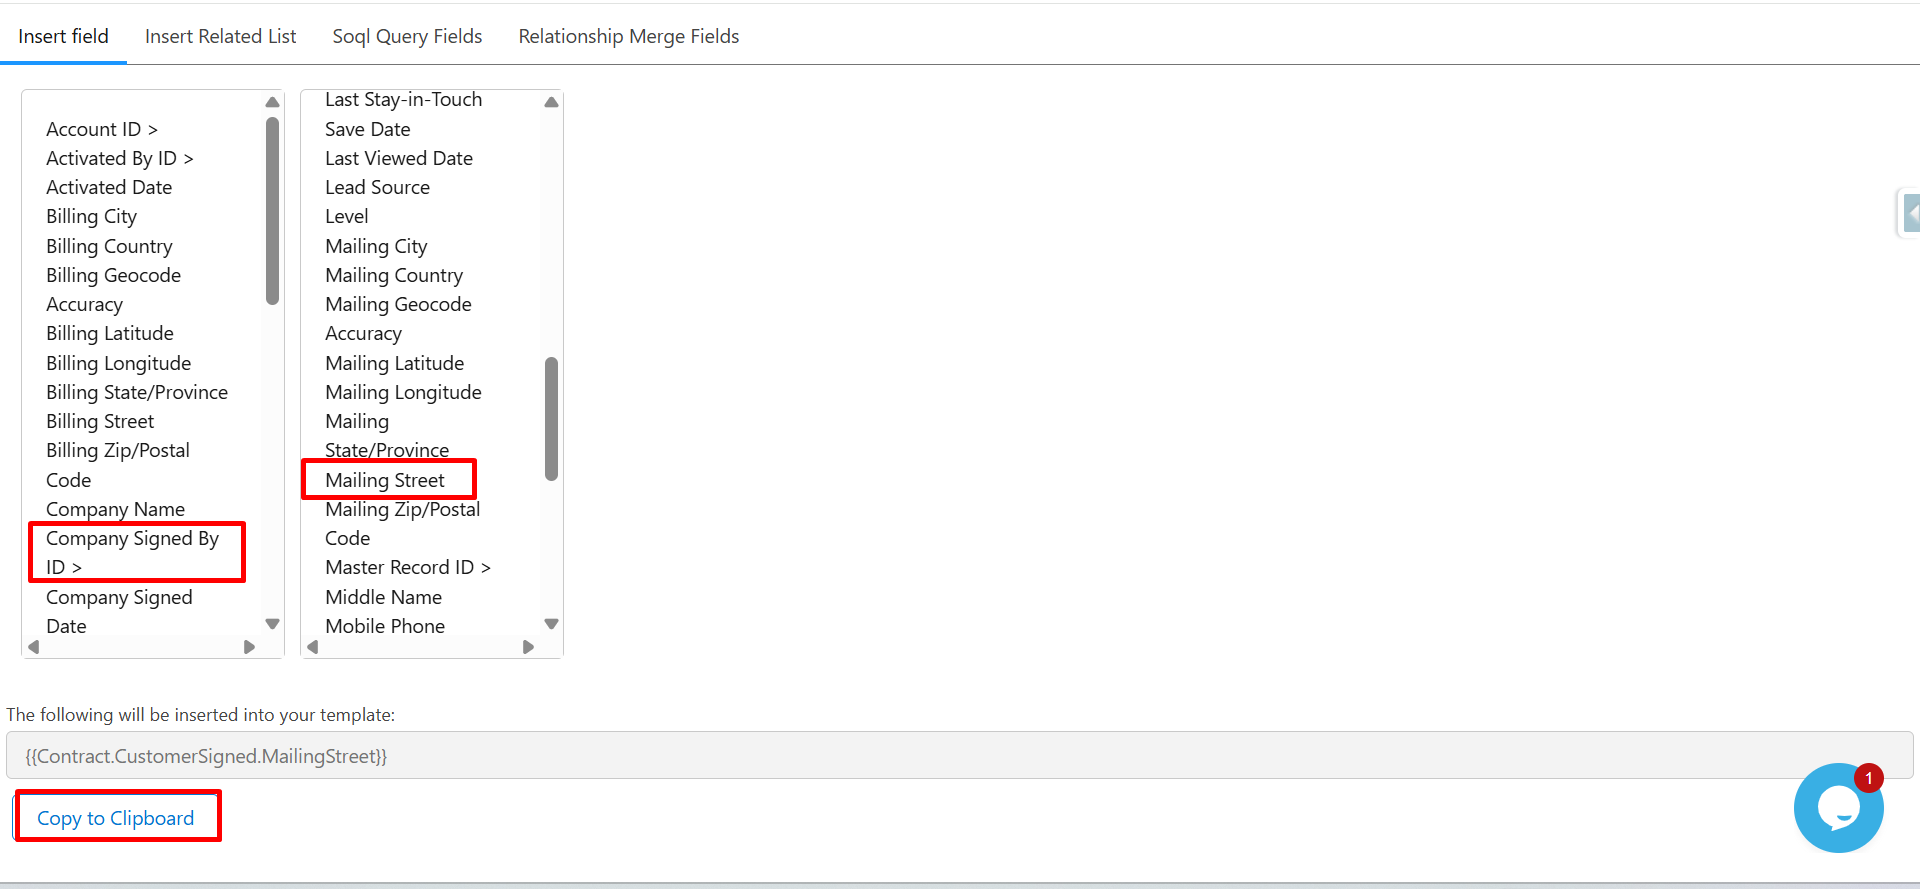
Step 11: Select Company Signed By ID (Contract → Company relationship).
Choose Full Name.
The syntax appears: {{Contract.CustomerSigned.Name}}.
Click Copy to Clipboard.

Step 12: Followed by, click on Mailing City, and click Copy to clipboard.
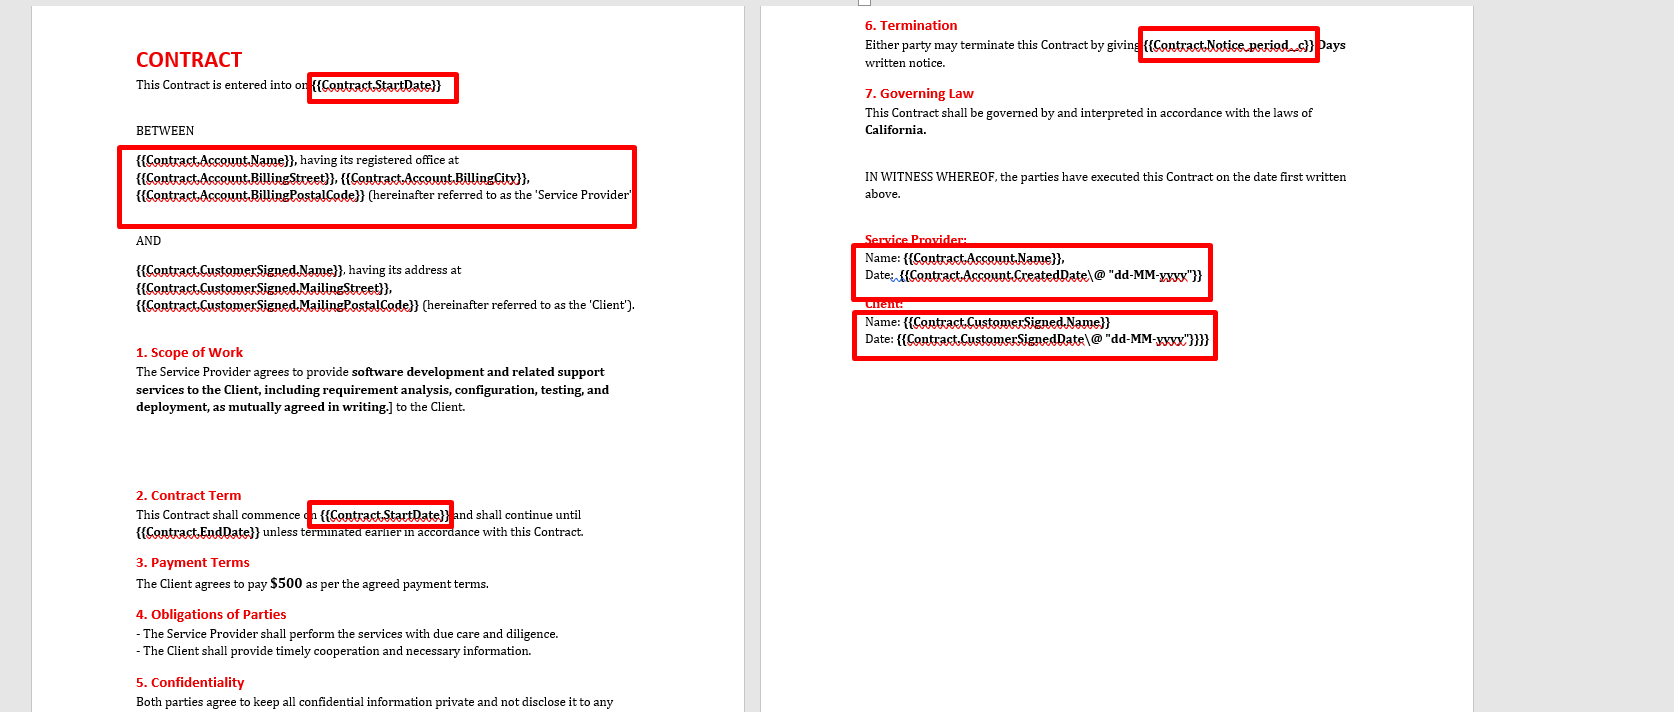
Step 13: Paste all copied merge field syntax into the Template Editor.
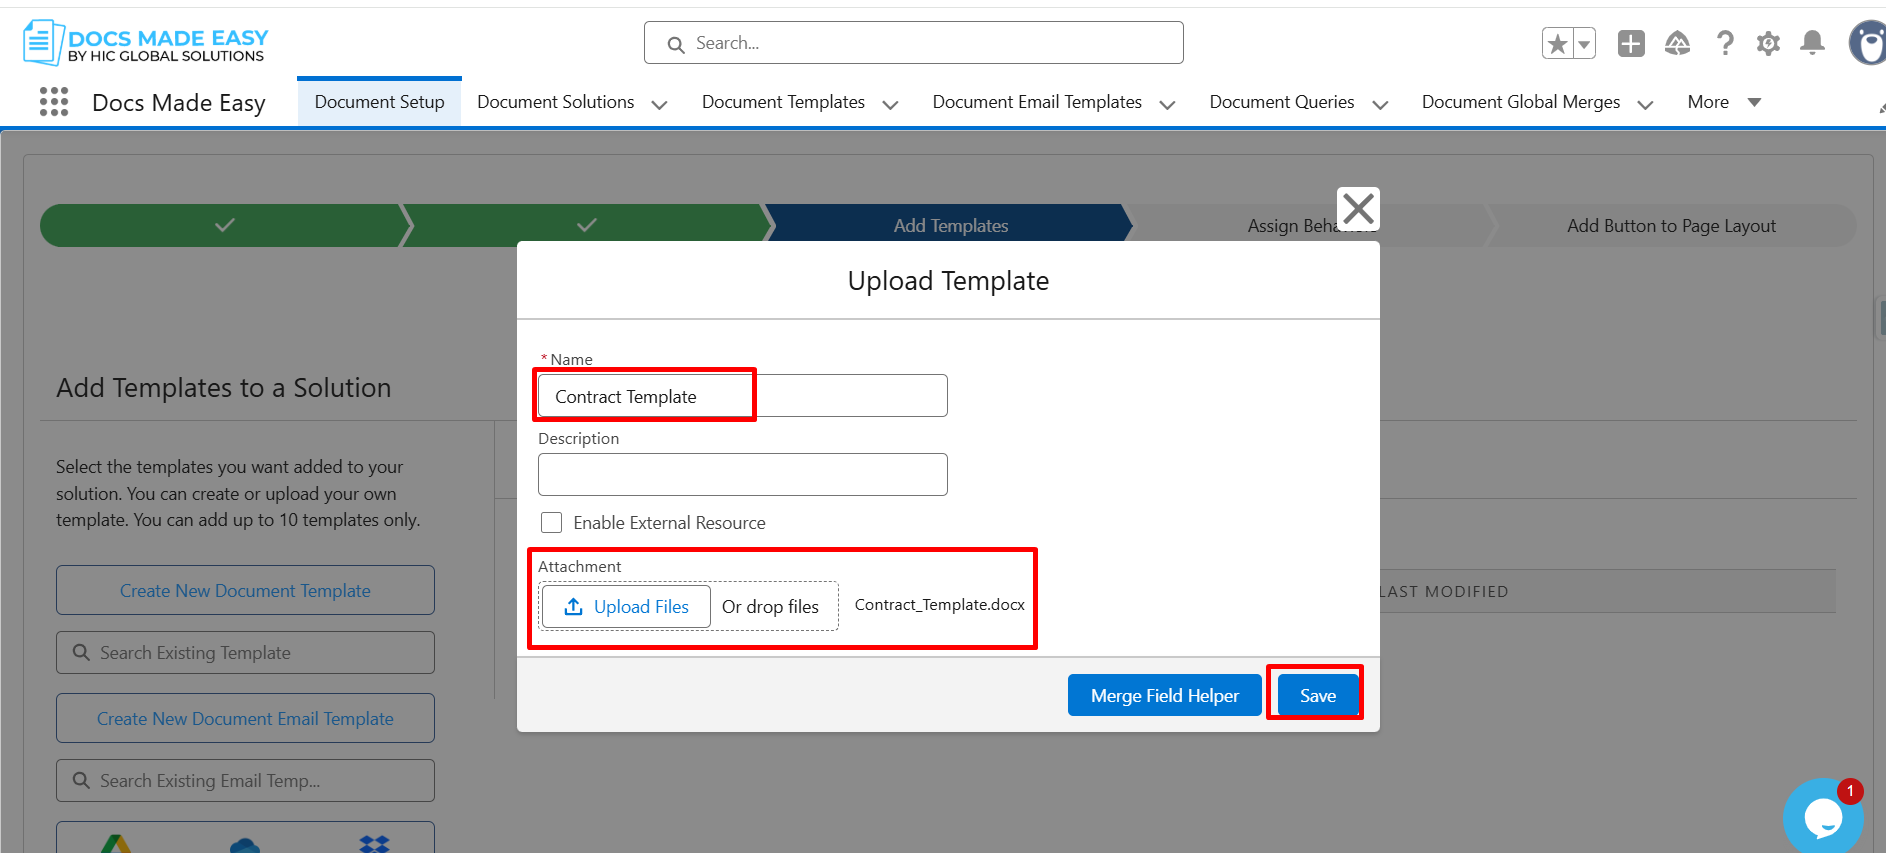
Step 14: Open the Upload Template window, enter the Template Name, upload the Template file, and click Save.
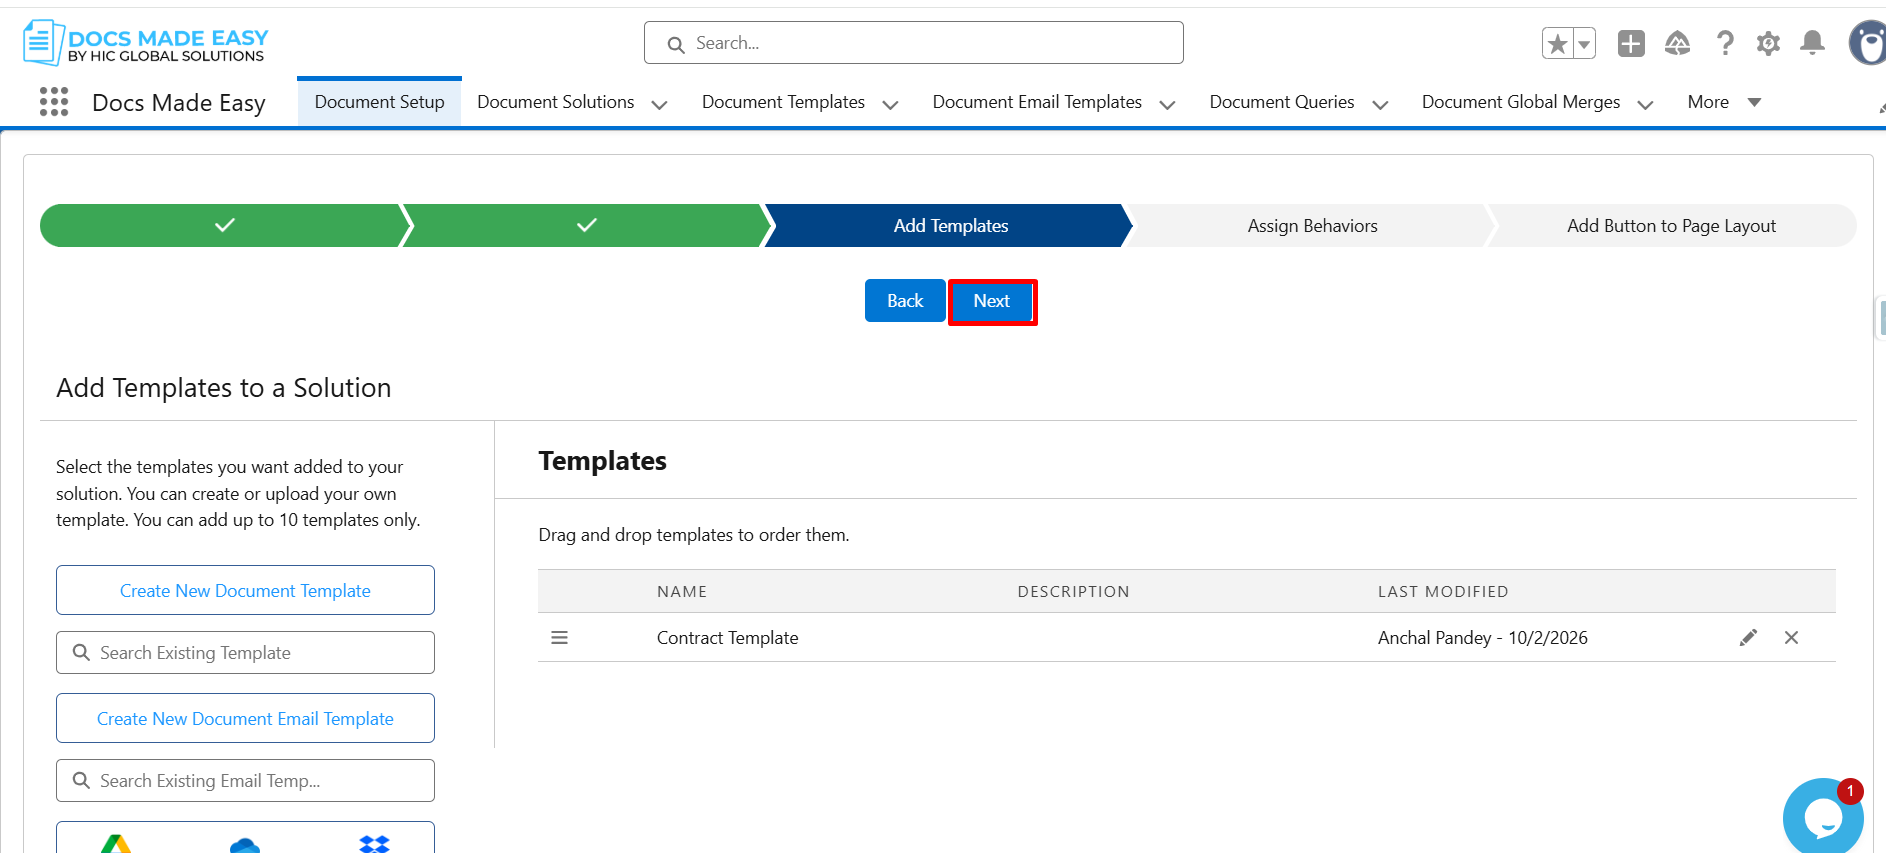
Step 15: Click on Next.
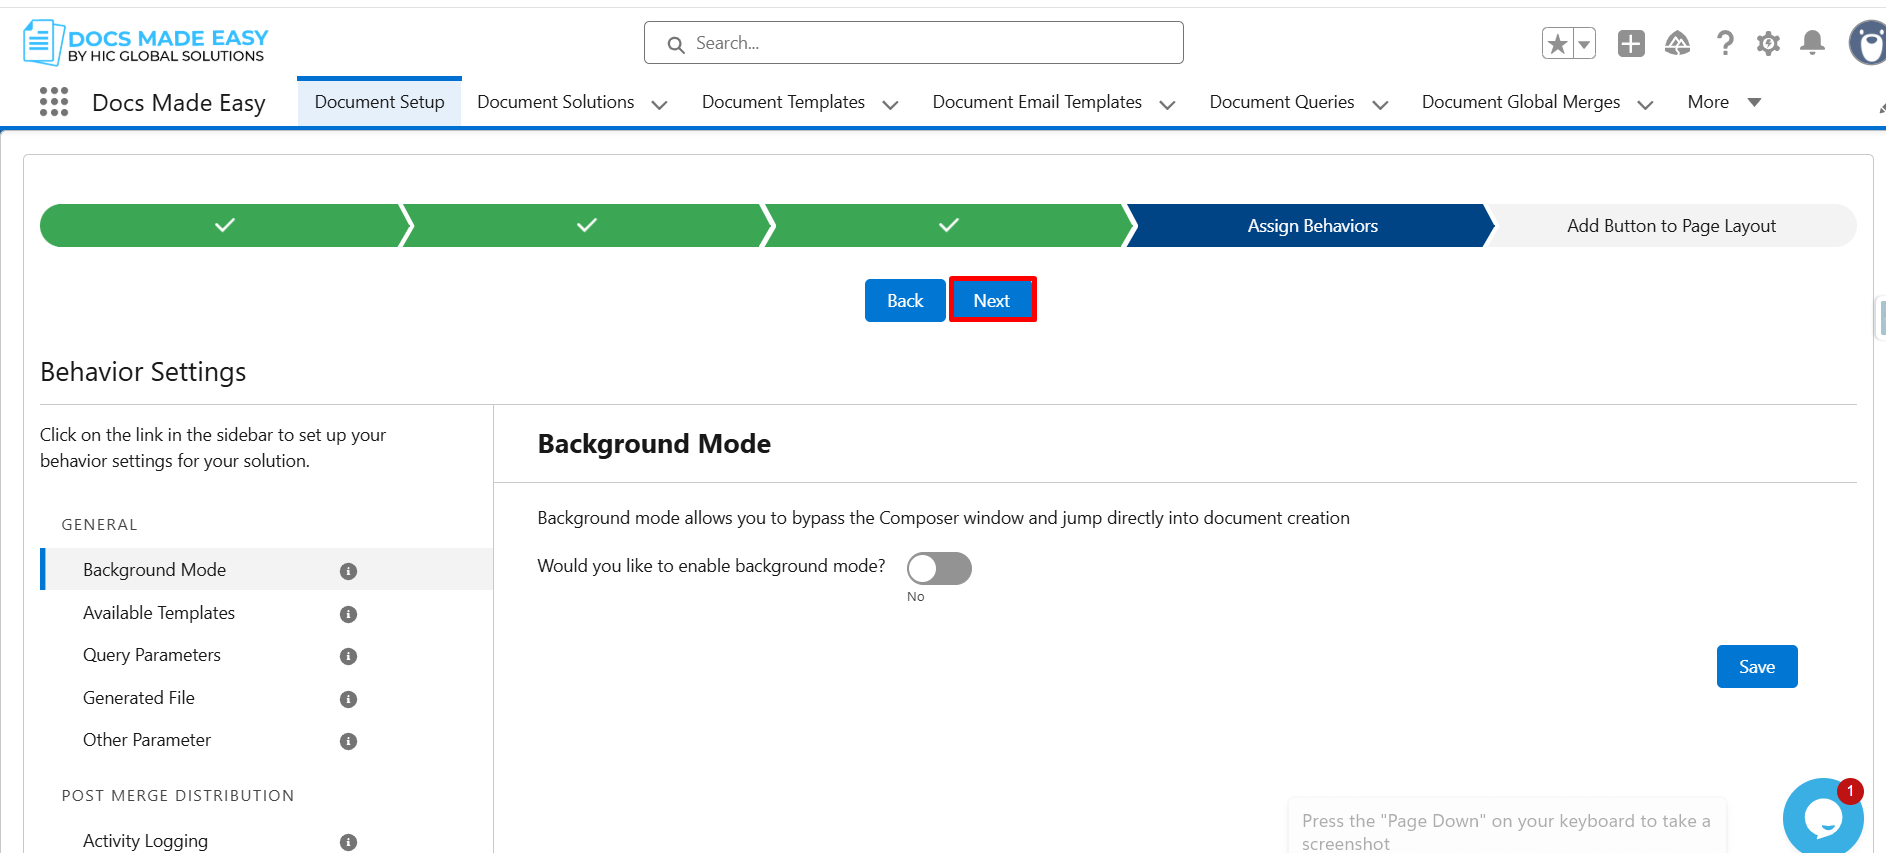
Step 16: Again, click on the Next button.
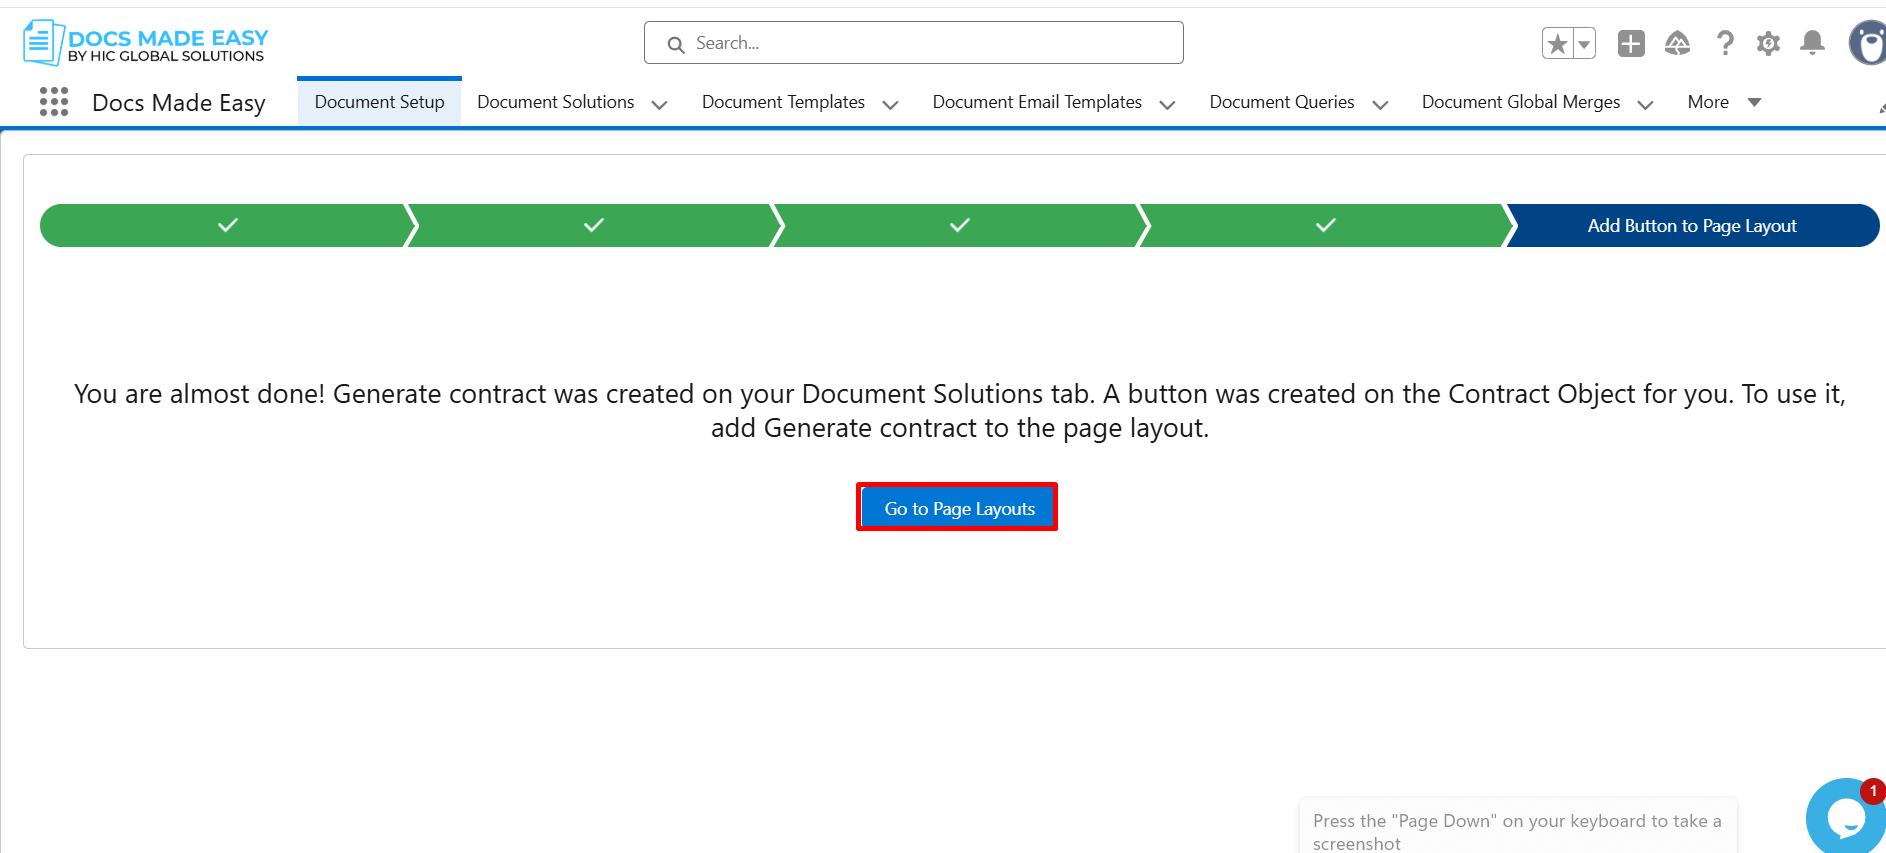
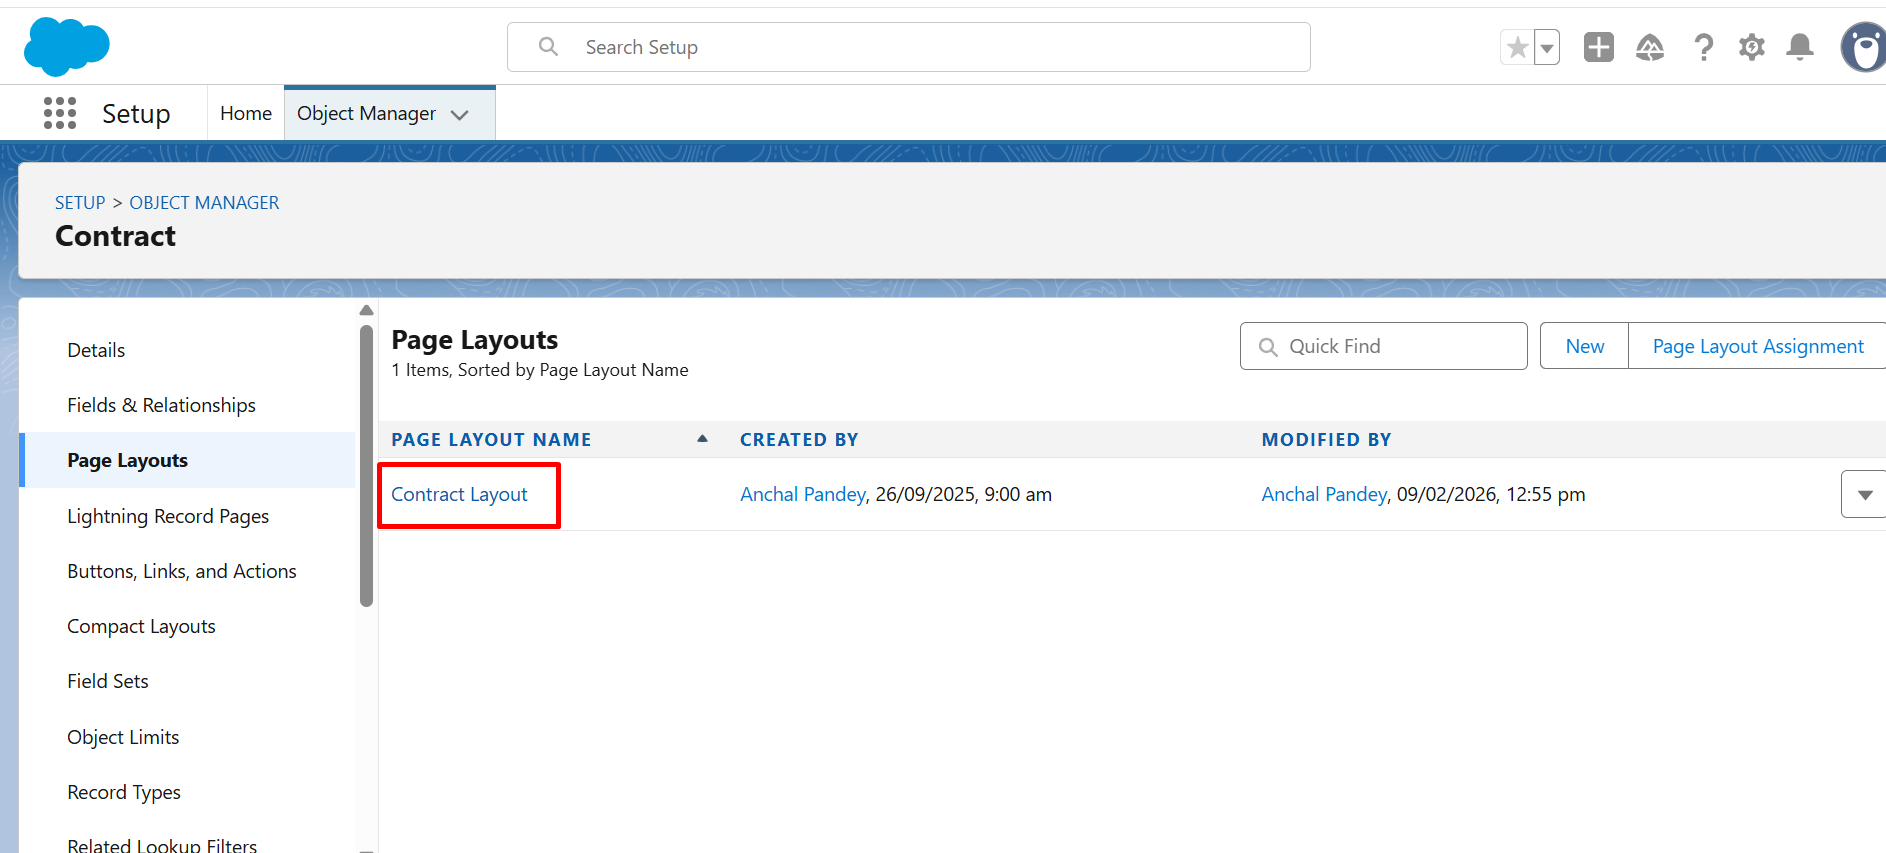
Step 17: Here, click on Go to page layout.
Step 18: Then, click on Contract Layout.
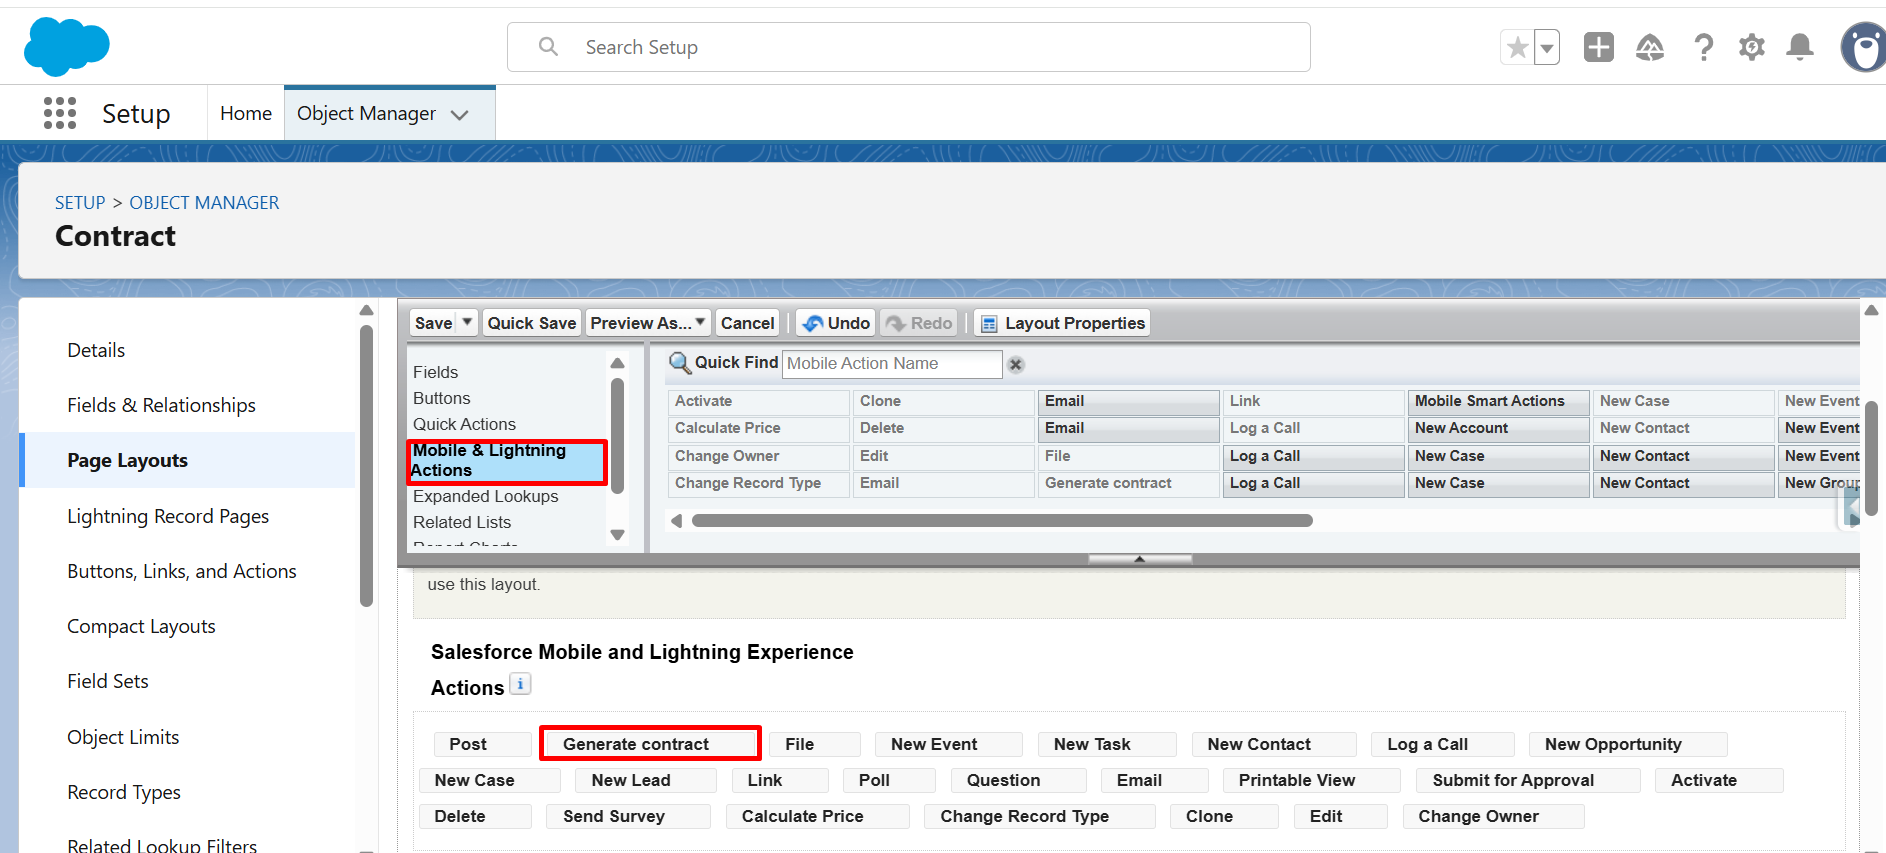
Step 19: From Mobile & Lightning Actions, drag and drop the Generate Contract button into Salesforce Mobile and Lightning Experience Actions.
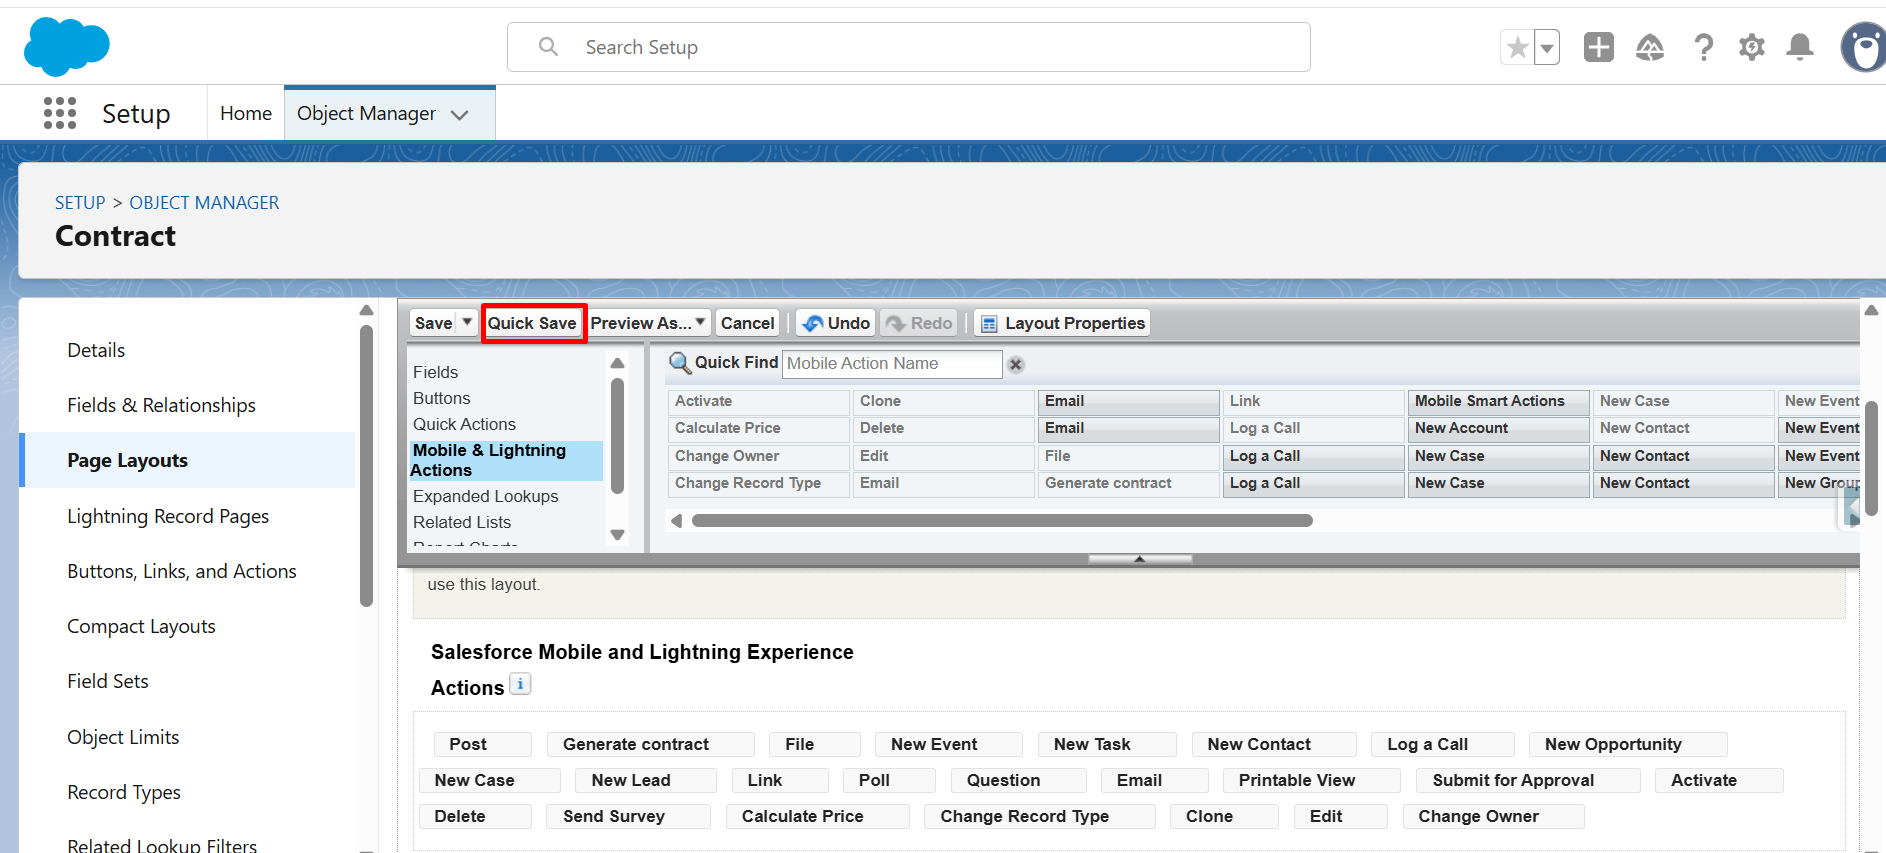
Step 20: Click on Quick Save.
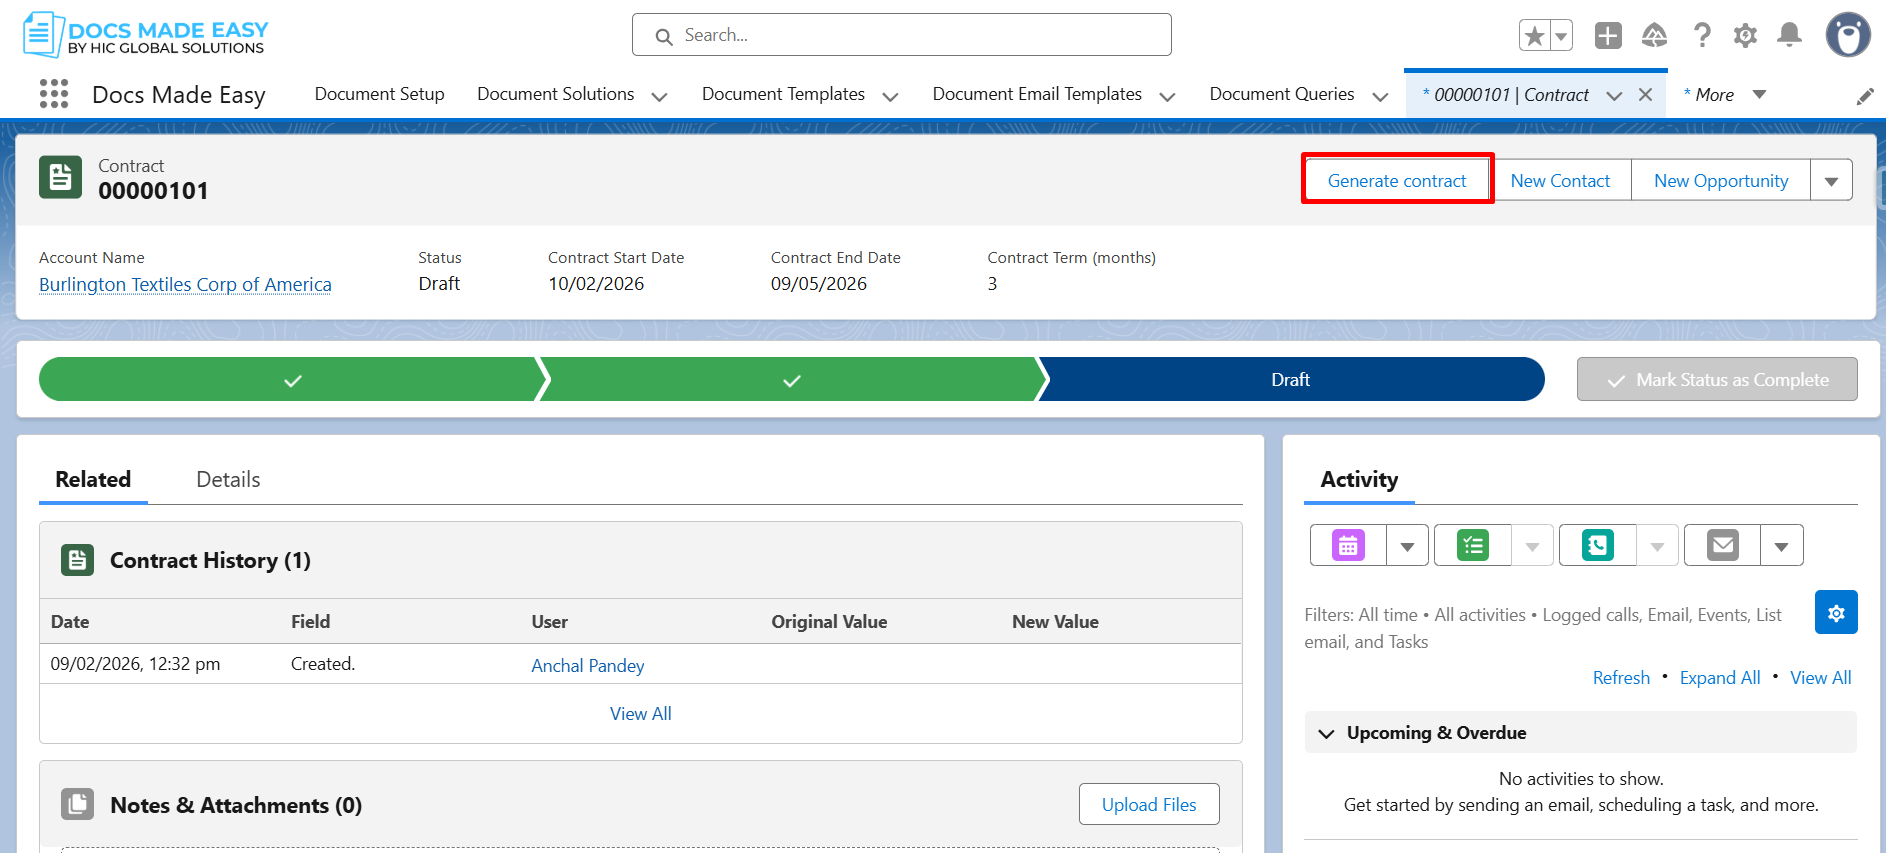
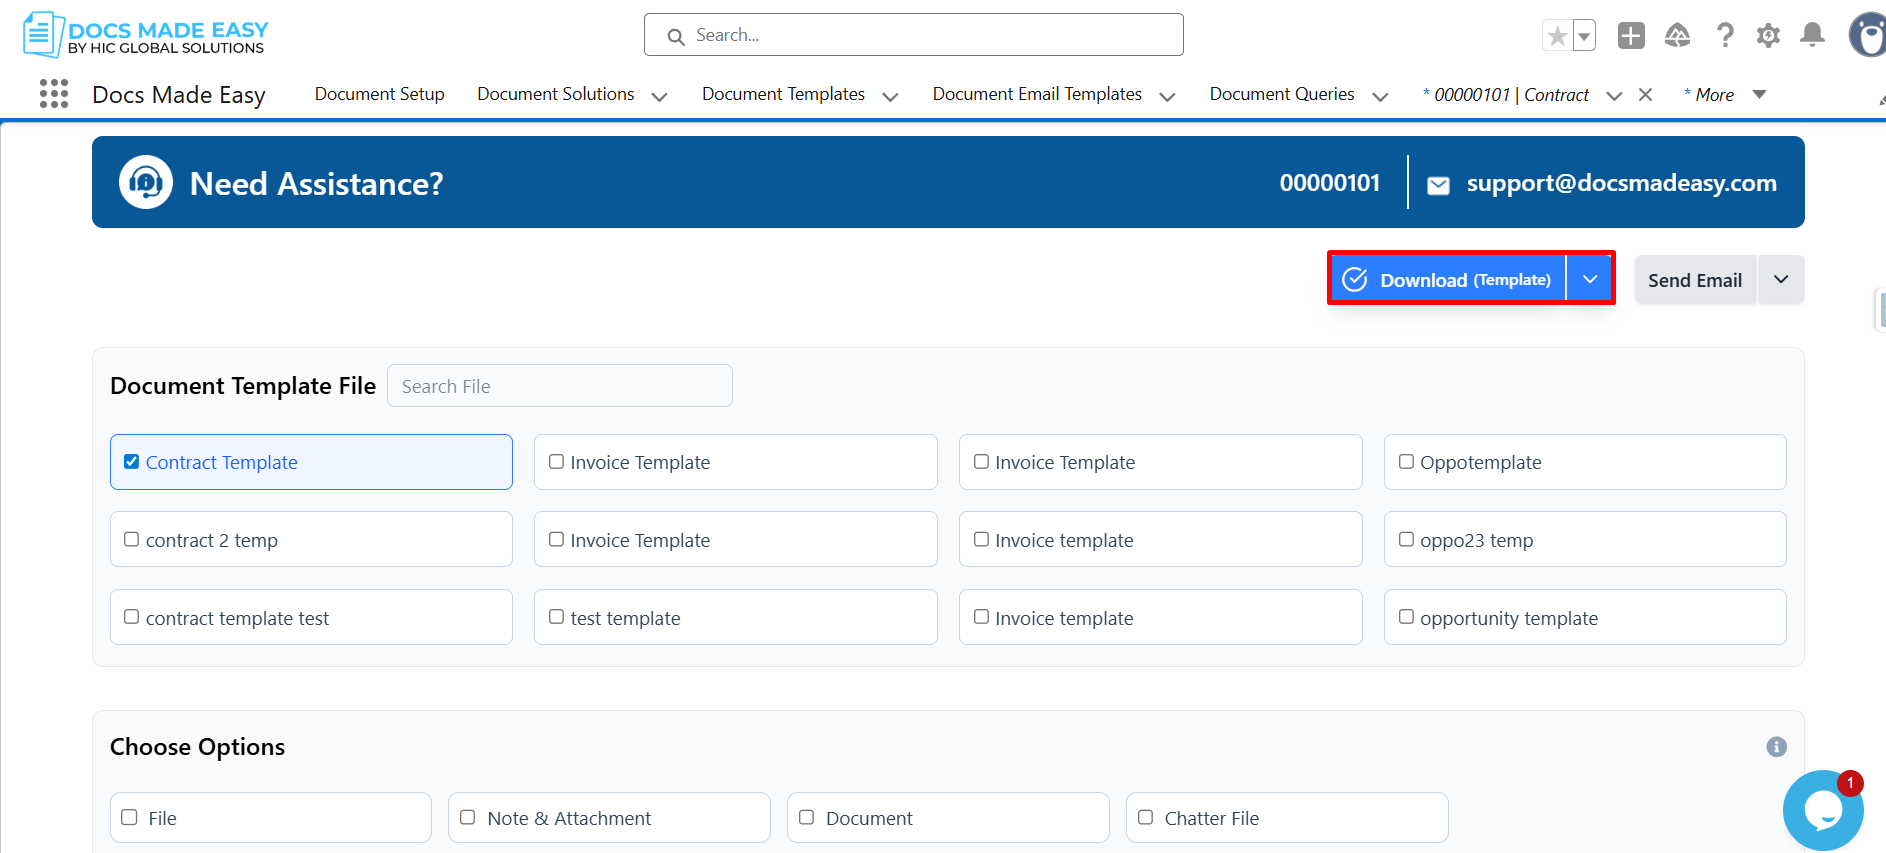
Step 21: Go to Contract Record and click on the Generate Contract button.
Step 22: Click on Download Template.
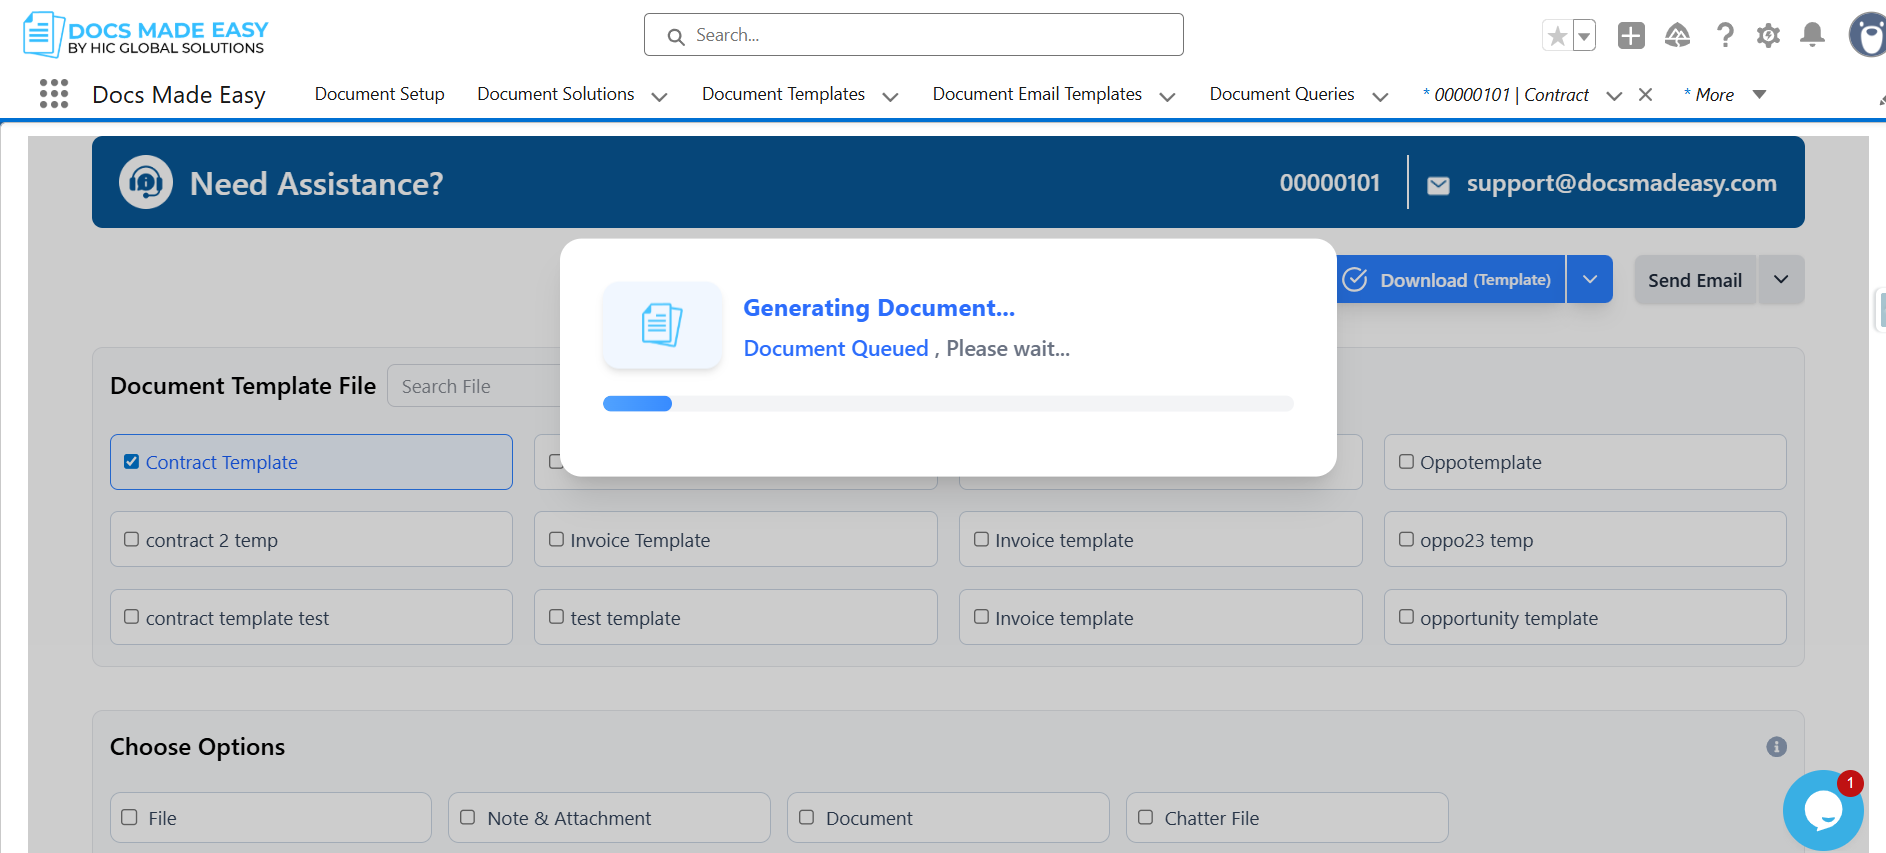
Step 23: The system will start generating the document.
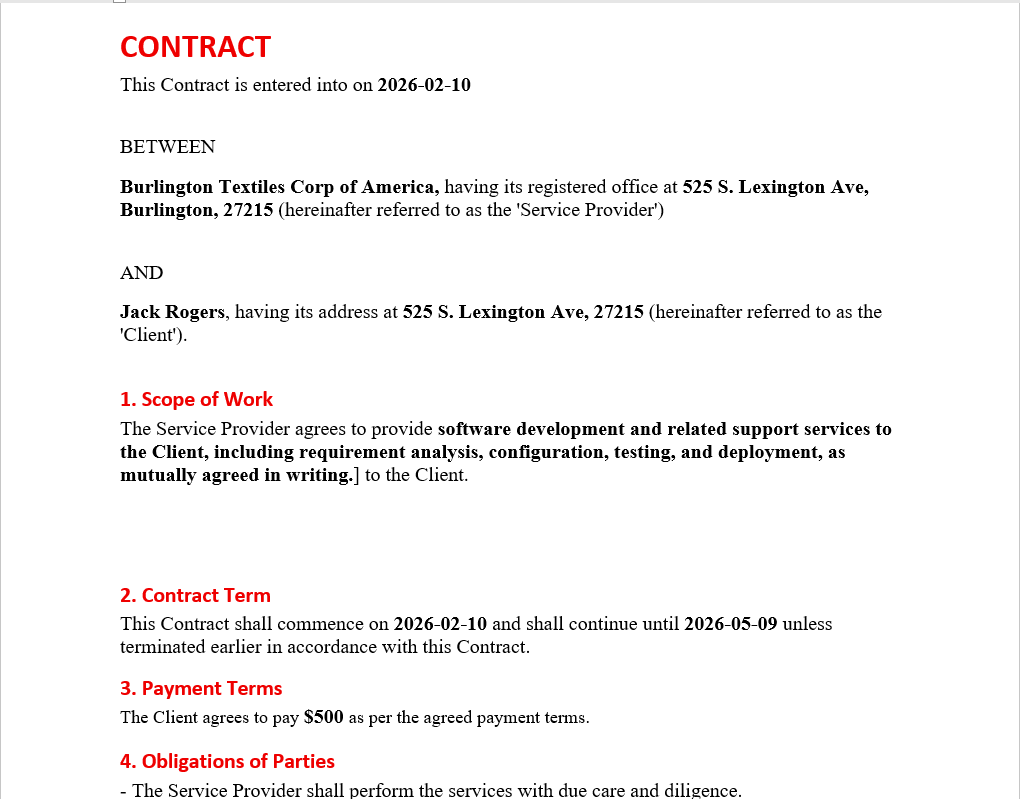
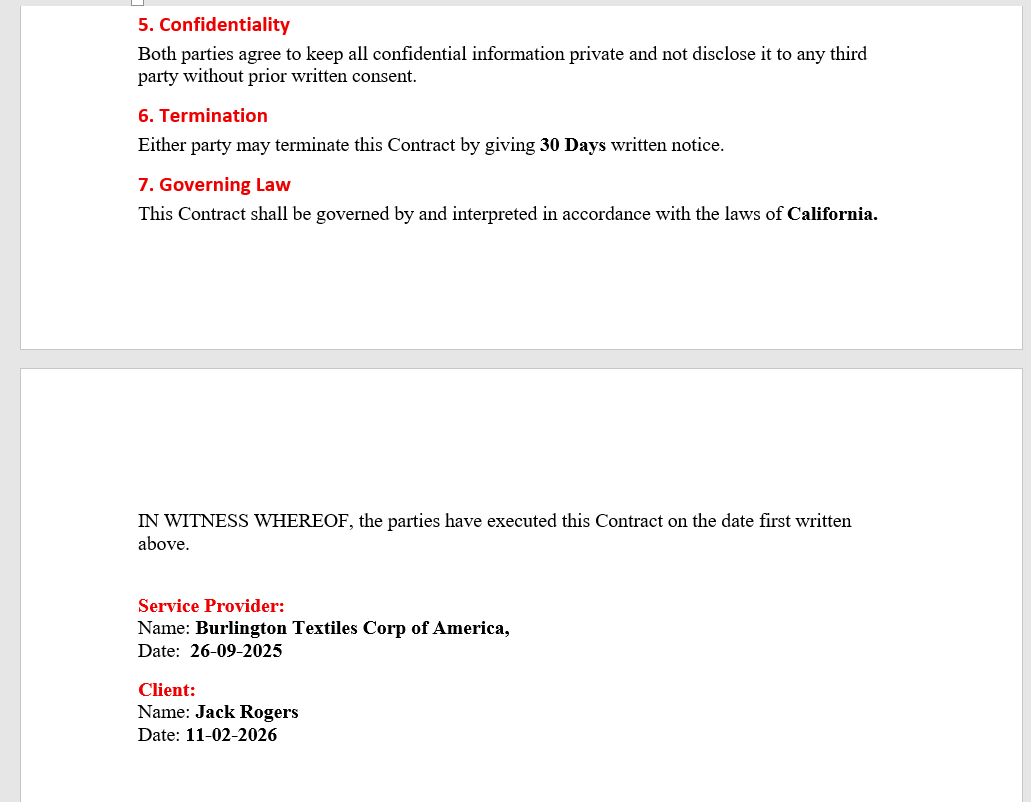
Step 24: Open the generated document.
Conclusion
This is how you can create contracts in Salesforce using Docs Made Easy, while also simplifying and automating the entire document process from within your CRM. Instead of manual drafting, repeated data entry, or disconnected tools, businesses can use this solution to streamline Salesforce contract generation, improve accuracy, and generate every contract faster with record-based data.
With the right setup in place, the complete contract workflow becomes more efficient, consistent, and much easier to manage from start to finish.
Frequently Asked Questions
Related Blogs
How to Create a Document Template Using Merge Field Helper
Creating documents manually by copying information from Salesforce can take time and often leads to errors. With a document template…
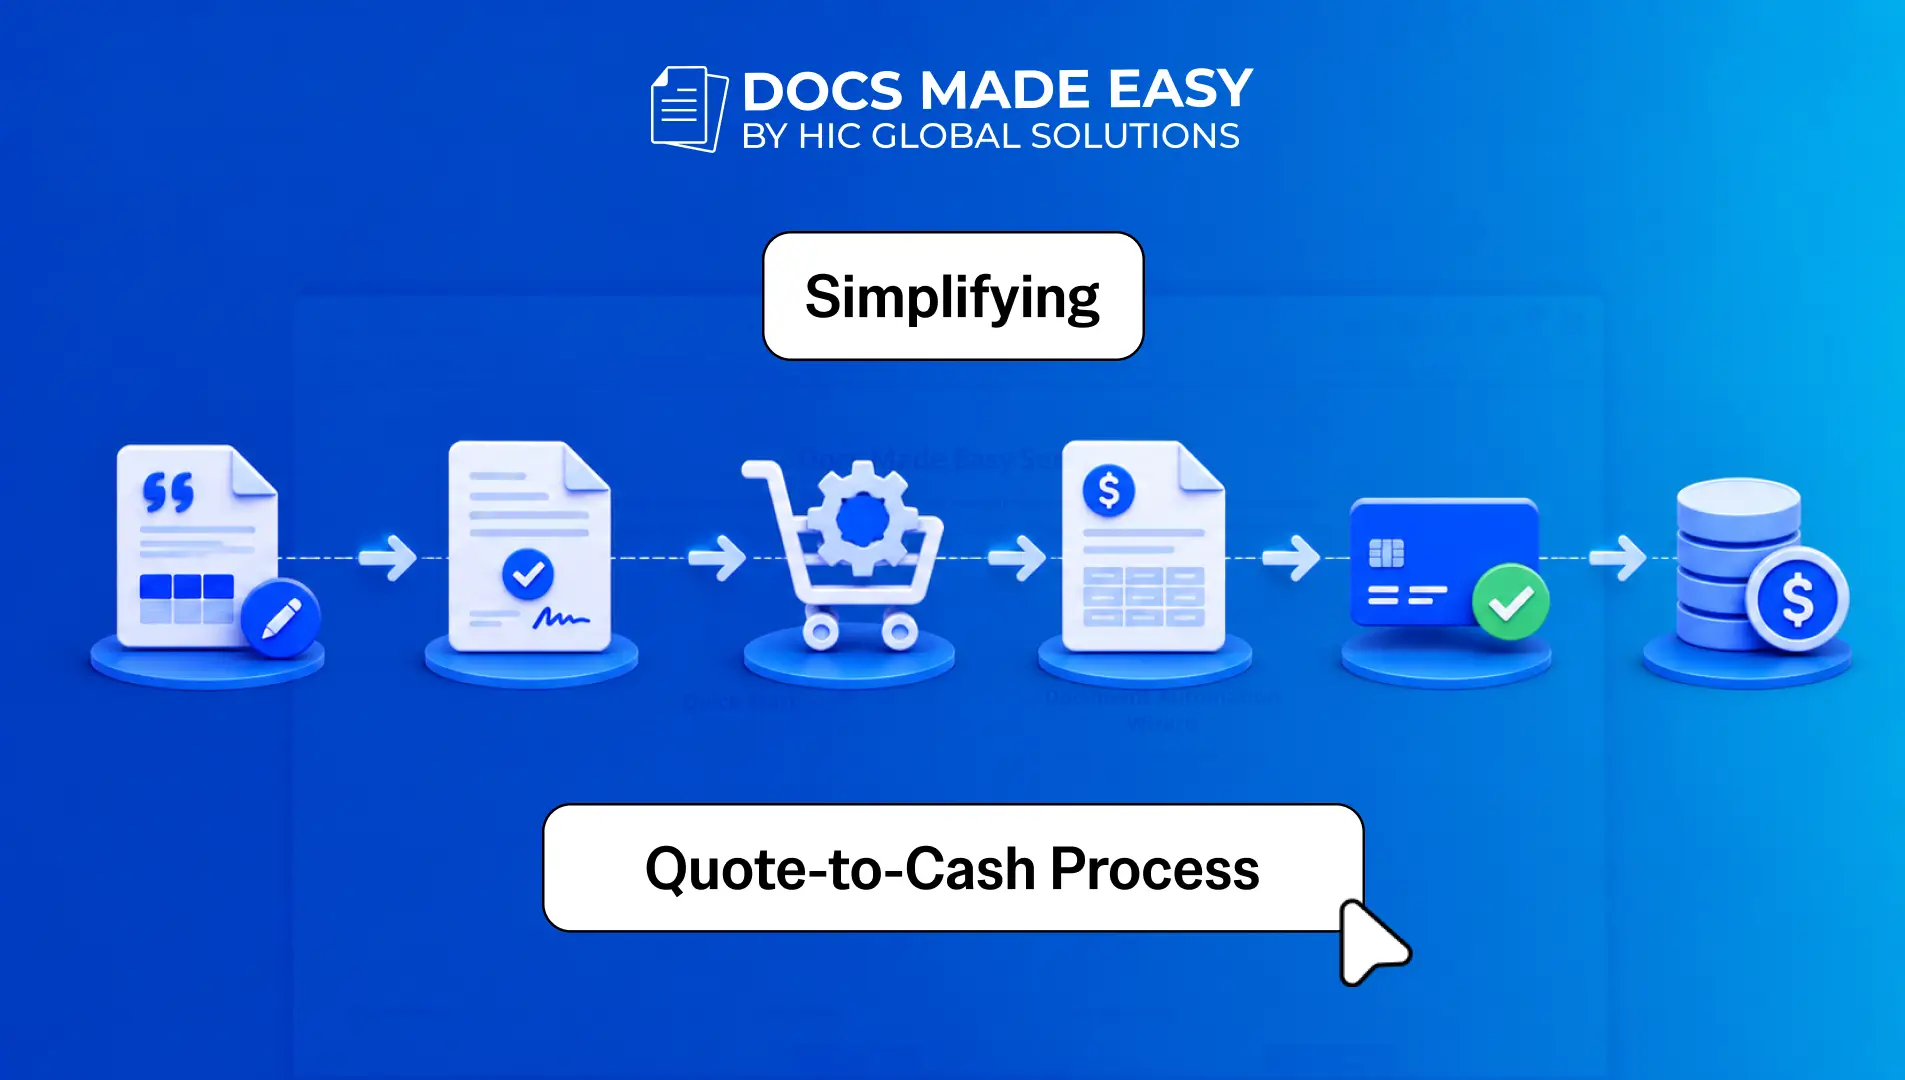
How Does Salesforce Revenue Cloud Simplify the Quote-to-Cash Process?
For a long time, businesses used Salesforce CPQ to simplify their quoting process. It helped sales teams create accurate quotes…

How to Show Different Tables in Salesforce Documents
In Salesforce document generation, displaying the right data in the right format can become difficult when different conditions exist in…